

Dessert tables aren’t just about sweets anymore—they’re a visual moment, a conversation starter, and often the most photographed part of any celebration. The best ones feel effortless but intentional, playful yet polished. If you’ve ever scrolled Pinterest and thought, “I want that,” this guide will help you build it—step by step, without stress.
Start With a Clear Theme (Before You Bake Anything)
Every show-stopping dessert table starts with a clear direction. Without one, even great desserts can feel scattered.
Your theme doesn’t need to be complicated. It can be based on:
- A color palette (neutral tones, soft pastels, bold brights)
- A season (spring florals, summer citrus, cozy autumn hues)
- A vibe (modern minimal, romantic, playful, elegant)
Once your theme is set, it becomes your filter. Every plate, dessert, and prop should support it.
Quick tip: Limit yourself to 2–3 main colors. This keeps the table calm and cohesive, even if you’re serving many treats.
Choose Desserts That Mix Heights, Shapes, and Textures
Variety is what makes people stop and stare. You want contrast—not just in flavors, but in how everything looks together.
Aim for a balanced mix:
- One main centerpiece (layer cake, stacked cupcakes, or dessert tower)
- Several bite-size treats (cookies, bars, mini cups)
- At least one soft or creamy texture to contrast baked items
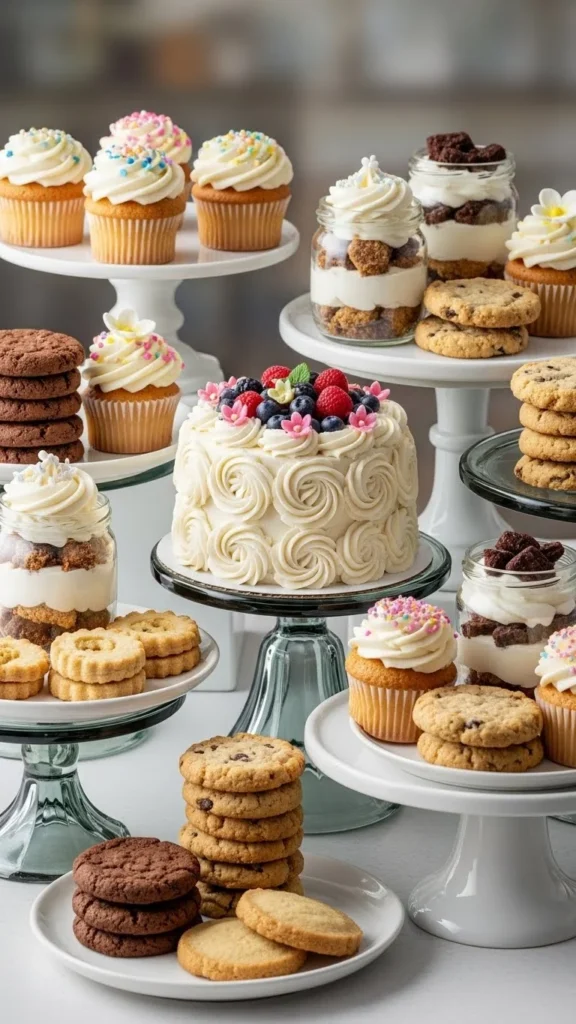
Think visually as you plan. Round desserts next to square ones. Smooth finishes next to textured toppings. This layering keeps the table dynamic.
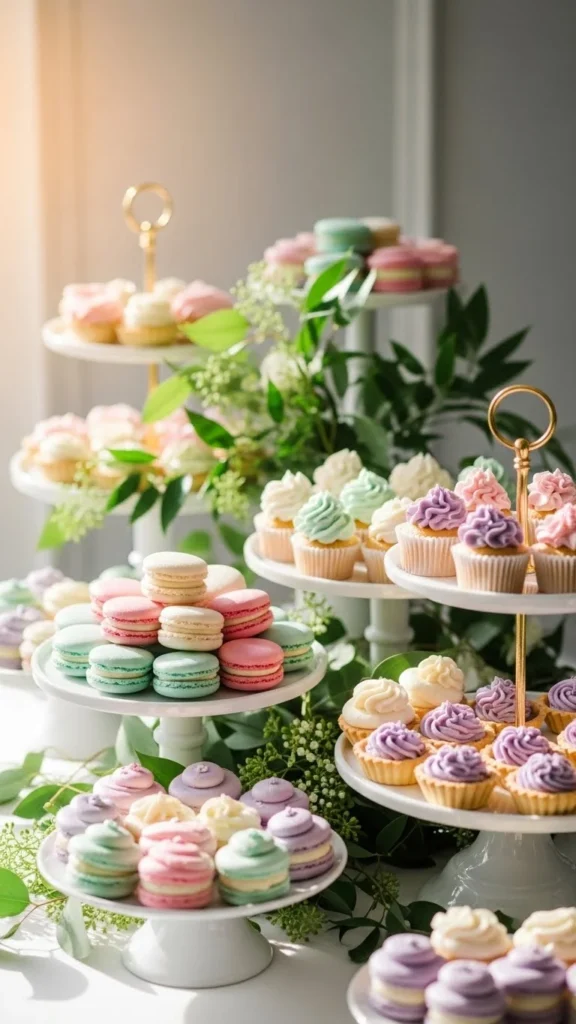
Use Height Like a Pro (This Changes Everything)
Flat tables feel boring fast. Height is the secret ingredient that instantly elevates your setup.
You don’t need fancy stands. Try:
- Cake stands in different sizes
- Upside-down bowls under plates
- Wooden boxes or books wrapped in fabric
- Tiered trays for small treats
Rule of thumb: The tallest item goes near the center or back. Lower items flow outward. This creates a natural visual rhythm.
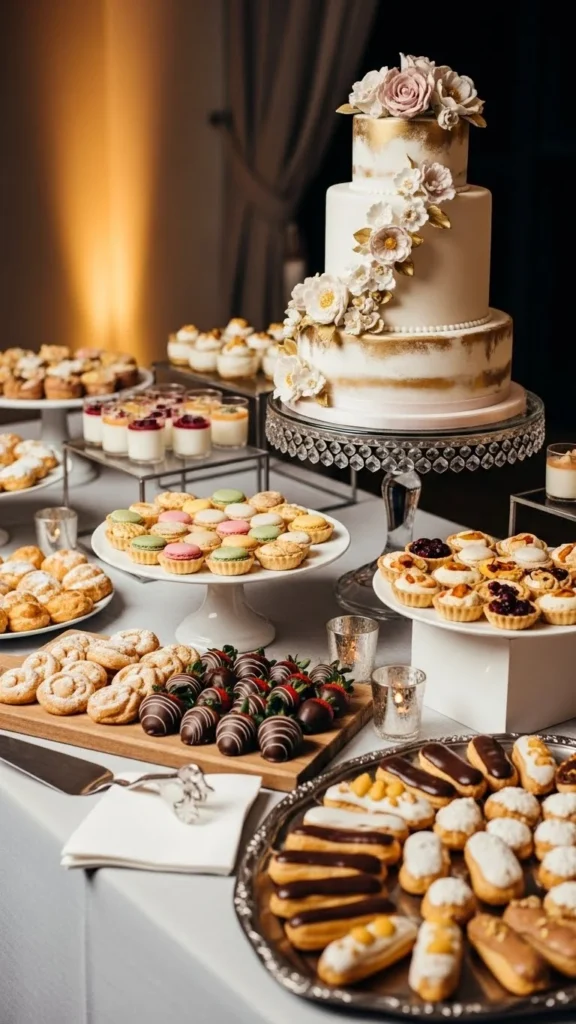
Style the Table Before Adding Desserts
Here’s a pro move most people skip: style your empty table first.
Start with:
- A tablecloth, runner, or neutral base
- Your stands and risers
- Background elements like garlands, arches, or framed decor
Once the structure looks good without desserts, adding treats becomes easy. You’re no longer guessing—you’re filling intentional spaces.
Pinterest-friendly tip: Leave a little breathing room. Negative space makes desserts look more special and high-end.
Keep Decorations Simple and Purposeful
Decor should support desserts, not compete with them.
Choose accents that feel light and natural:
- Greenery or soft florals
- Linen napkins or subtle textures
- Small decorative objects that repeat your theme
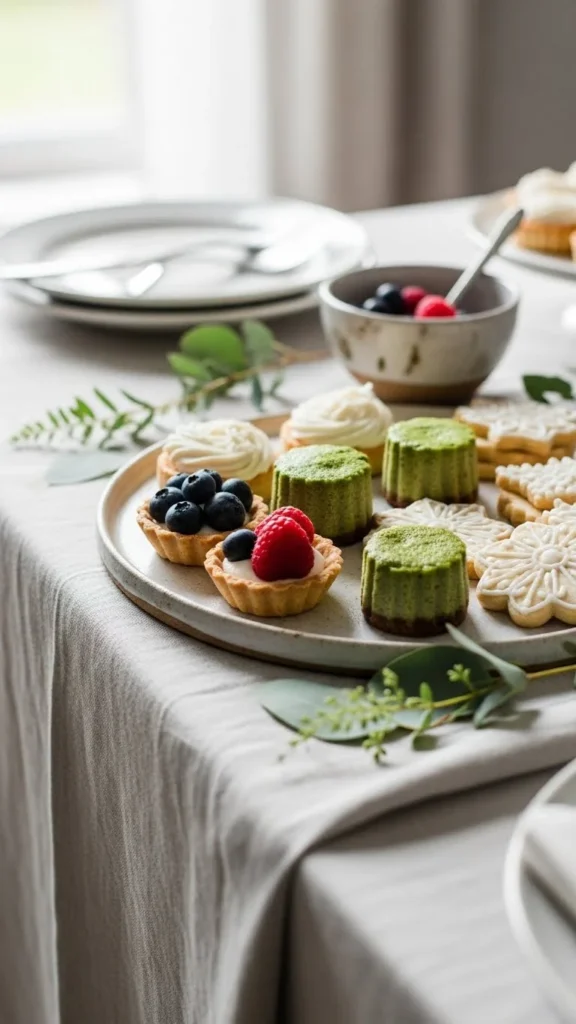
Avoid overcrowding. If something doesn’t add balance, color, or height—remove it.
Label Lightly (Or Skip It Altogether)
Labels can be helpful, but they’re optional. Over-labeling can make the table feel busy.
If you do include them:
- Keep fonts simple
- Use small, clean cards
- Place labels low so desserts stay visually dominant
Sometimes, letting the desserts speak for themselves creates a more polished look.
Do a Final Walk-Around Before Guests Arrive
Before anyone sees the table, step back and scan it slowly.
Ask yourself:
- Does anything feel crowded?
- Are colors evenly distributed?
- Is there a clear focal point?
Make small adjustments. Move one plate. Swap two items. These tiny tweaks often make the biggest difference.
Final Takeaway
A dessert table that steals the show isn’t about expensive ingredients or complicated recipes. It’s about intention—clear themes, thoughtful height, balanced variety, and simple styling.
Start with a plan. Style the structure first. Let desserts shine.
Save this guide for your next party—and build a dessert table everyone remembers.

Leave a Reply