

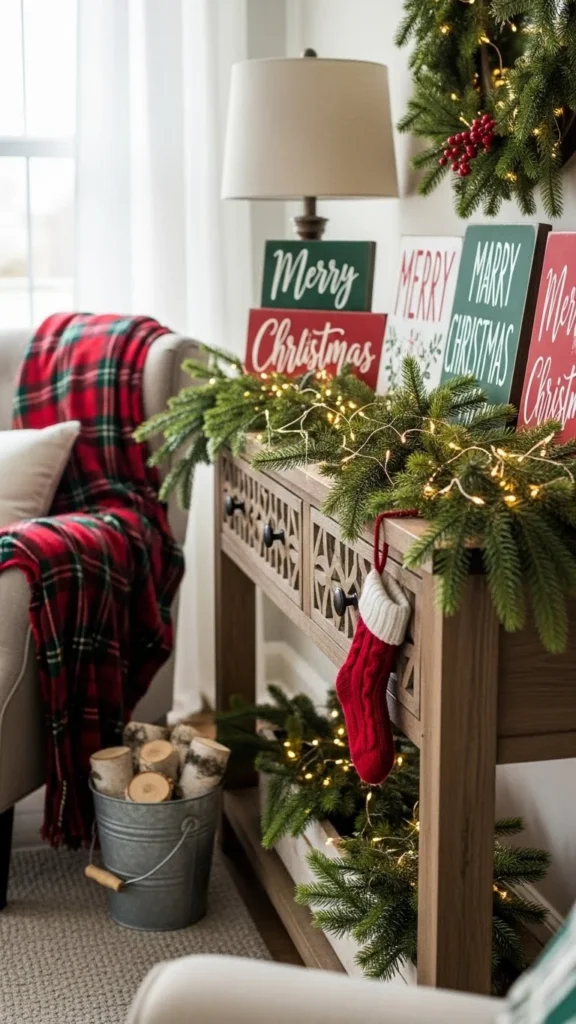
Creating Christmas signs is a simple way to fill your home with warmth, charm, and personality. Whether you enjoy rustic wood, minimal neutrals, or glittery accents, these DIY ideas help you craft cheerful pieces without spending much. Each project is easy to customize and works beautifully for entryways, mantels, kitchens, and bedrooms. Below, you’ll find practical, budget-friendly inspiration you can start right away.
1. Rustic Wooden “Merry” Sign

A wooden “Merry” sign adds simple charm to any wall or shelf. Use reclaimed wood if you can find it; it reduces cost and brings a cozy texture. Sand the surface lightly to soften rough edges. Paint the background white or soft cream for a clean base. Then stencil your chosen lettering using craft paint. Use small dabs to prevent smudges. Add a few sprigs of faux greenery to the corners for color. This piece works well near an entryway or above coat hooks. If you want a more weathered look, brush a tiny amount of brown paint onto the edges. Keep strokes light so the piece doesn’t look too heavy. Hang it using inexpensive sawtooth hooks or leave it leaning casually on a shelf for a laid-back feel. Highlight simple wood charm with handmade touches.
2. Mini Framed Joy Sign
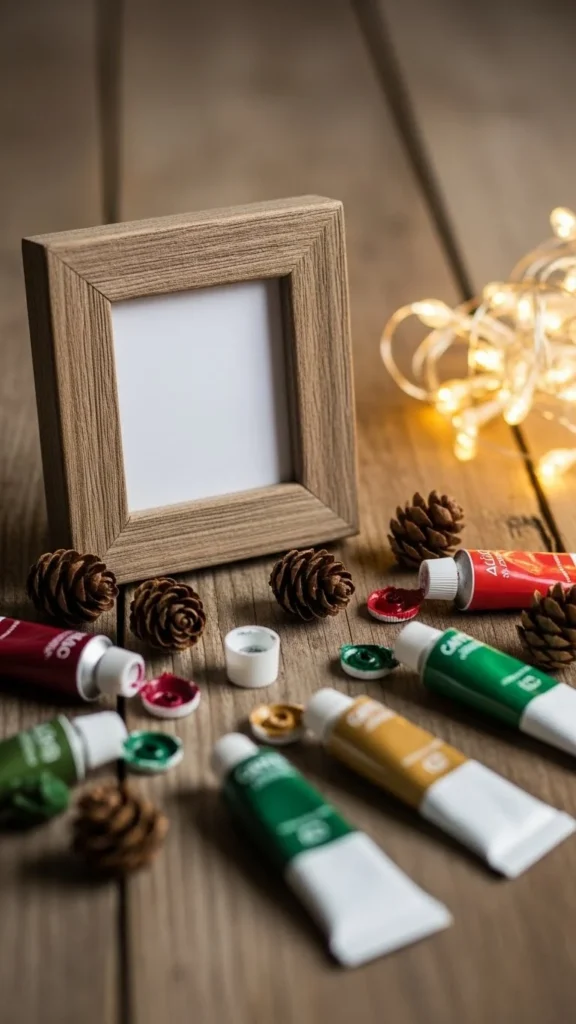
This little sign is perfect for desks, shelves, or side tables. Choose a small frame, even one from a thrift store. Remove the glass and use a piece of thick cardstock as your base. Paint the cardstock a deep green or soft red. Add hand-painted lettering for a personal feel. If freehand painting feels tricky, use a stencil or vinyl lettering. Add mini pinecones or ribbon to the top edge to bring in texture. This piece works well in pairs if you want to create a small decorative cluster. It’s an easy project for beginners because it requires just a few tools and materials. Finish with a matte topcoat so the colors stay vibrant. Display it near candles or small figurines to create a cute holiday vignette.
3. Snowflake Cut-Out Pallet Sign
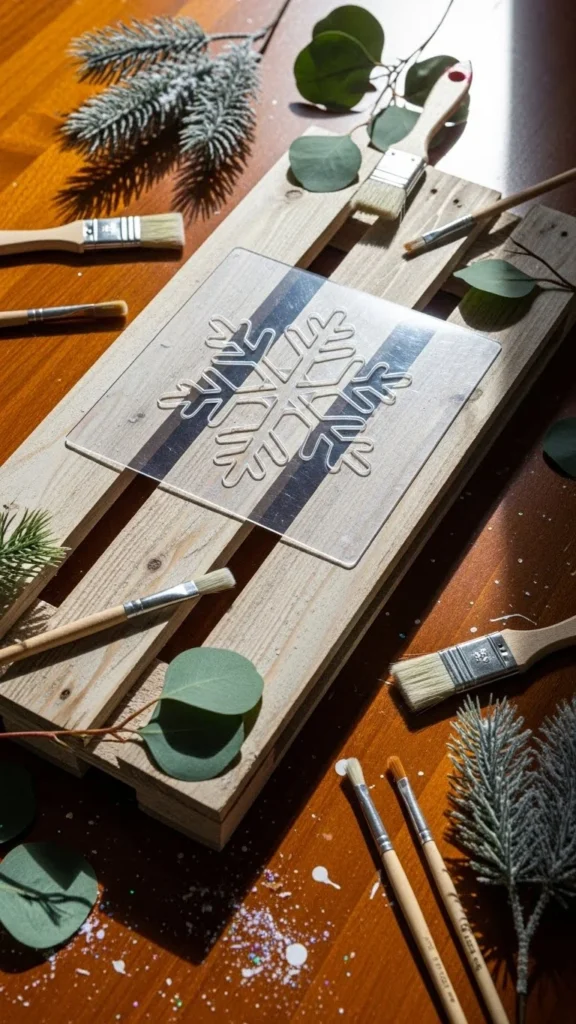
This DIY sign is excellent if you enjoy neutral decorations with a winter feel. Use narrow wooden slats to form a pallet look. You can glue them together or attach them using thin support strips on the back. Paint the surface white or pale gray. Once dry, place a snowflake stencil in the center. Dab on soft blue or silver paint using a foam sponge. Remove the stencil gently to keep lines crisp. Add a little shading with a dry brush for depth. This piece looks great above a mantel or next to framed holiday prints. If you prefer a more rustic finish, lightly sand the edges. Keep the design simple to let the snowflake stand out.
4. Chalkboard Countdown Sign
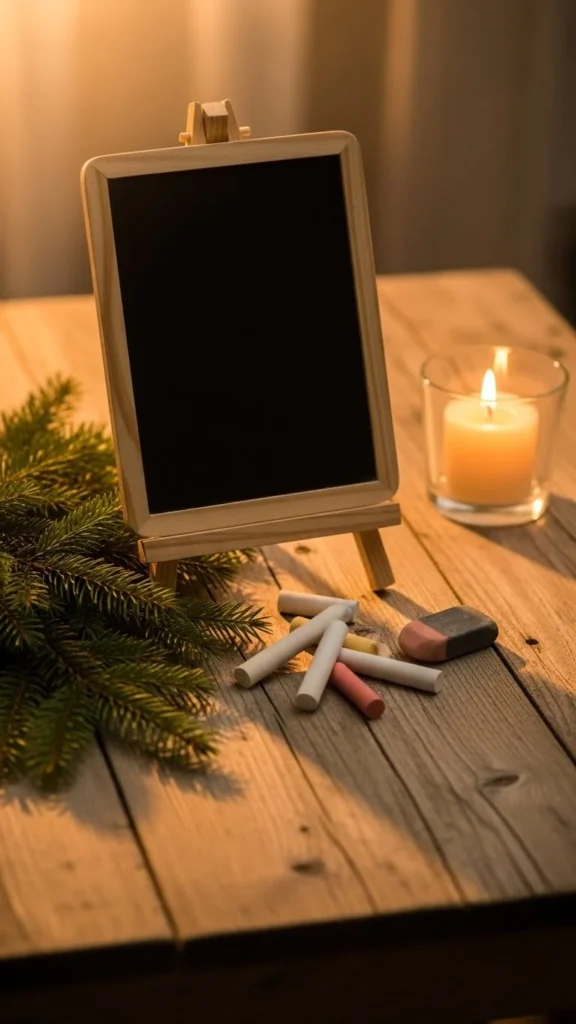
A countdown sign brings excitement as the holiday gets closer. Use a pre-made chalkboard or paint a small board with chalkboard paint. Draw a simple border using white chalk or chalk markers. Add a circle or square where you’ll update the number daily. Keep the rest of the design light so it’s easy to change the numbers. Hang it in the hallway or kitchen to make it part of your daily routine. Add a small clip on the side to hold chalk. If you want added charm, glue a few faux berries or tiny bells to the frame corners. The sign brings daily cheer and doesn’t require much maintenance.
5. Red and White Candy Cane Sign
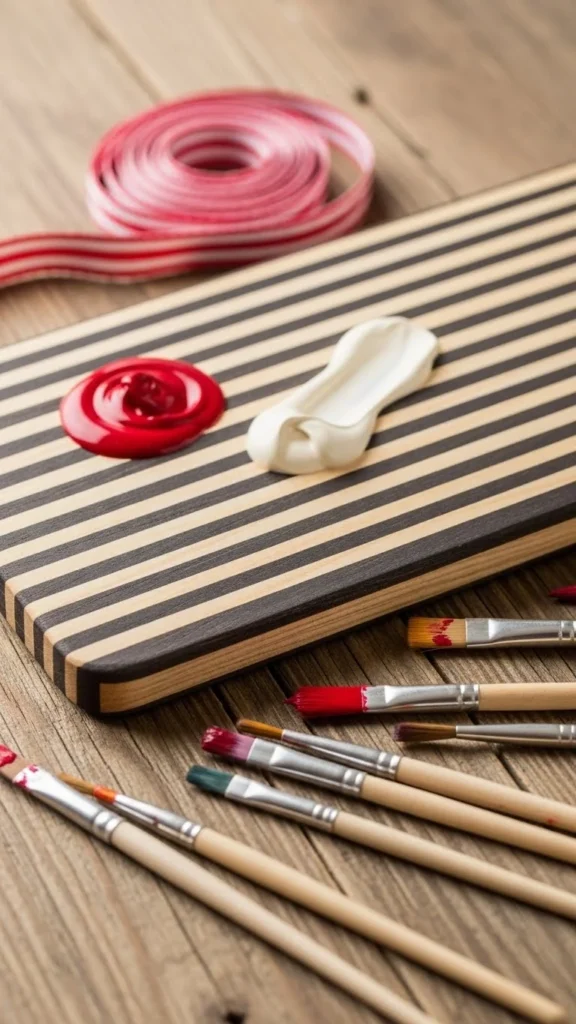
A candy cane–striped sign instantly adds fun energy. Start with a flat wooden board. Paint it white, then use tape to create stripes. Apply red paint between the taped lines. Peel the tape carefully once the paint dries. Add simple lettering using black or gold paint. A short phrase works well because the stripes are bold. Attach a ribbon to hang the board or let it lean on a shelf. This sign is great for kitchens or kids’ rooms. Add a coat of clear sealer to protect the vivid stripes. Keep the design playful and cheerfully bold.
6. Frosted Glass Jar Sign

Turn a glass jar into a glowing sign with frosted spray. Clean the jar well and apply an even coat of frosting spray outside. Once dry, add adhesive vinyl letters or simple shapes. Insert battery lights inside for a warm glow. Tie ribbon or twine around the top. These jars work beautifully on mantels or nightstands. You can make several in different sizes to create a small cluster. This DIY is low-cost and easy to customize. The frosted surface gives a soft wintery look that complements any décor style.
7. Wooden Arrow Direction Sign
Craft wooden arrows pointing toward “North Pole” or similar playful themes. Cut arrow shapes from thin wood or buy pre-cut versions. Paint them in red, white, or forest green. Add simple lettering using a stencil. Mount them onto a vertical board or connect them with screws. This sign looks charming near the entryway or front porch. Seal it if placing outdoors. Use lightweight wood if you want to hang it on the wall without heavy hardware. Add tiny felt snowflakes for added charm.
8. Glittery Ornament Cluster Sign
Create a sign that sparkles by using ornaments as the main feature. Choose a small board as your base. Arrange ornaments in a shape—like a tree or wreath. Use strong glue to keep them secure. Add small sprigs of greenery between ornaments for contrast. Keep the background color simple so the ornaments stand out. This project works well for hallways or guest rooms. Use lightweight shatterproof ornaments if you want the piece to stay secure. This sign brings a colorful holiday shimmer to any wall.
9. Burlap Ribbon Sign
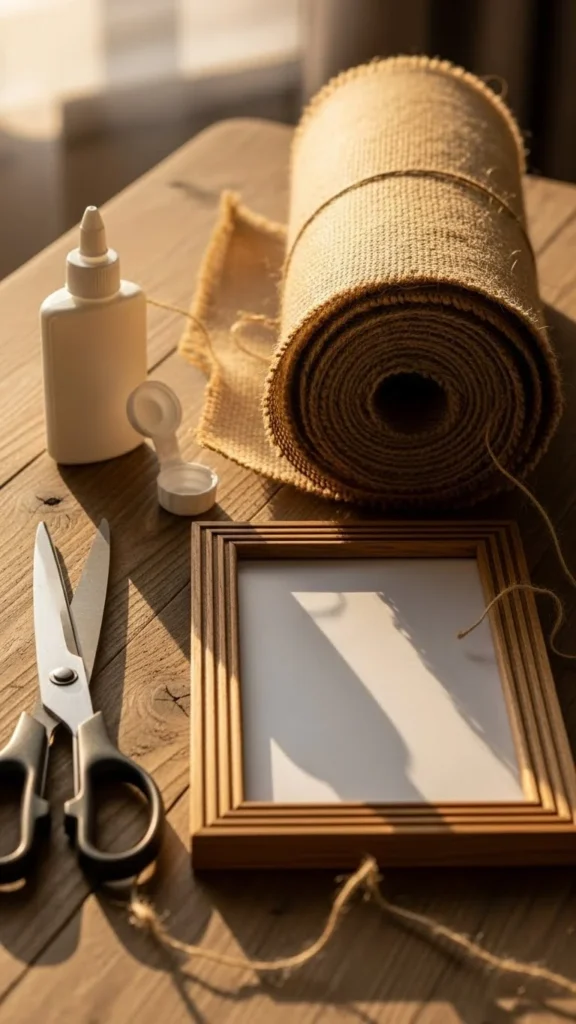
Burlap adds warmth and texture to simple Christmas décor. Cut a piece to fit inside a frame. Stretch it gently to remove wrinkles. Paint lettering directly on the burlap using a stencil. For deeper color, add two coats. Add tiny bows or greenery to the corners. This sign looks beautiful in rustic or farmhouse homes. It’s easy to make and affordable because burlap is inexpensive. Hang it near a dining table or place it above a console. Highlight cozy textures with neutral tones.
10. Minimal White and Wood Sign

A minimal sign suits modern décor. Use a white board with a natural wood frame. Choose thin lettering in soft gray or black. Keep the message short. This gives the sign a calm look while still feeling festive. Add a tiny touch of greenery to a corner for a natural accent. This sign fits well in bedrooms, kitchens, or offices. It’s easy to make and doesn’t require many materials. Highlight soft simplicity if your home leans toward neutral tones.
11. Vintage Tin Sign
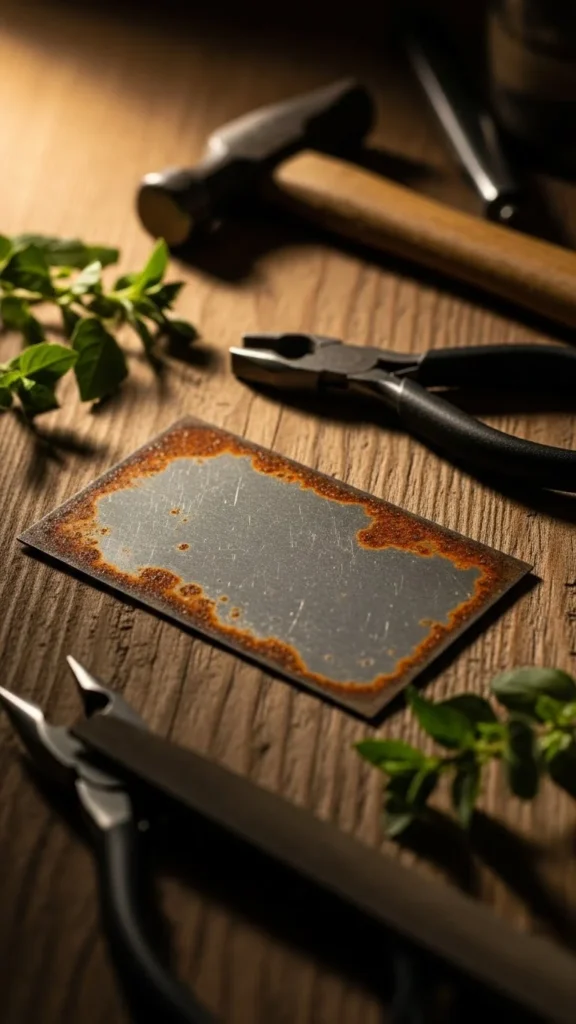
You can create a tin sign using thin sheet metal. Cut it to size, then gently sand rough edges. Paint the background in muted red or green. Add simple lettering using a stencil. Lightly sand the edges again to give a vintage look. Mount it in a frame or hang it using twine. Tin adds a unique texture that contrasts well with wood décor. This sign works beautifully in kitchens or covered porches. Add a matte topcoat so the paint stays smooth.
12. Plaid Fabric Sign

Plaid fabrics instantly bring Christmas spirit. Stretch a piece across a frame and secure it to the back. Add wooden cutout letters or vinyl letters on top. Choose simpler background patterns to keep the lettering readable. Add tiny bells or faux berries along the corners for color. This sign works great in hallways, guest rooms, or near the tree. Mix patterns if you display multiple plaid signs together. Highlight classic holiday style through pattern and contrast.
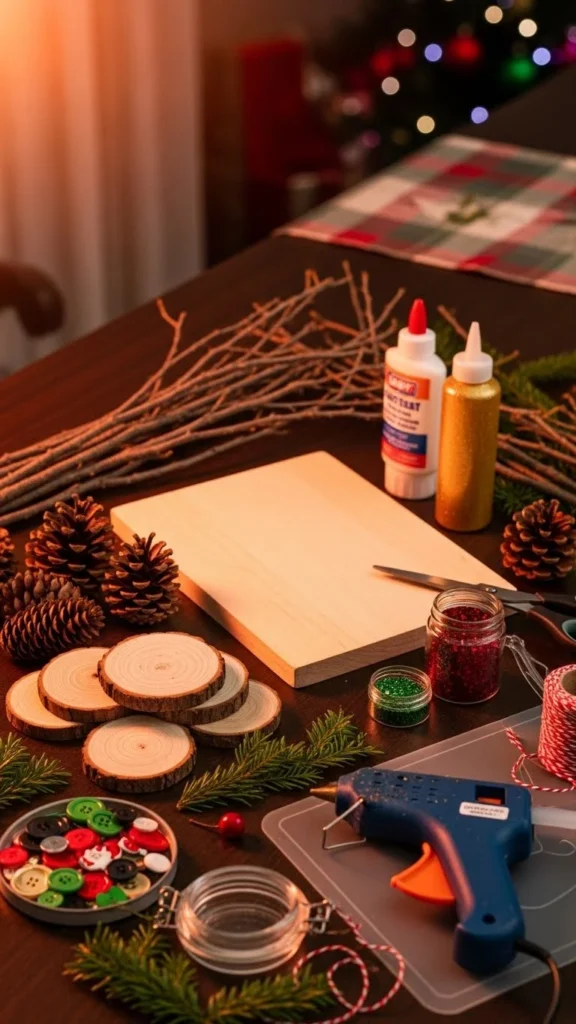
13. Pinecone Shadow Box Sign

Use a shadow box to create a dimensional sign. Fill the back with faux snow or white felt. Arrange pinecones in a shape or simple border. Add lettering to the front panel using vinyl. Insert fairy lights inside for gentle illumination. This piece looks lovely on shelves or mantels. Use lightweight pinecones to avoid pressure on the glass. This sign brings soft depth and nature-inspired décor to the home.
14. Painted Branch Sign

Gather thin branches from your yard. Clean them and let them dry fully. Paint them white or soft gold. Attach them to a board or canvas using hot glue. Arrange the branches into a star, tree shape, or simple border. Add lettering below or above the branch design. This project is affordable because branches are free. It works well in rustic or Scandinavian-style homes. Display near natural décor pieces to keep the look cohesive.
15. Button Tree Sign
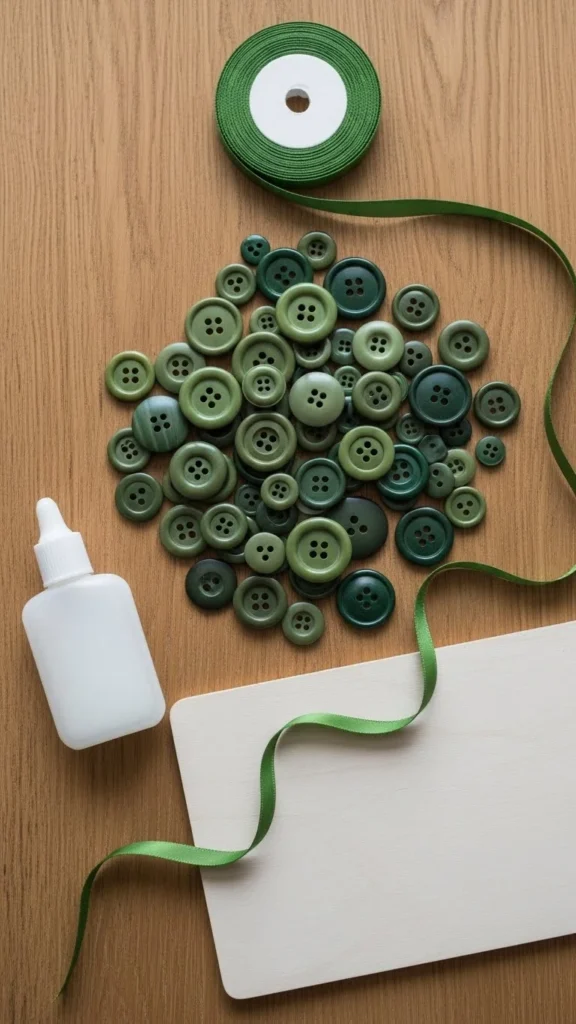
Sort green buttons by shade and size. Arrange them in a tree shape on a small board. Glue them down once you’re happy with the layout. Add a small star at the top using a gold button or wooden shape. Paint simple lettering underneath. This sign has a playful charm and works well in kids’ spaces or craft rooms. Buttons are inexpensive and easy to find. Mix different finishes like matte and glossy for a textured look.
16. Ribbon Weave Sign
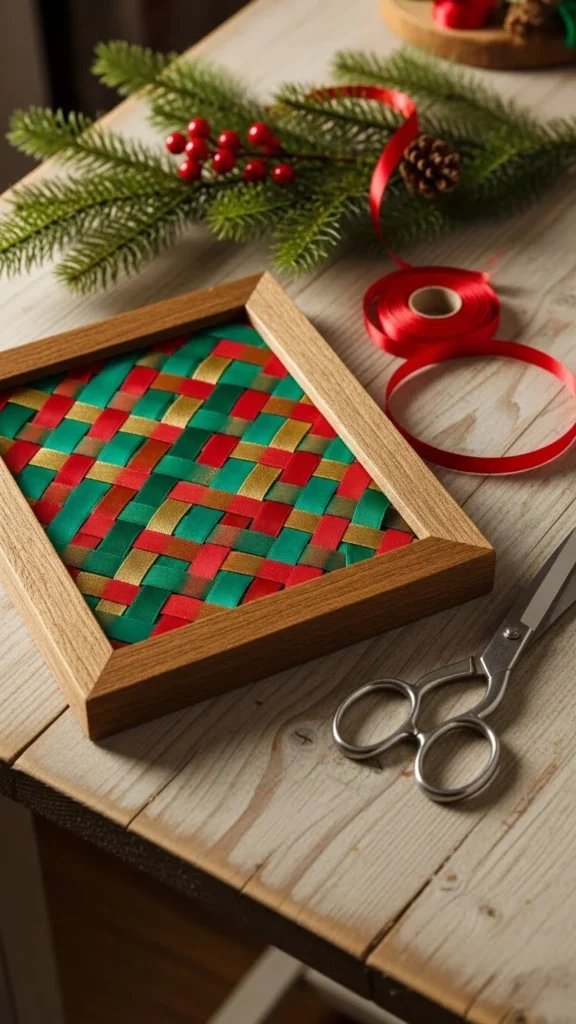
Use a frame without backing and weave ribbon across the opening. Choose patterns that complement each other. Once woven, secure the ends to the back of the frame. Add wooden or vinyl lettering on top. This sign has a soft, textile look. Perfect for bedrooms or cozy reading nooks. Use leftover ribbon to keep the budget low. Add tiny accents like faux berries for detail. Highlight handmade warmth through color and pattern.
17. Felt Letter Garland Sign

Cut letters from felt sheets. String them together using twine or thread. Hang the garland inside a frame or across a board. Add tiny stars or snowflakes between letters. Felt is inexpensive and easy to cut, making this a kid-friendly project. Choose bold colors for playful spaces or muted tones for a softer look. This sign pairs nicely with stockings or garland décor. Keep the shapes simple so the message stands out.
18. Stacked Book Sign

Stack several old books horizontally. Paint the spines white or light gray. Add lettering across them so the message shows when they are stacked. Tie the stack with twine and add a small sprig of greenery. This project works well for tabletops or shelves. Use lightweight books if you want to move them easily. The painted spines give the books a clean, uniform look while still keeping a cozy vibe.
19. Wooden Block Word Sign

Paint wooden blocks in red, white, or green. Add a letter to each block. Arrange them to spell a short phrase. You can stack them or place them in a row. Add ribbon or greenery to one block for visual interest. This sign is fun to rearrange and easy to store. Great for mantels or coffee tables. Keep the colors simple so the letters stay readable.
20. Embroidery Hoop Fabric Sign
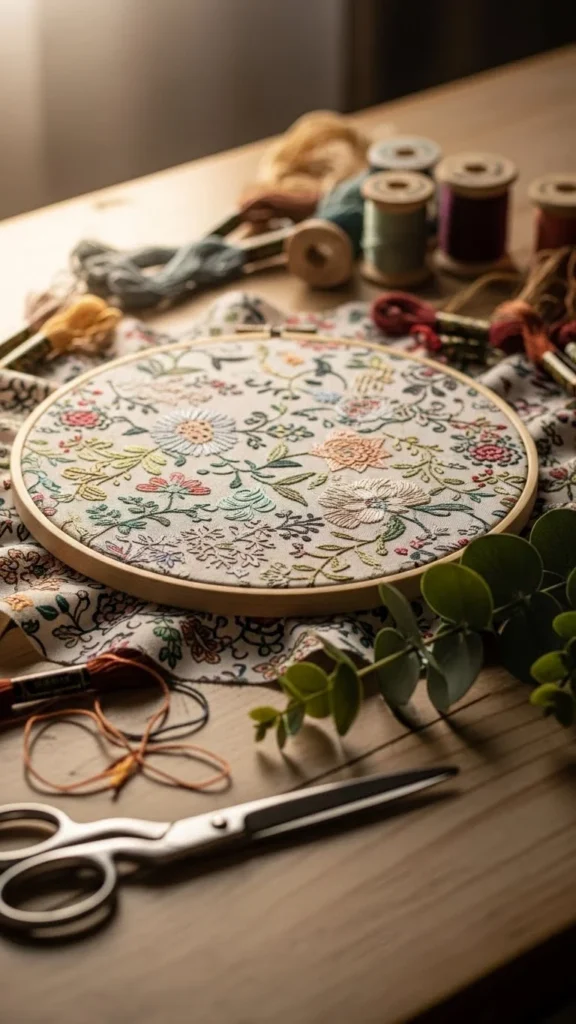
Choose a festive fabric and stretch it inside an embroidery hoop. Add lettering using felt cutouts or vinyl. Tie a ribbon to the top for hanging. This sign is light and easy to move. Make several in different sizes for a pretty wall cluster. This project requires minimal supplies and works well with leftover fabrics. Highlight soft patterns and color combinations that complement your décor.
21. Light-Up Canvas Sign
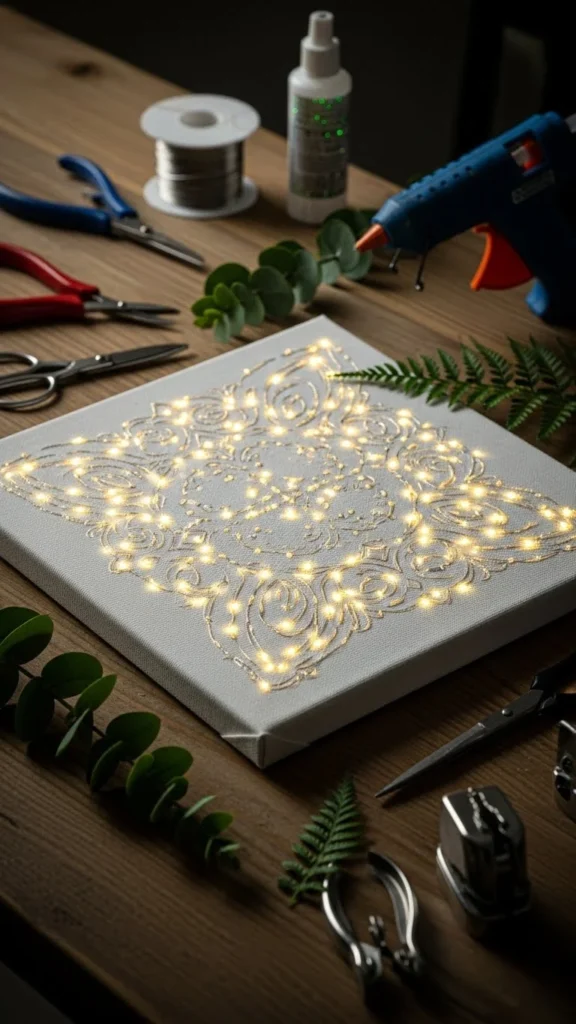
Use a canvas as your base. Paint the background a soft color. Poke small holes where you want lights to shine through. Insert battery fairy lights from the back. Add lettering with paint or vinyl. This sign works beautifully in dark corners or bedrooms. The soft glow creates a calming holiday atmosphere. Keep the number of lights moderate so it doesn’t overwhelm the design.
22. Red Bow Door Sign

This sign centers around a big festive bow. Attach the bow to a wooden board. Add simple lettering underneath. Paint the board a color that contrasts with the bow. This project looks great on doors or narrow walls. You can swap the bow each year if you want a new look. The design is simple but adds cheerful charm. Add small accents like faux berries for texture.
23. Farmhouse Window Frame Sign

Use an old window frame to create a farmhouse-style sign. Clean it and lightly sand the edges. Insert a backing like whiteboard or fabric. Add lettering using wooden cutouts or vinyl. Decorate the top with greenery and ribbon. This sign makes a strong statement in entryways or living rooms. The frame adds character without much effort. Use lightweight materials to keep it easy to hang.
24. Cozy Knitted Sign
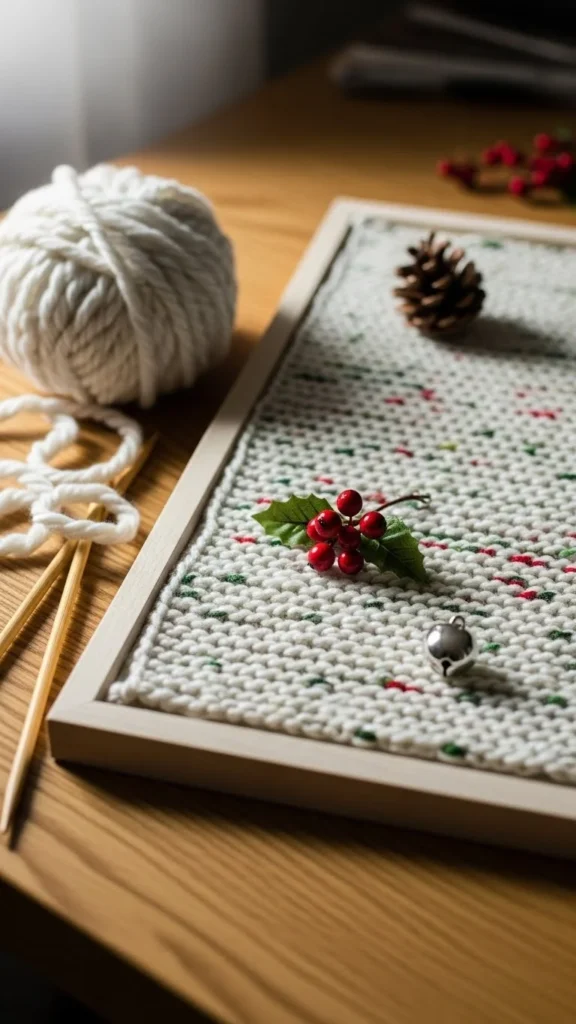
Knit or use a pre-made textile piece to create a warm-looking sign. Stretch it across a frame. Add lettering with felt shapes or embroidery thread. The knitted texture brings comfort and softness. This sign works well in bedrooms or reading corners. Use neutral yarn for a calm look or bright tones for playful spaces. This project is budget-friendly if you use leftover yarn or thrifted sweaters.
Conclusion
Christmas DIY signs add charm, color, and personality to every corner of your home. With simple materials and easy steps, you can create pieces that match your style without overspending. Try a few of these ideas this season and enjoy filling your rooms with cheerful handmade touches. Happy crafting!

Leave a Reply