

Shamrock cookies are a classic choice for seasonal baking, especially when you want something playful that still looks polished. These designs focus on simple shapes, clean finishes, and practical decorating ideas that work at home. Each cookie style below is easy to adapt, budget-aware, and designed to help your treats look polished without stress or special tools.
1. Classic Iced Shamrock Cutouts
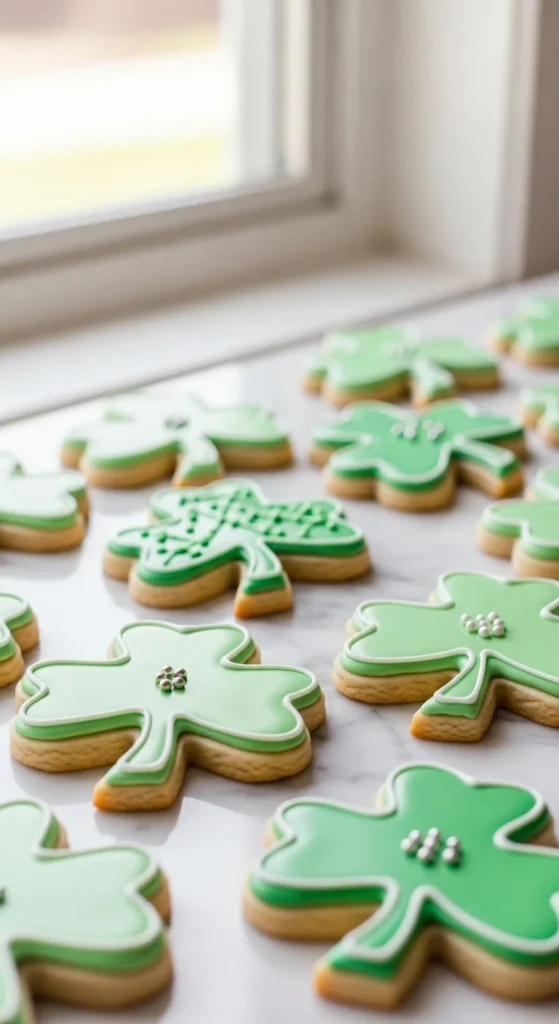
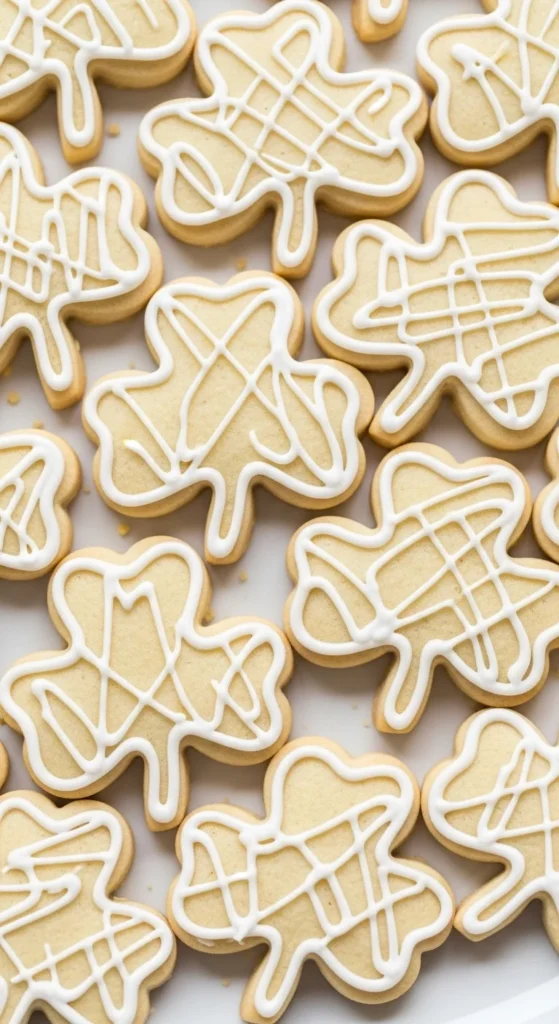
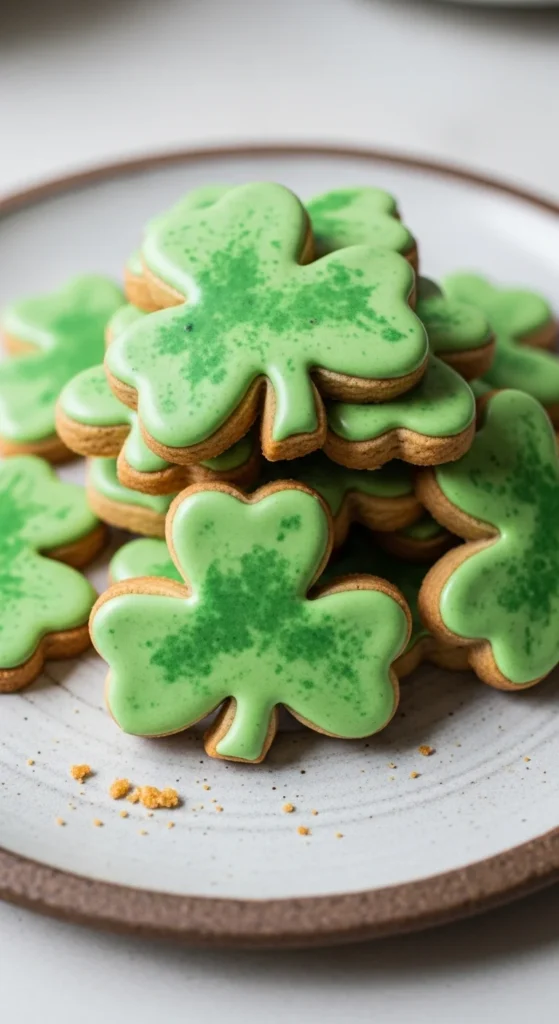
Classic shamrock cutouts rely on clean lines and steady icing. Start with a simple sugar cookie dough that holds its shape in the oven. Chill the dough before cutting so the edges stay sharp. A basic shamrock cutter works well, but you can also shape one with a small knife.
Use powdered sugar icing mixed thick enough to hold its form. Outline first, then flood gently. Let the surface settle before moving the cookies. This alone creates a neat, shop-style look.
For budget control, use one icing color and vary the finish. Some cookies can stay plain. Others can get a thin piped border. Small dots in the center add interest without extra supplies.
Work in batches. Ice six cookies at a time so you can fix mistakes before they set. Let them dry fully on a flat surface. Stack only when firm.
These cookies suit gift boxes and trays. They also store well. A simple design often reads cleaner than heavy decoration, which helps them look carefully made rather than rushed.
2. Soft Green Marble Shamrock Cookies
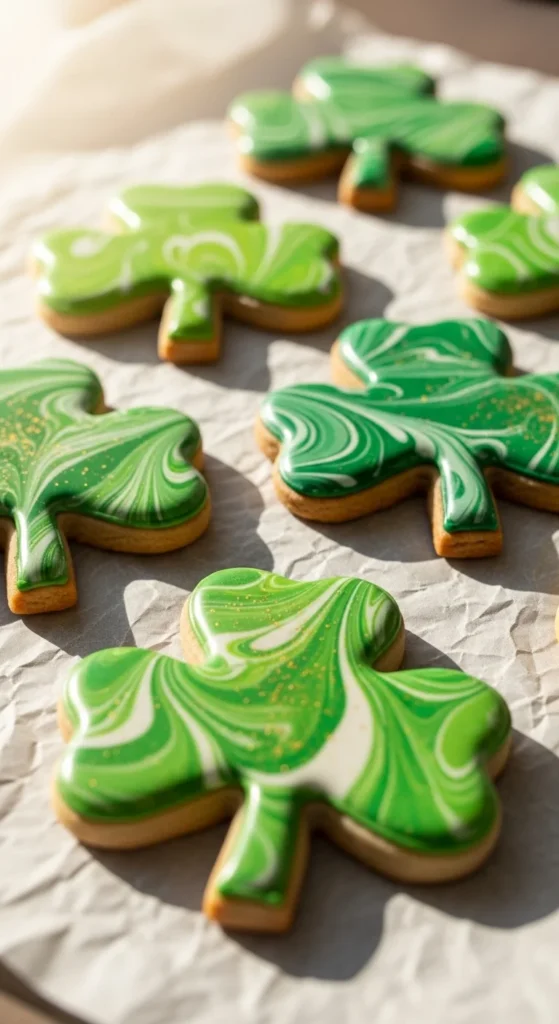
Marbled icing gives visual interest with very little effort. Start with white icing and divide a small portion. Tint that portion green. Spoon both colors into one bowl without mixing fully.
Dip the top of each cookie face down into the icing. Lift slowly and let excess drip off. Each cookie forms a unique pattern on its own.
This method avoids piping bags, which saves money and time. A spoon and bowl are enough. Keep icing slightly thinner than flood icing so it spreads smoothly.
Marble cookies look polished even when imperfect. Small swirls and lines add charm. Let them dry flat and untouched.
If you want light contrast, add one darker green streak across the surface before dipping. Do not stir. Less movement gives cleaner lines.
These cookies feel decorative without extra steps. They work well when you need many cookies finished quickly while still looking carefully styled.
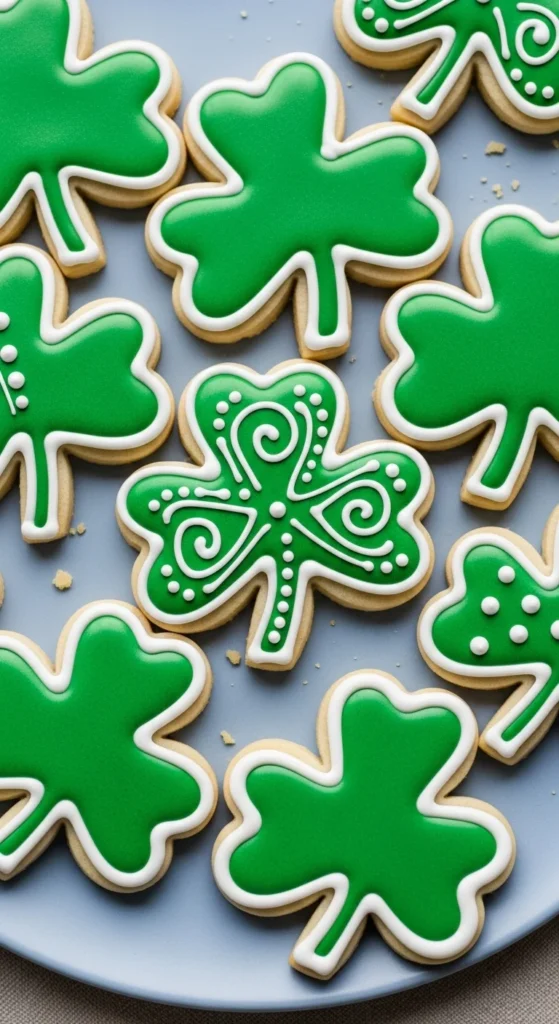
3. Minimal Outline Shamrock Cookies
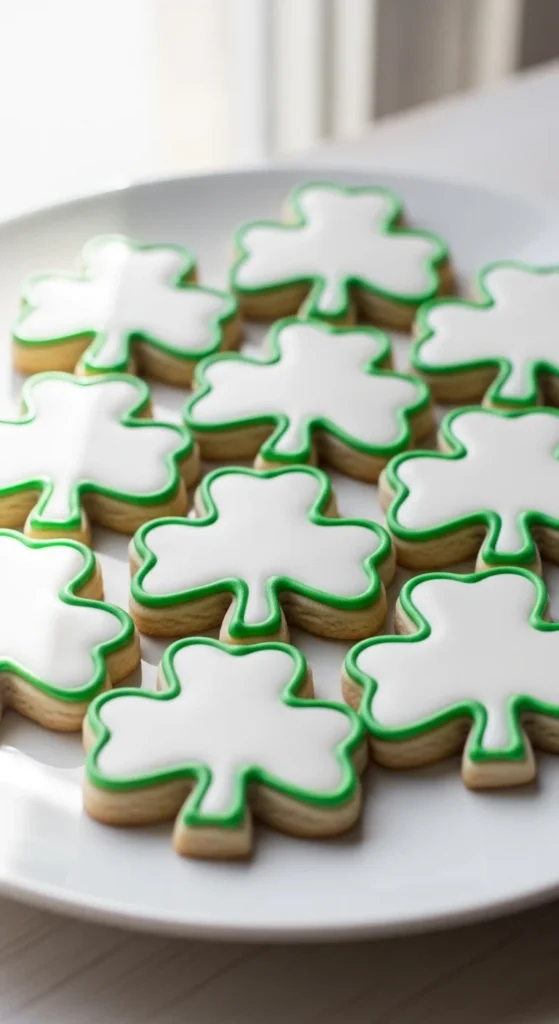
Outline cookies focus on restraint. Bake pale cookies and leave the surface plain. Use a piping bag with a small round tip to trace the shamrock shape.
Keep the icing firm so lines stay sharp. Practice a few outlines on parchment first to steady your hand.
This style saves icing and time. It also suits bakers who prefer a clean finish. The plain cookie surface gives contrast and keeps the shape clear.
For variation, add one small dot or line inside the shape. Avoid filling the center.
These cookies dry fast and stack easily. They travel well and resist smudging.
If piping feels tricky, draw the shape lightly with a toothpick before piping. Follow the guide slowly.
This look reads intentional and calm, which often feels more polished than heavy decoration.
4. Two-Tone Shamrock Sugar Cookies
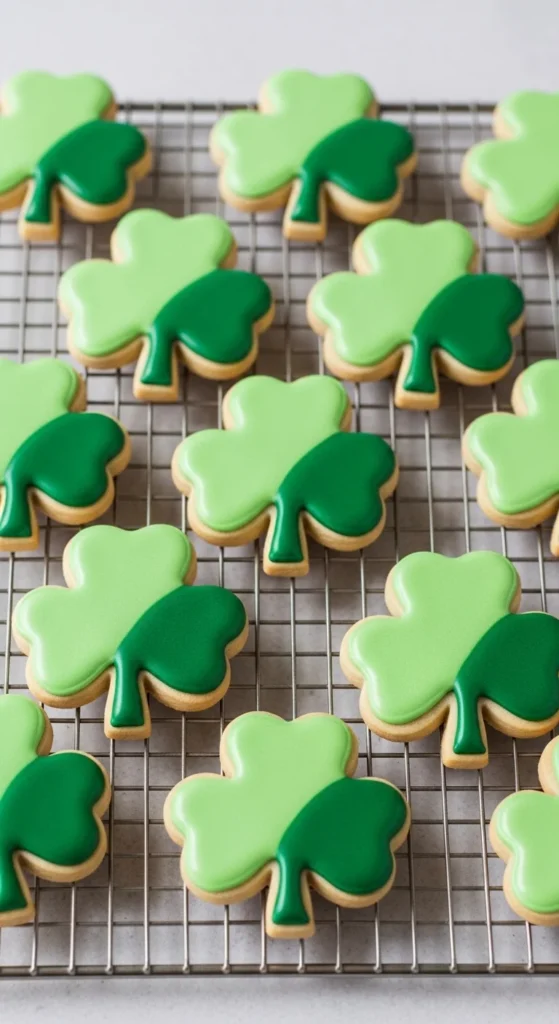
Two-tone designs add structure without complex tools. Divide your icing into two shades of green. Flood one half of the shamrock first.
Let it set slightly. Then fill the other half. Use a toothpick to guide icing to the edge.
The slight pause keeps colors from blending. This step makes the division clear and clean.
This method works well for beginners. Even if lines are not perfect, the contrast draws attention away from small flaws.
Stick with two colors only. More shades increase mess and cost.
These cookies stand out on trays and look intentional when arranged in rows.
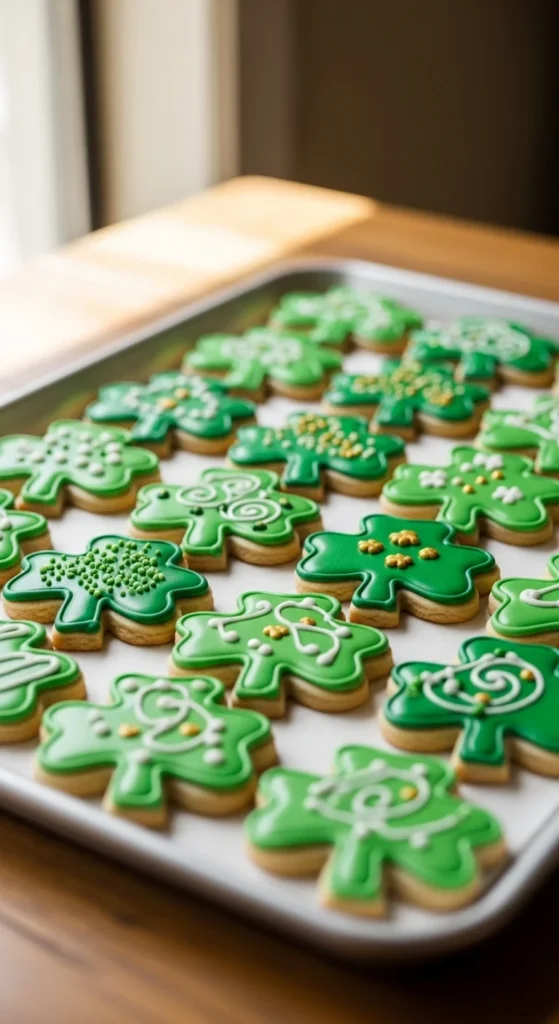
5. Shamrock Cookies with Center Dots
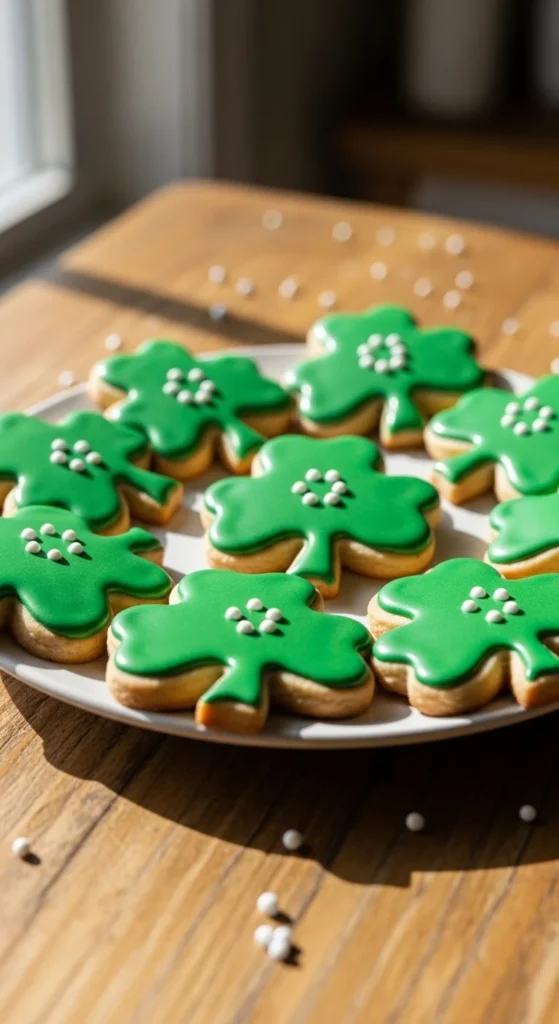
Simple center dots change the look without effort. Ice the full shamrock in one shade. Let it dry for ten minutes.
Add three or four small dots where the leaves meet. Use a contrasting color like white or pale green.
Dots hide minor surface bubbles and give balance.
Use a toothpick or piping bag tip. Keep dots evenly spaced.
This style works well for large batches and group displays.
6. Stamped Shamrock Shortbread
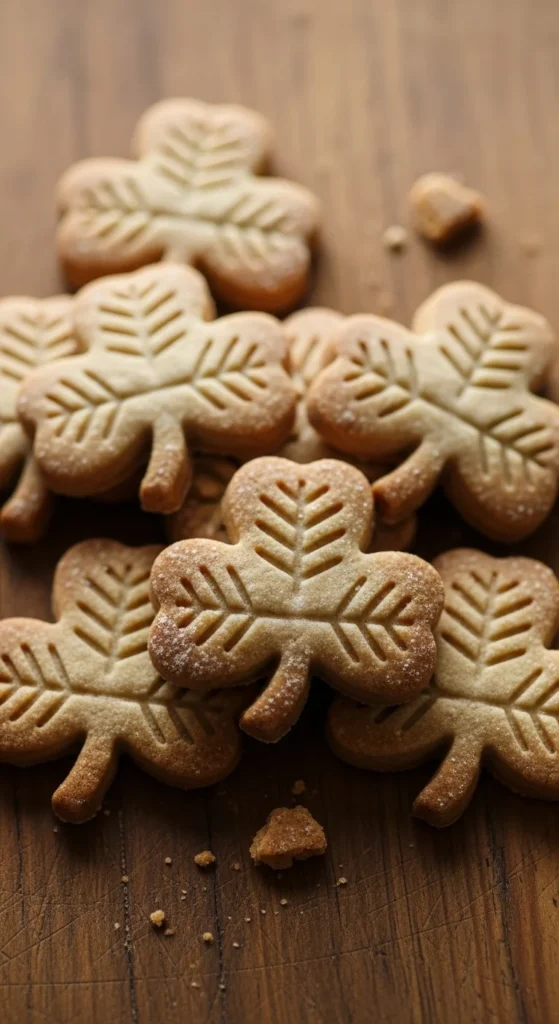
Stamped cookies rely on texture instead of icing. Press a shamrock stamp into rolled dough before baking.
Dust lightly with flour to prevent sticking.
Bake until edges turn light gold. No icing needed.
This option saves time and cleanup. The result feels bakery-style through detail alone.
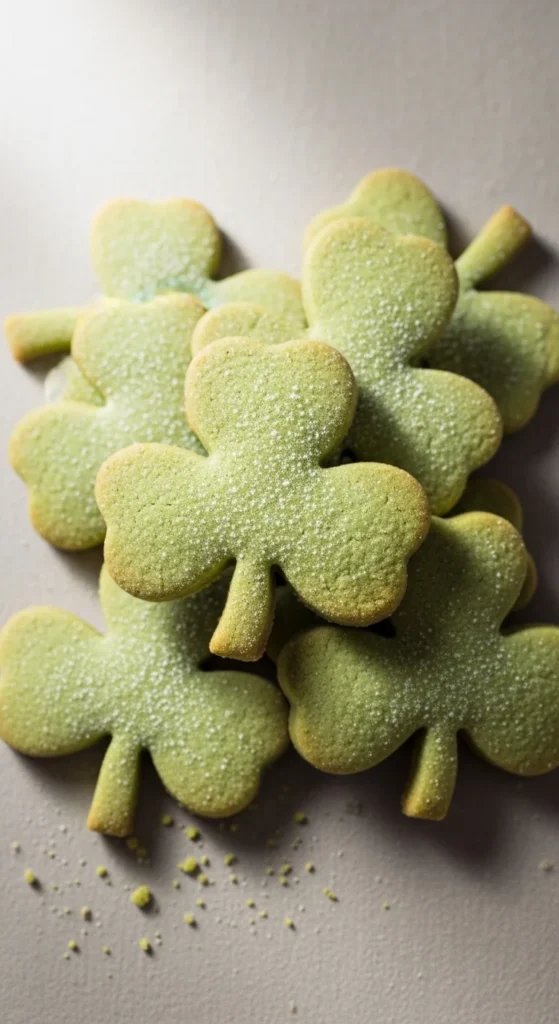
7. Powdered Sugar Shamrock Cookies

Powdered sugar gives contrast and softness. Bake shamrock cutouts and cool fully.
Dust generously before serving. Use a small sieve for even coverage.
These cookies are quick and cost very little to finish.
They look best right before serving to keep the surface clean.
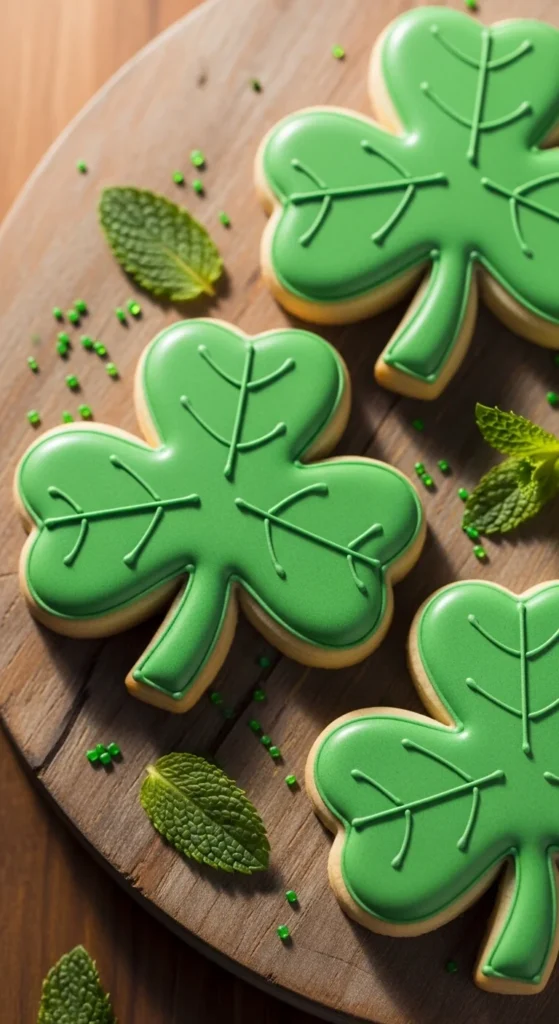
8. Textured Leaf Shamrock Cookies
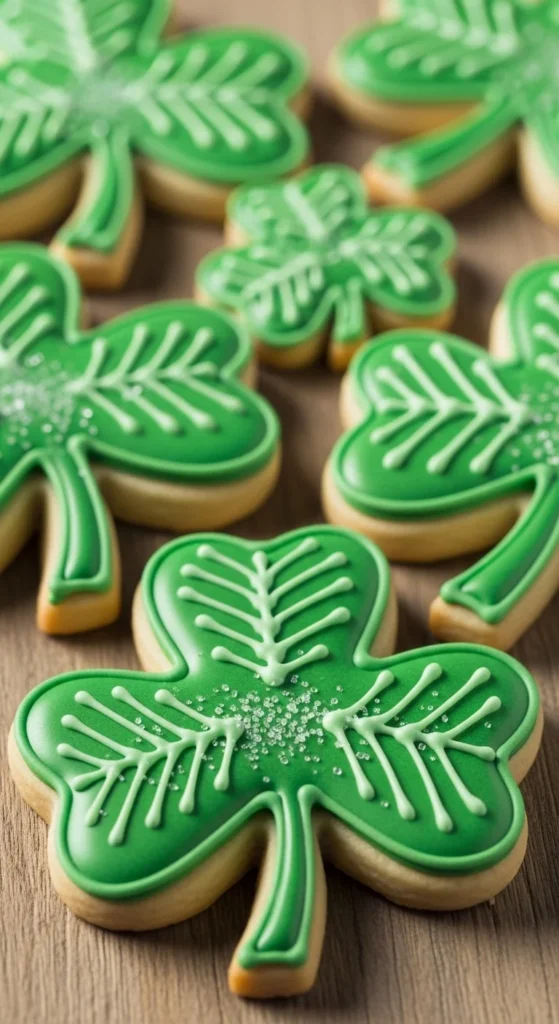
Use a toothpick to draw lines in wet icing. Pull gently from center outward to mimic leaf veins.
Work while icing is still soft.
This adds detail without tools.
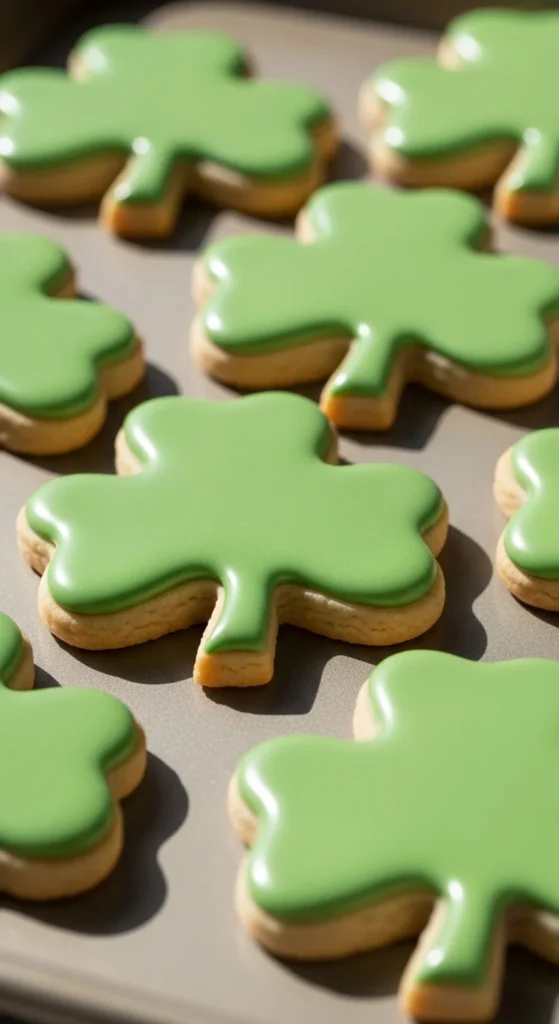
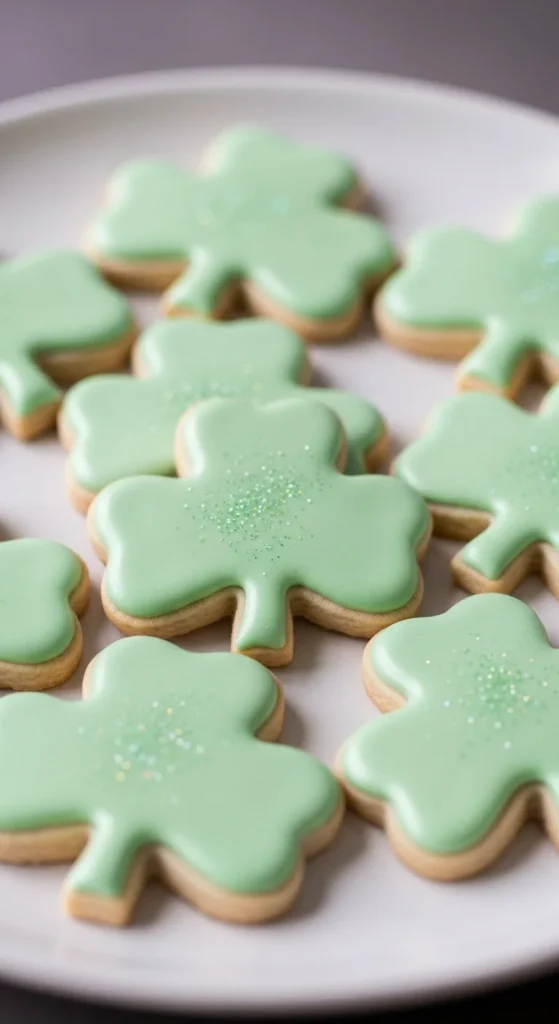
9. Pale Green Matte Shamrock Cookies
Matte icing comes from less liquid. Mix icing thick and smooth.
Spread gently without shine.
The soft surface reads calm and controlled.
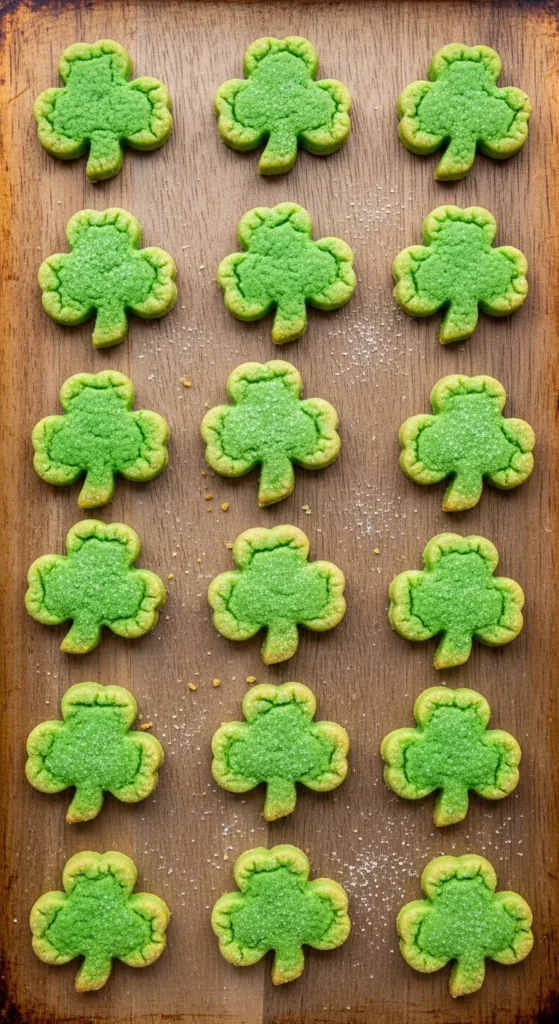
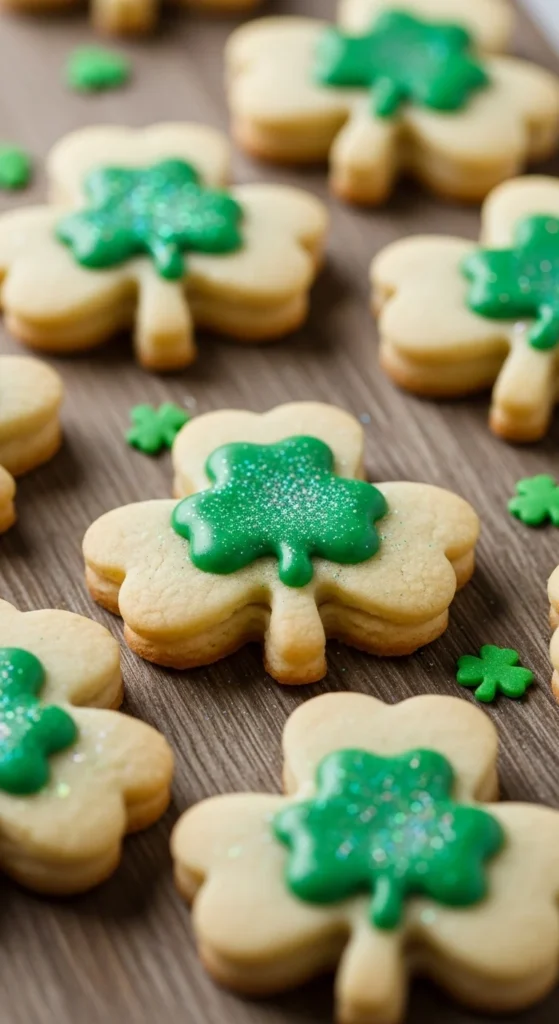
10. Shamrock Cookies with Sugar Crystals
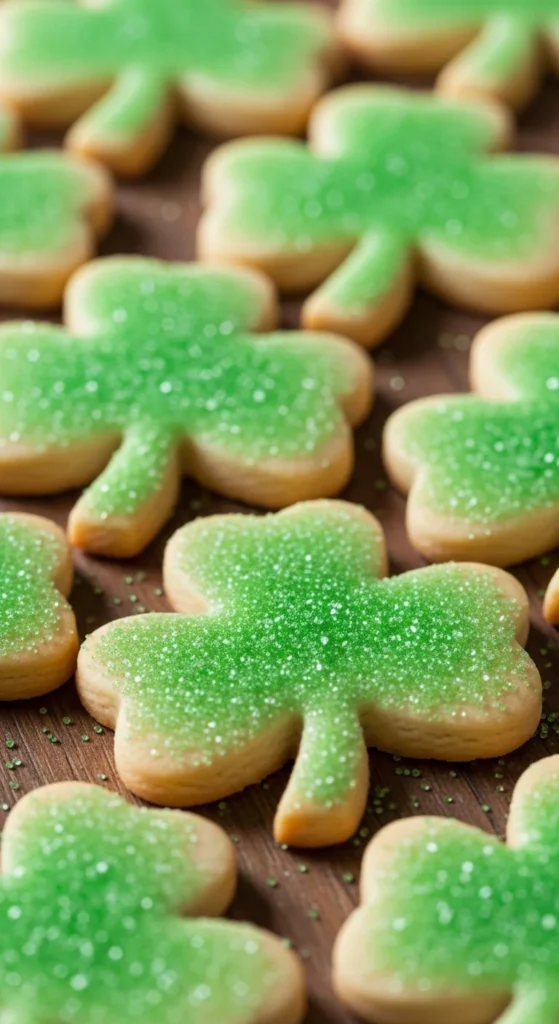
Sprinkle sugar lightly over wet icing.
Tap off extra.
This adds texture with little effort.
11. Chocolate-Dipped Shamrock Cookies
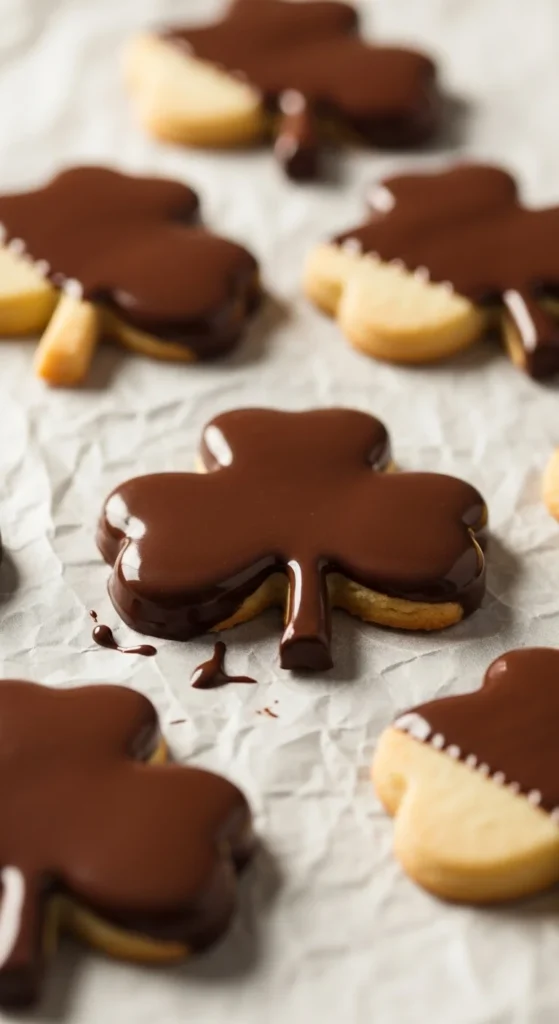
Dip cooled cookies halfway. Let set.
The contrast sharpens the shape.
12. Shamrock Sandwich Cookies
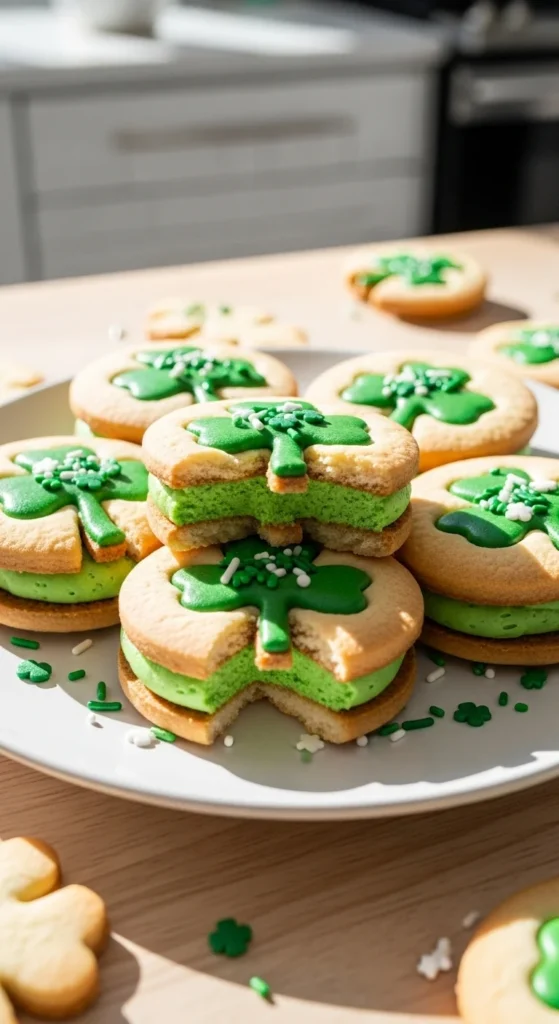
Sandwich two cookies with plain filling.
Keep edges clean.
13. Shamrock Cookies with Drizzle Lines
Drizzle lightly with a spoon.
Keep motion slow.
14. Mini Shamrock Cookies
Small cookies bake evenly.
They look neat in groups.
15. Soft Baked Shamrock Cookies
Keep bake time short.
Thickness adds appeal.
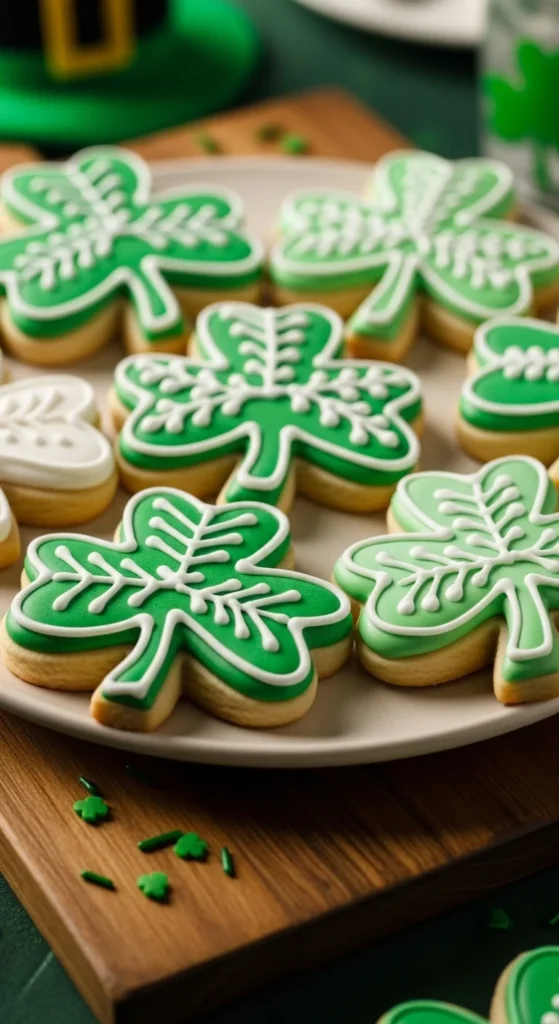
16. Shamrock Cookies with Leaf Veins
Pipe thin lines after flooding.
Adds detail without clutter.
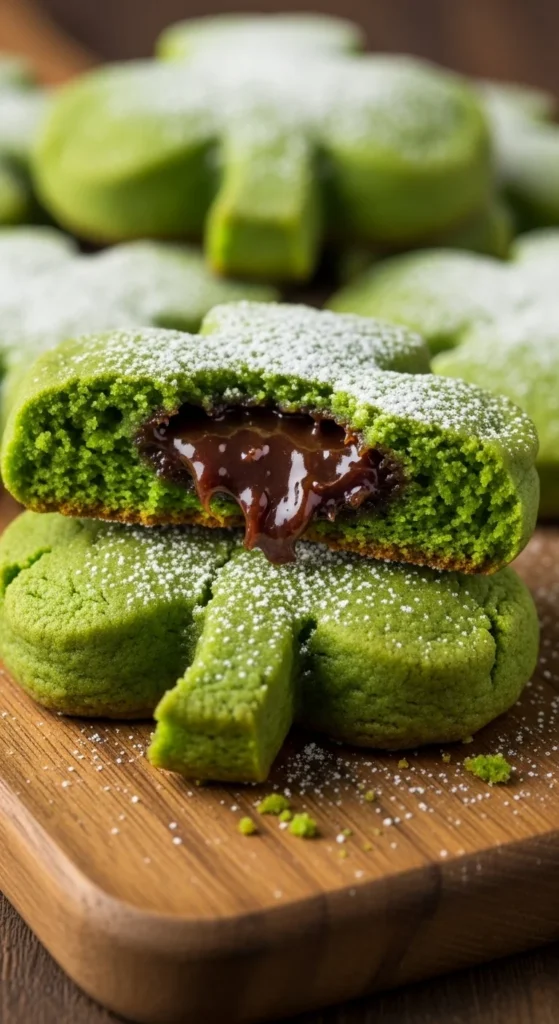
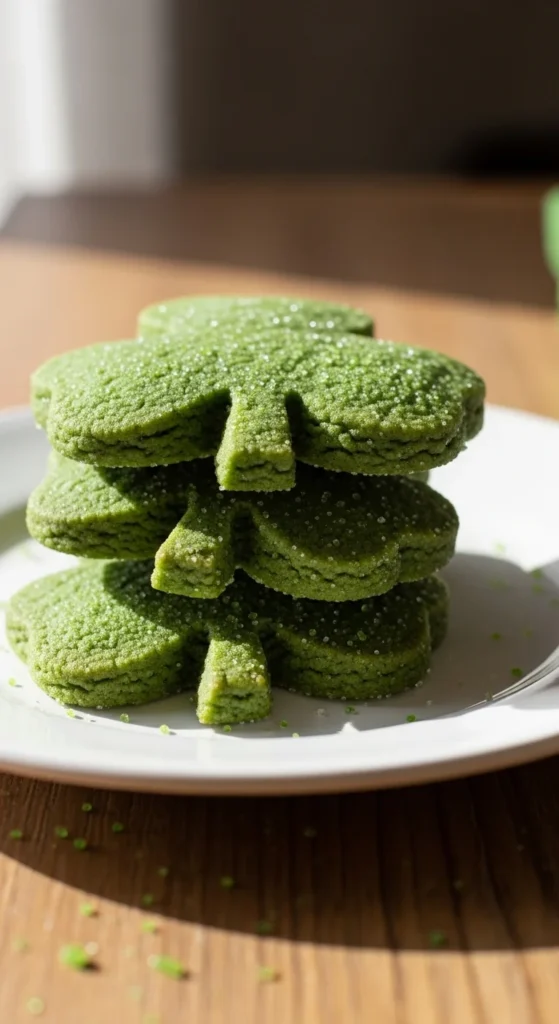
17. Green Tea Shamrock Cookies
Natural color gives calm look.
Flavor stays mild.
18. Almond Flour Shamrock Cookies
Fine crumb helps shape hold.
Finish stays clean.
19. Glossy Shamrock Cookies
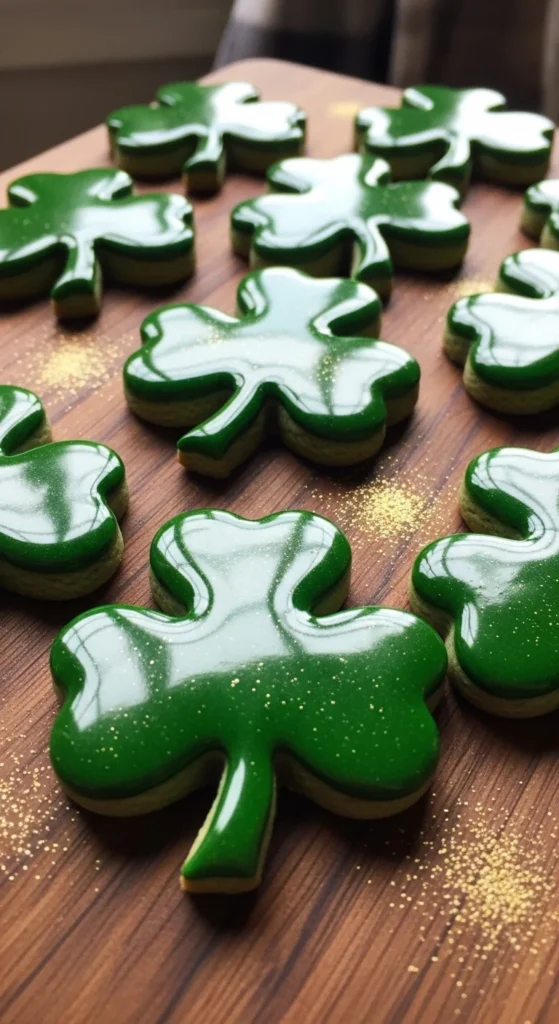
Thin icing slightly.
Let surface settle.
20. Rustic Crackle Shamrock Cookies
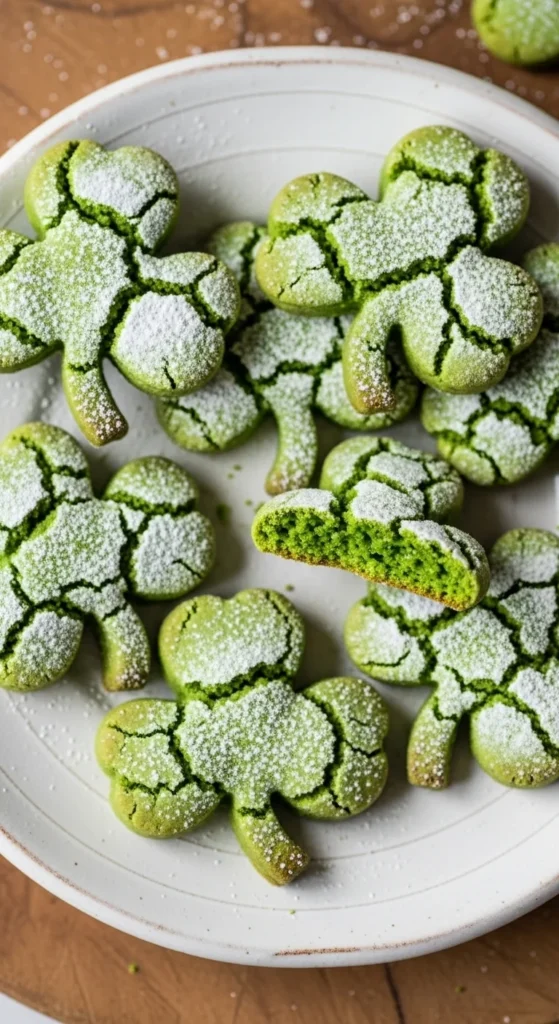
Crackled tops add texture.
No icing required.
21. Shamrock Thumbprint Cookies
Press center gently.
Fill after baking.
22. Airbrushed Look Shamrock Cookies

Blend colors lightly with sponge.
No equipment needed.
23. Shamrock Cookies with Border Frames
Pipe edge only.
Leave center plain.
24. Dark Green Bold Shamrock Cookies
One strong color stands out.
Clean finish matters.
25. Shamrock Cookies with Sugar Pearls
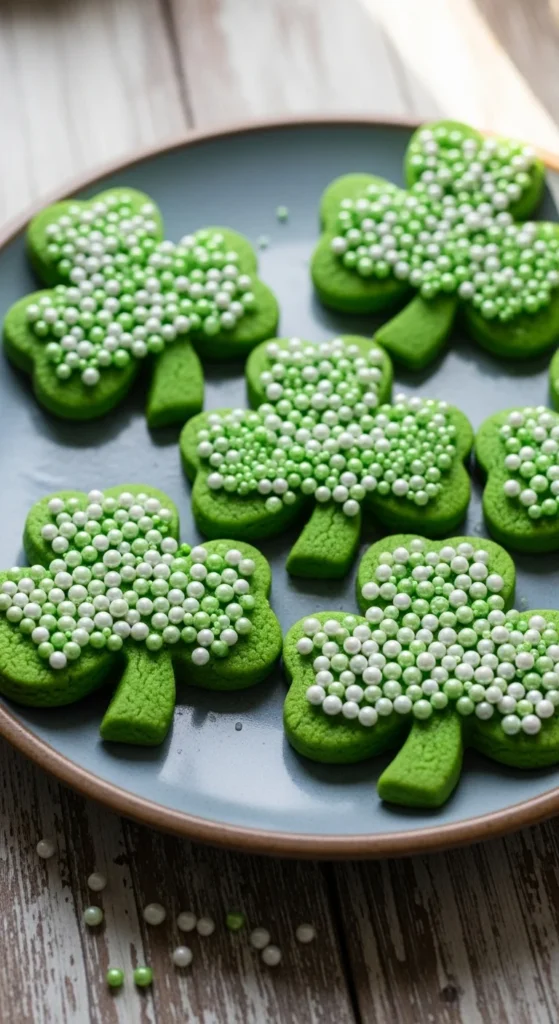
Use sparingly.
Place evenly.
26. Oat-Based Shamrock Cookies
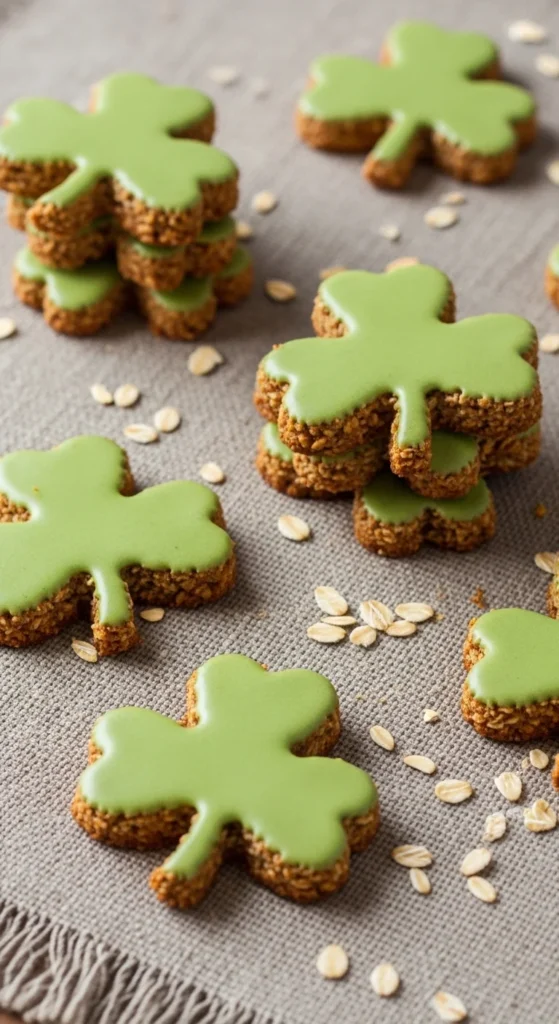
Texture adds interest.
Shape stays defined.
27. Layered Icing Shamrock Cookies
Let base dry first.
Add second layer carefully.
28. Simple Bakery-Style Shamrock Cookies
Focus on shape and spacing.
Uniform size sells the look.
Conclusion
Shamrock cookies can look polished without complicated steps or costly supplies. Clean shapes, steady icing, and simple finishes do most of the work. Pick one or two styles, work in small batches, and give each cookie enough drying time. With calm pacing and basic tools, your homemade cookies can look carefully prepared and ready to share.

Leave a Reply