

A great birthday banner does more than say “happy birthday.” It sets the tone, anchors the party space, and makes photos feel intentional. The best part? You don’t need fancy tools or a big budget to make one that looks designer-level.
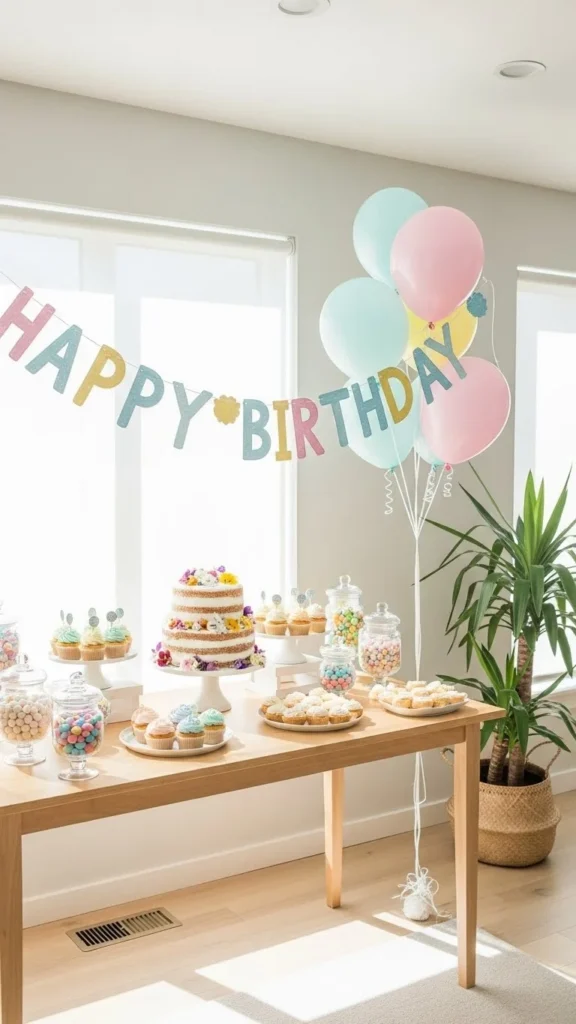
Whether you’re decorating for a kid, a teen, or an adult celebration, a thoughtfully made banner can transform the room in under an hour. Below, you’ll find easy steps, smart design tips, and simple upgrades that instantly elevate your banner from basic to beautiful.
Choose a Style That Matches the Party Theme
Before cutting or gluing anything, pause and decide on the vibe. A banner works best when it feels like part of the overall decor, not an afterthought.
Ask yourself:
- Is the party playful, elegant, minimalist, or colorful?
- Will it be indoors or outdoors?
- Is the guest of honor a child or an adult?
Popular banner styles that always photograph well:
- Classic pennant flags for casual parties
- Layered paper letters for modern themes
- Fabric or felt banners for cozy celebrations
- Neutral palettes with one accent color for a chic look
Sticking to one clear style keeps your banner polished, even if the materials are simple.
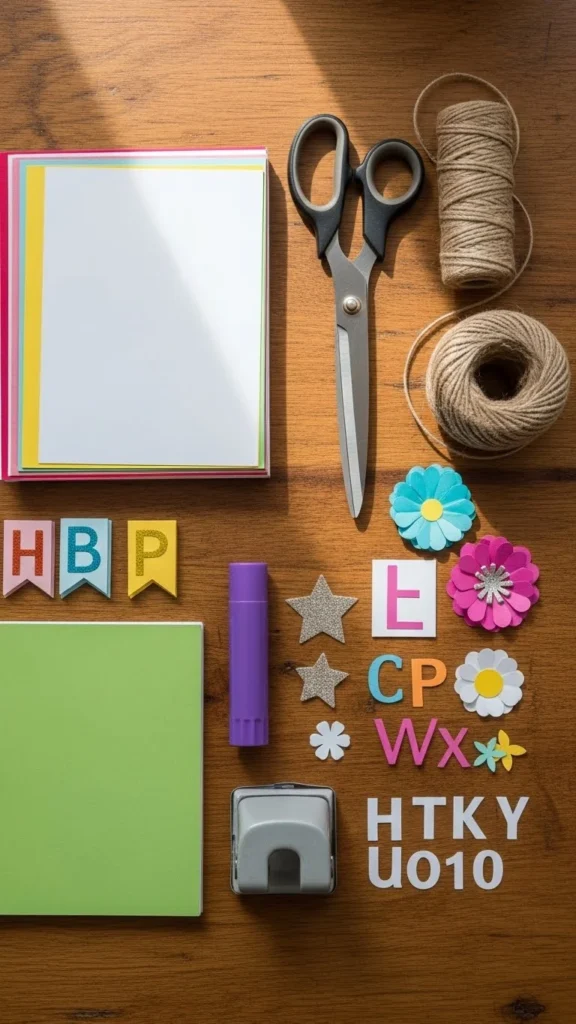
Gather Simple Supplies You Probably Already Have
You don’t need a craft room full of tools. Most banners come together with everyday items.
Basic supplies:
- Cardstock, construction paper, or scrapbook paper
- Scissors or a paper trimmer
- String, twine, or ribbon
- Tape, glue stick, or double-sided tape
Optional upgrades:
- Hole punch
- Metallic paper or vellum
- Faux greenery or tassels
Tip: Use thicker paper for cleaner edges and better hanging shape.
Create Letters That Look Clean and Balanced
Letters are the focal point, so keep them legible and evenly spaced.
Easy ways to make letters:
- Print a font you like and trace it onto paper
- Use stencils for consistent sizing
- Hand-draw block letters for a relaxed look
Design tips that make a big difference:
- Keep letters tall and narrow rather than short and wide
- Leave generous space around each letter
- Center each letter carefully on its backing shape
If you’re layering letters on shapes, contrast matters. Light letters on dark shapes or vice versa will pop beautifully in photos.
Assemble the Banner for a Polished Finish
This step determines whether your banner looks handmade or handcrafted.
Common banner shapes:
- Triangles
- Rectangles
- Circles
- Scalloped edges
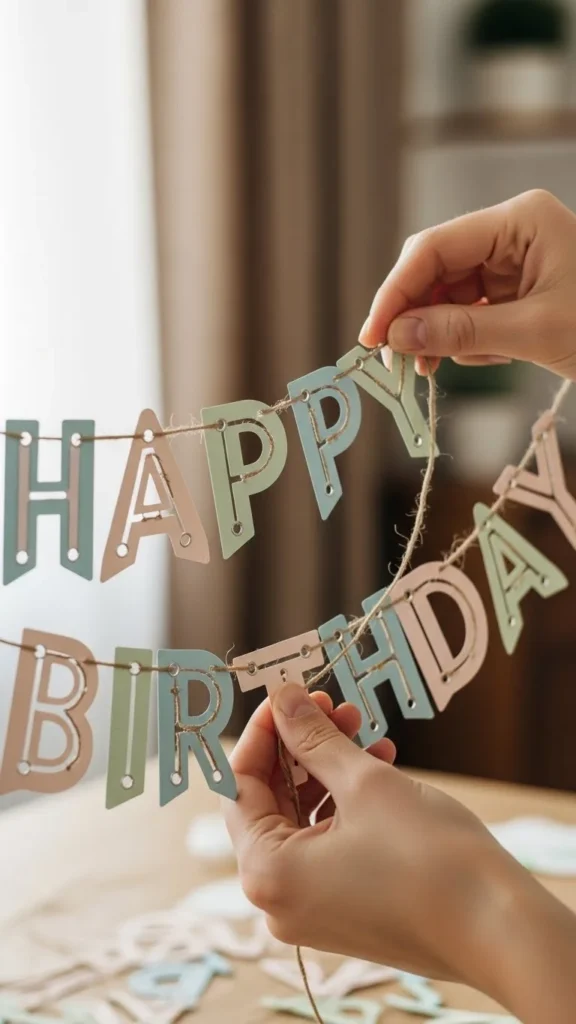
Assembly tips:
- Lay everything out on the floor before hanging
- Measure spacing between pieces for consistency
- Keep string taut but not tight to avoid curling
For extra refinement, flip the banner over and tape the string in place on the back so it doesn’t shift.
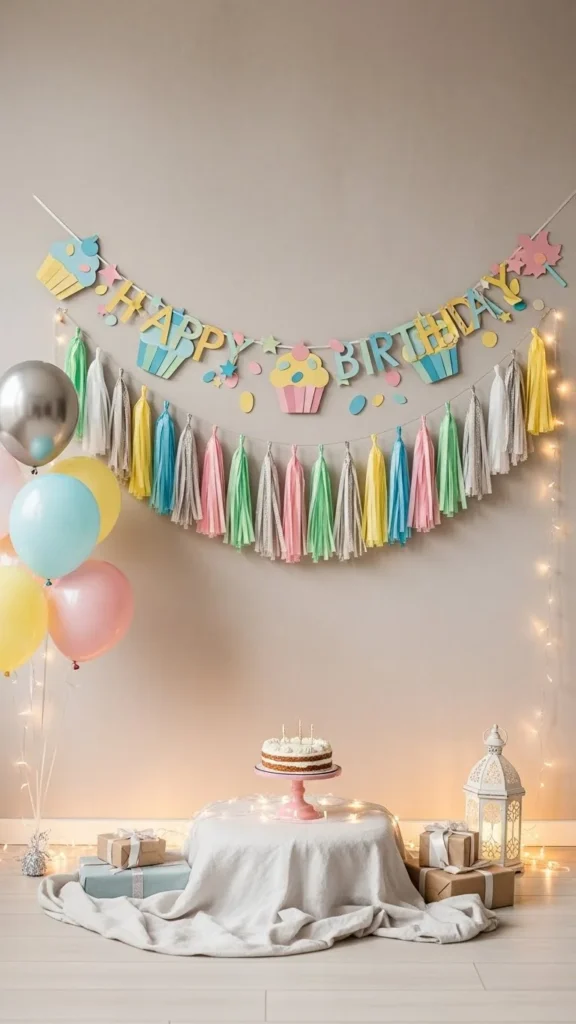
Add Small Details That Instantly Elevate the Look
This is where simple banners become statement decor.
Easy upgrades:
- Layer two paper shapes instead of one
- Add a thin metallic edge or backing
- Include tassels, fringe, or paper fans at each end
For adult parties, subtle details feel more elevated:
- Neutral colors with texture
- Minimal lettering
- Soft greenery accents
For kids’ parties:
- Bright colors
- Fun shapes
- Playful spacing
Hang It Like a Stylist, Not a Last-Minute Decor
Where you place the banner matters just as much as how it looks.
Best spots:
- Above the dessert table
- On a blank wall behind gifts
- Across a fireplace mantel
- Framed by balloons or streamers
Hanging tips:
- Use removable hooks or painter’s tape
- Hang slightly higher than eye level
- Let the banner curve gently instead of pulling it straight
A relaxed drape feels intentional and more photo-friendly.
Make It Reusable and Storage-Friendly
A well-made banner can be used year after year.
To make it reusable:
- Avoid writing dates directly on letters
- Store flat in a large envelope or box
- Keep tassels and string wrapped separately
Neutral banners work for multiple celebrations and save time later.
Final Touches That Tie Everything Together
Step back and view the banner from across the room. Does it match the table decor? The balloons? The color palette?
If something feels off:
- Remove one extra element
- Adjust spacing
- Simplify the colors
Less is usually more when it comes to banners.
Wrap-Up: A Small Detail With Big Impact
A birthday banner may seem simple, but when it’s thoughtfully made, it becomes the visual anchor of the entire party. With basic supplies, smart spacing, and a few intentional details, you can create a banner that looks store-bought yet feels personal.
Save this guide for your next celebration and turn your party decor into something truly memorable.

Leave a Reply