

Warm candlelight has a way of making spaces feel calmer and more welcoming. Handmade candle holders let you shape that feeling using simple supplies, relaxed steps, and personal style. This guide shares chic DIY candle holder ideas that work for shelves, tables, patios, and small corners at home. Each project focuses on simple methods, low-cost materials, and results that feel polished without feeling complicated.
1. Painted Glass Jar Holders
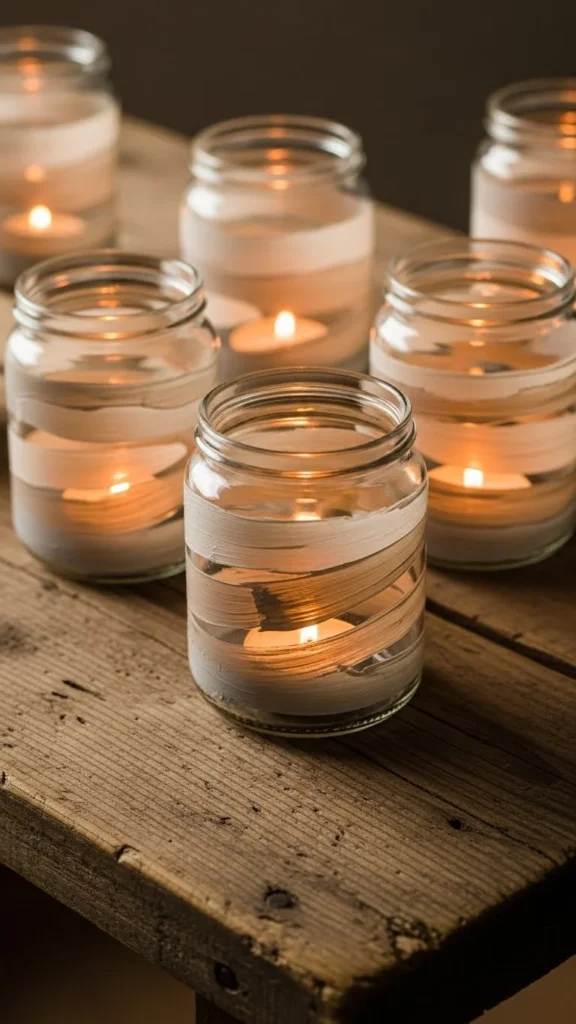
Painted glass jars are one of the easiest ways to add charm with almost no cost. Start with clean jars from candles or pantry items. Use acrylic or chalk-style paint in soft tones. Light layers work best. Let each coat dry before adding another.
For extra detail, leave thin sections unpainted so light shines through. Painter’s tape helps create stripes or soft arches. Once dry, place a tea light inside. The glow diffuses gently through the paint.
These holders work well on shelves or windowsills. Group three together for balance. If paint feels messy, use a sponge instead of a brush. It gives a softer finish and hides streaks. Old jars mean no pressure to be perfect. Each one turns out slightly different, which adds character without extra effort.
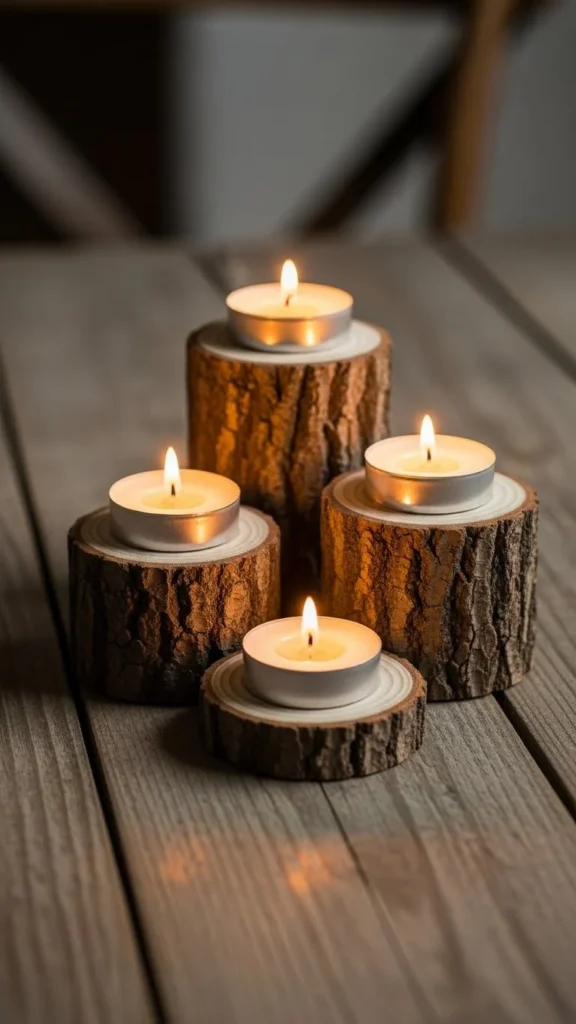
2. Wooden Block Candle Cubes
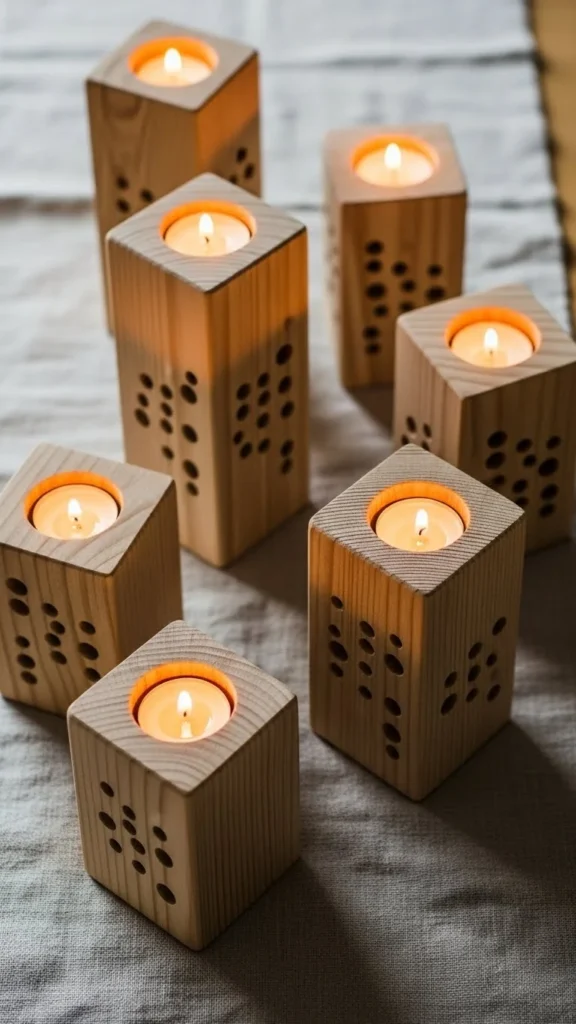
Wood blocks bring a grounded, simple look. Use scrap wood or small lumber pieces. Drill shallow holes sized for tea lights. Sand the edges lightly so they feel smooth to the touch.
Leave the wood bare for a raw style, or rub in a small amount of oil for warmth. These cubes look good lined up on a dining table or scattered along a mantel.
If tools are limited, ask a hardware store to cut blocks for you. Many will help with simple cuts. Focus on clean lines rather than perfection. Natural wood grain does the work visually, keeping the project calm and approachable.
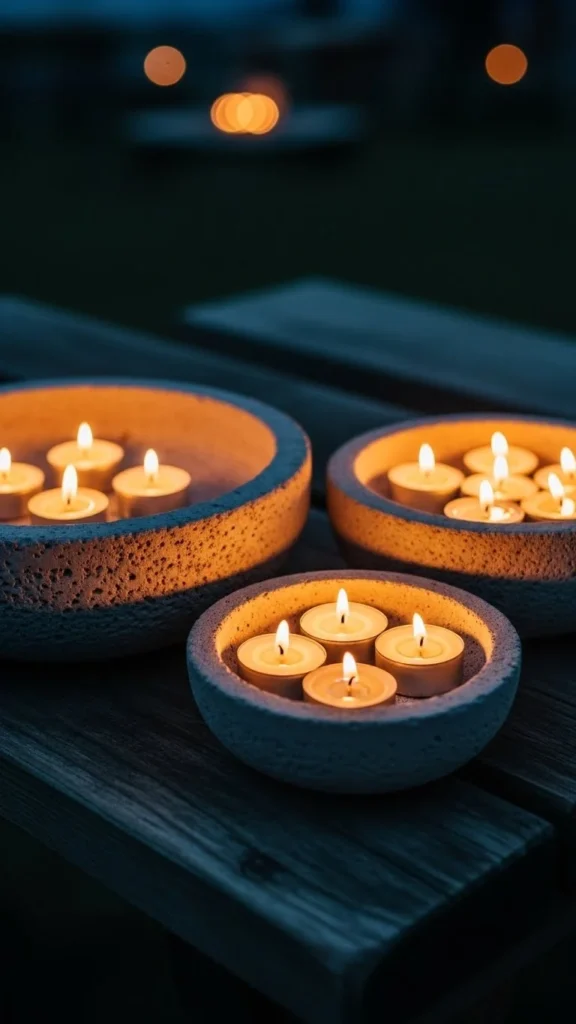
3. Concrete Tea Light Holders
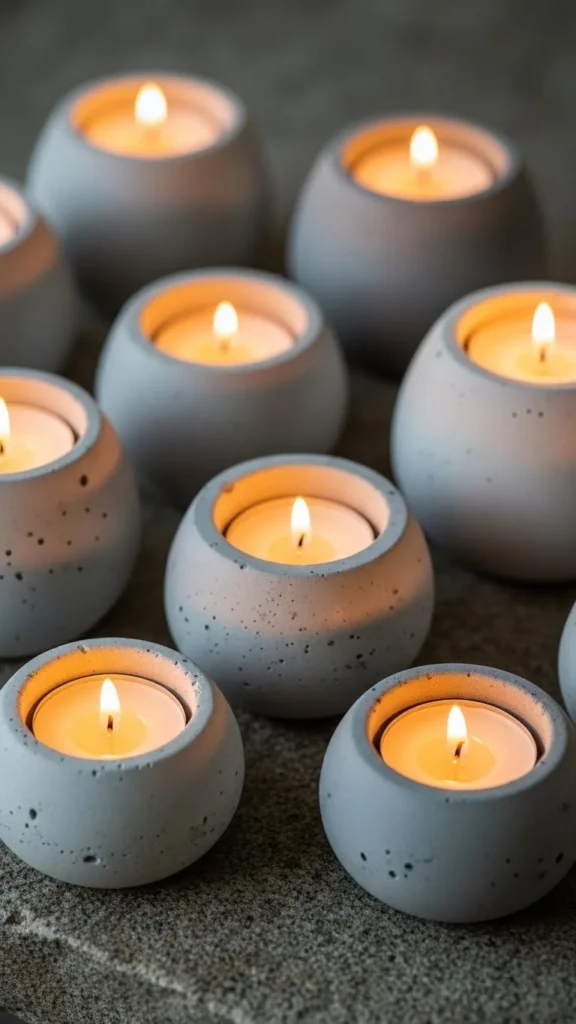
Concrete holders feel solid and modern. Use quick-set concrete mix and silicone molds or disposable cups. Pour slowly to avoid bubbles. Tap the mold gently to release trapped air.
Once cured, sand the top edge lightly. The result feels sturdy and stylish. These work well outdoors or in entry spaces.
Concrete mix is inexpensive and stretches far. One small bag makes several holders. Keep shapes simple to avoid cracks. The soft gray tone pairs well with natural light and warm candle glow.
4. Ceramic Cup Candle Holders
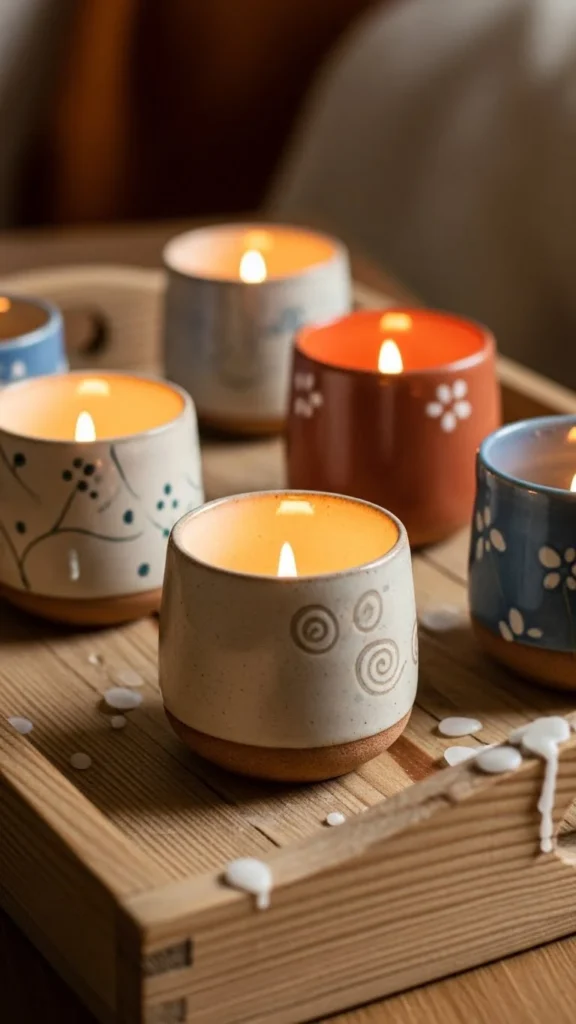
Old ceramic cups often sit unused. Turn them into candle holders by placing tea lights inside. Choose cups with thicker walls for safety.
Mix styles for a collected look. Place them on trays or shelves. The glaze reflects light beautifully, adding depth without effort.
If you want extra detail, wrap twine around the base or paint a thin rim along the top. No special tools needed. This project uses what you already have and gives it new purpose.
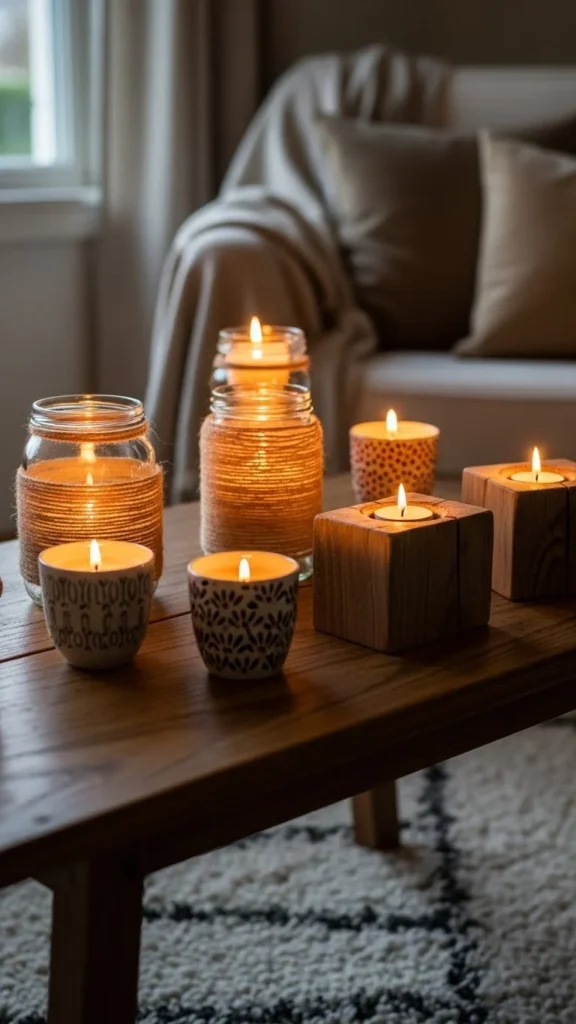
5. Rope-Wrapped Glass Holders
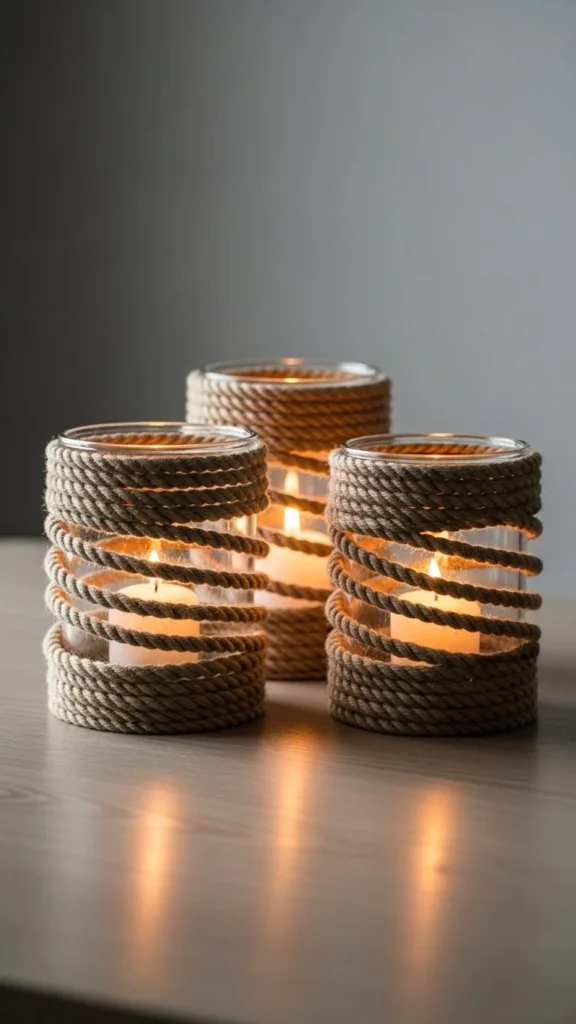
Rope adds texture fast. Wrap jute or cotton rope around a glass jar using craft glue. Work from the base upward. Press gently as you go.
Leave the top edge bare so light escapes upward. These holders suit casual spaces and porches.
Rope is inexpensive and forgiving. Slight gaps look intentional. Pair several sizes together for variety. The texture softens the glow and adds visual interest without extra steps.
6. Tin Can Lantern Holders
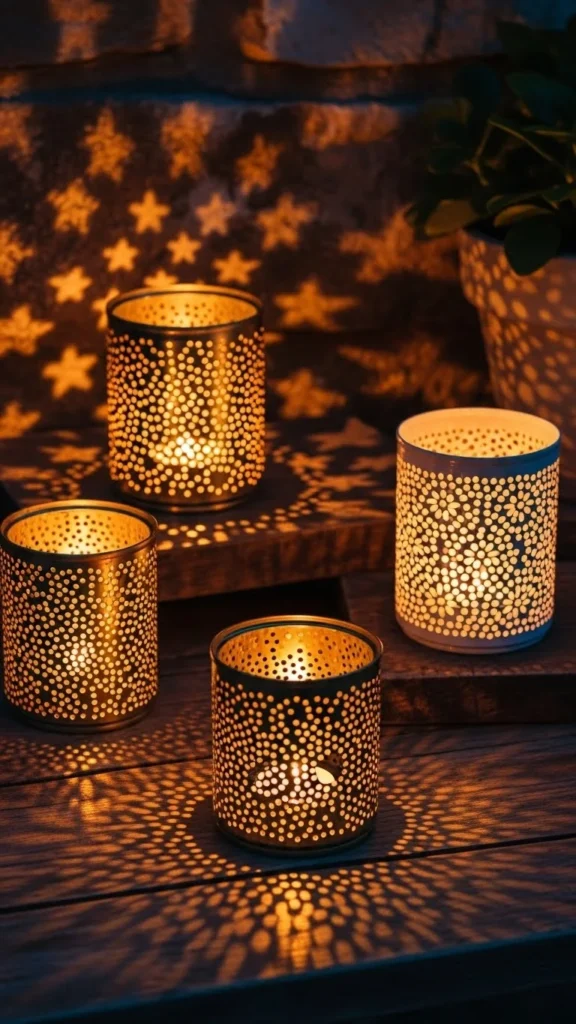
Clean tin cans make striking lanterns. Fill them with water and freeze. Once solid, use a nail and hammer to punch simple patterns. Let the ice melt.
Place a candle inside. The light shines through the holes, creating gentle patterns on nearby surfaces.
This project costs almost nothing. Use simple dots or lines for ease. It works well outdoors or near windows where the pattern can spread.
7. Clay Pinch Pot Holders
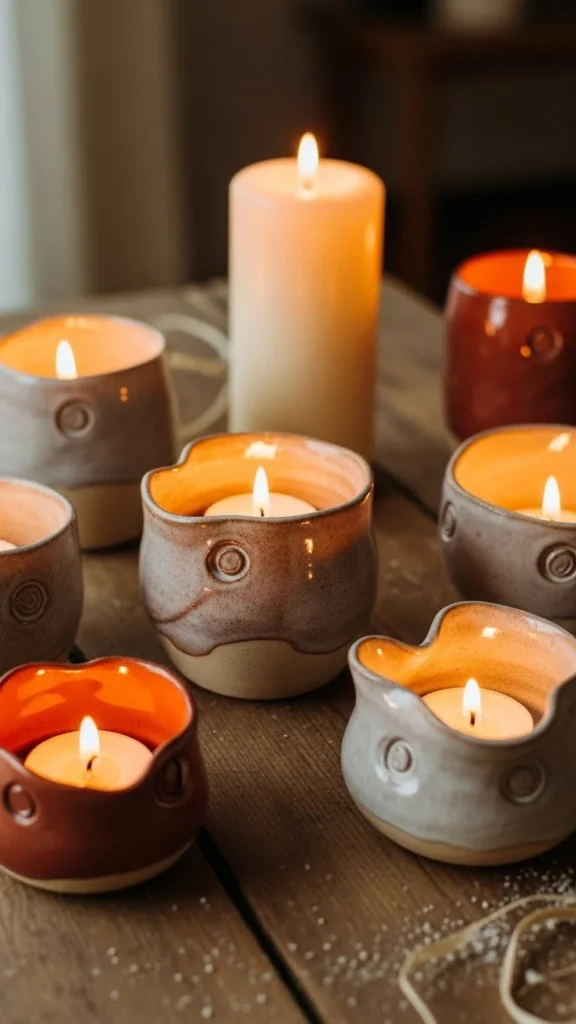
Air-dry clay works well for beginners. Roll a ball, press your thumb in, and shape slowly. Keep walls thick enough for stability.
Let dry fully. Leave natural or paint lightly. These holders feel personal and handmade.
Clay is affordable and forgiving. Small cracks add character. Use simple shapes to keep things relaxed and enjoyable.
8. Stone and Pebble Candle Bases
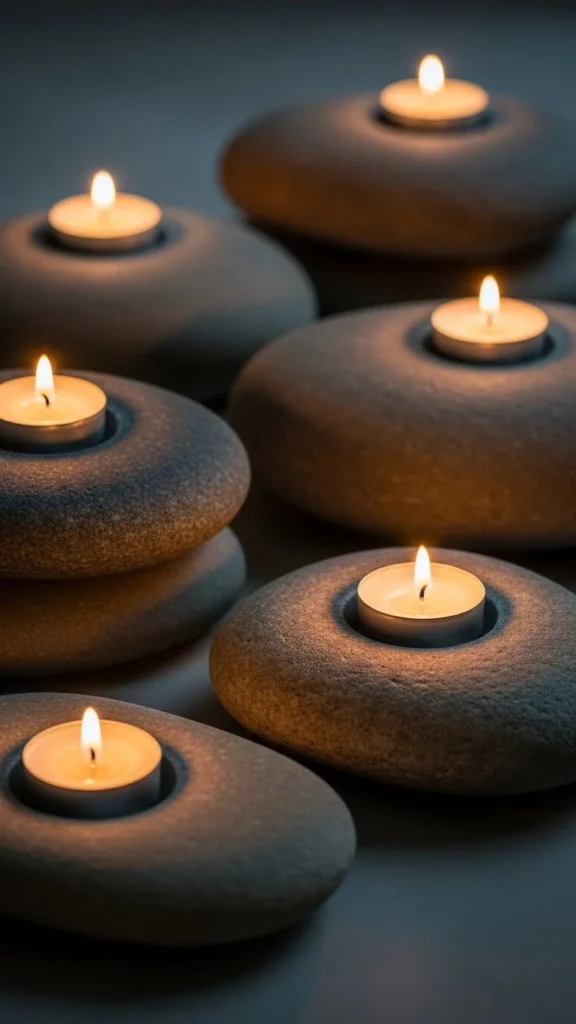
Flat stones from outdoors can become candle bases. Arrange them in shallow bowls or trays. Nestle tea lights between stones.
The contrast of flame and stone feels calm. This setup works well on patios or near plants.
No tools required. Clean stones first. Let nature handle the look while you focus on placement.
9. Driftwood Candle Holders
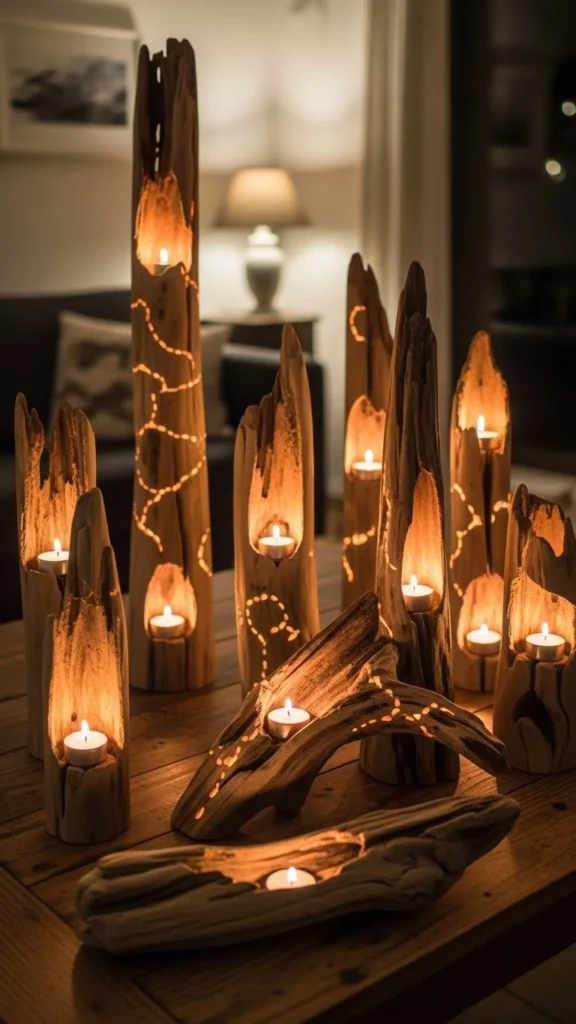
Driftwood pieces add organic lines. Carve shallow holes using basic tools or place candles in natural grooves.
Leave wood untreated for a natural finish. These holders work well on long surfaces like mantels.
If carving feels tricky, simply attach metal tea light cups on top. The result still feels thoughtful and relaxed.
10. Metal Washer Stack Holders
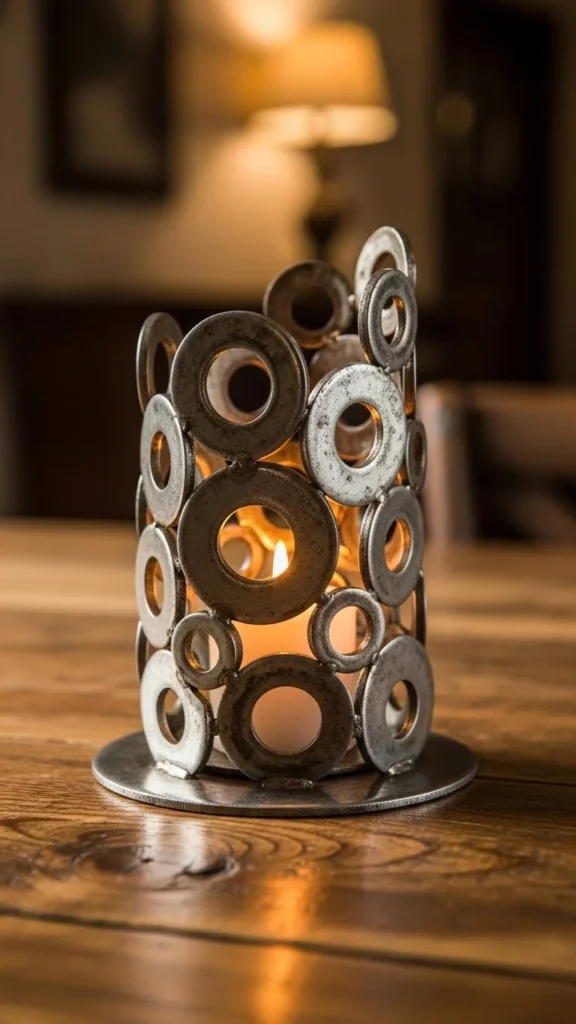
Stack large metal washers around a bolt. Tighten gently. Place a candle on top.
The industrial look suits modern spaces. The weight keeps candles stable.
Washers are inexpensive and easy to find. This project takes minutes and feels bold without being loud.
11. Wine Cork Alternatives (Wood Discs)
Use wood discs instead of cork. Stack and glue them to form a base. Drill a shallow hole at the top.
This creates a warm, natural holder. It works well for table settings.
Wood discs are easy to find in craft stores. The layered look adds interest with little effort.
12. Brass Pipe Candle Holders
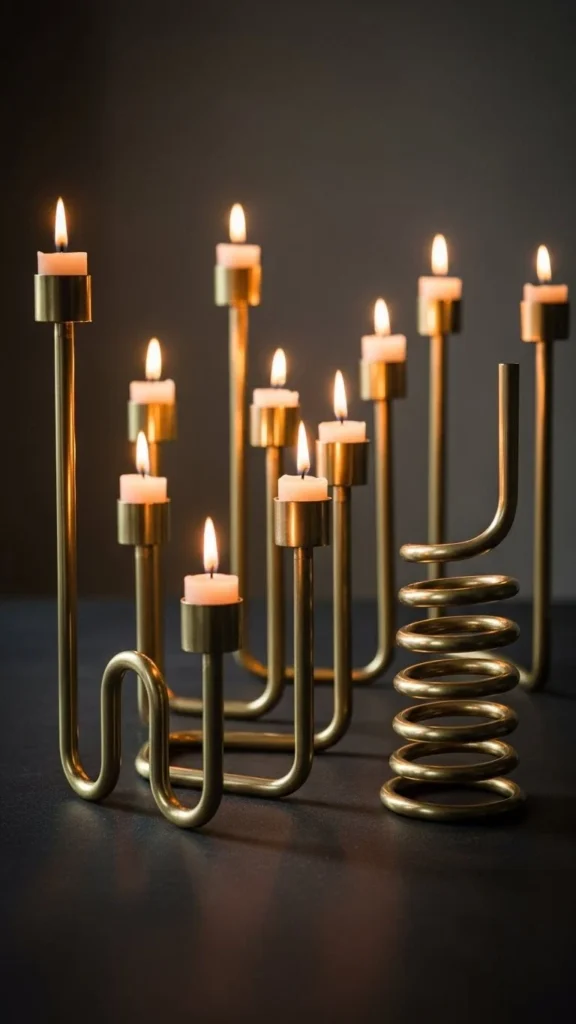
Brass pipes create clean shapes. Use short pipe sections and caps. Assemble by hand.
The metal reflects light gently. These holders feel simple and polished.
Pipes come in small sizes and cost little per piece. Stick to basic forms for ease.
13. Shell Candle Holders

Large shells hold tea lights naturally. Place them on trays or shelves.
The shell surface reflects light softly. This idea suits coastal or relaxed spaces.
No tools required. Clean shells well before use. Keep candles small for safety.
14. Fabric-Wrapped Holders
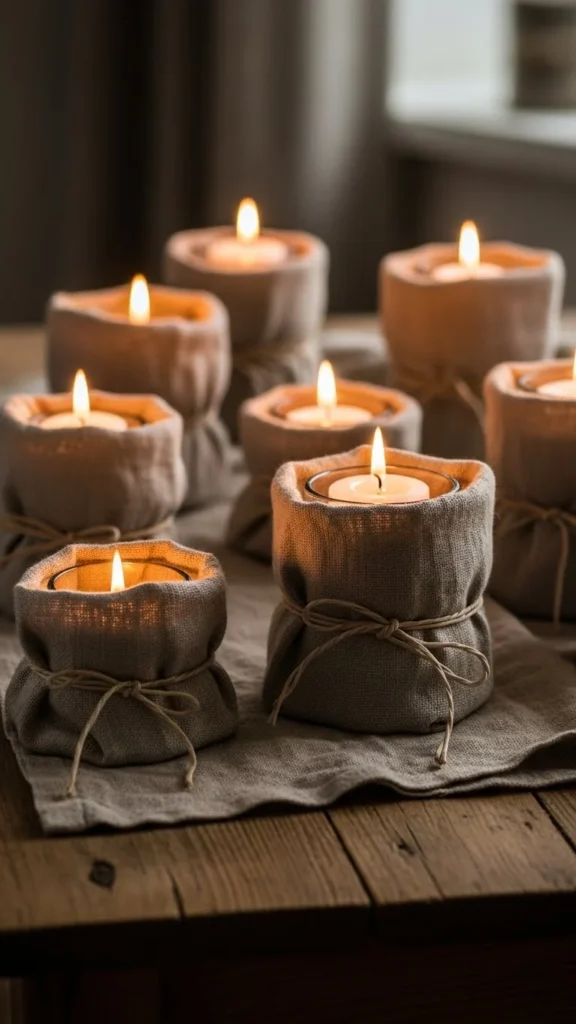
Wrap jars with linen or cotton. Secure with twine or glue.
The fabric filters light gently. Use neutral tones for a calm look.
Scrap fabric works well. This project uses leftovers creatively and keeps costs low.
15. Minimal Wire Frame Holders
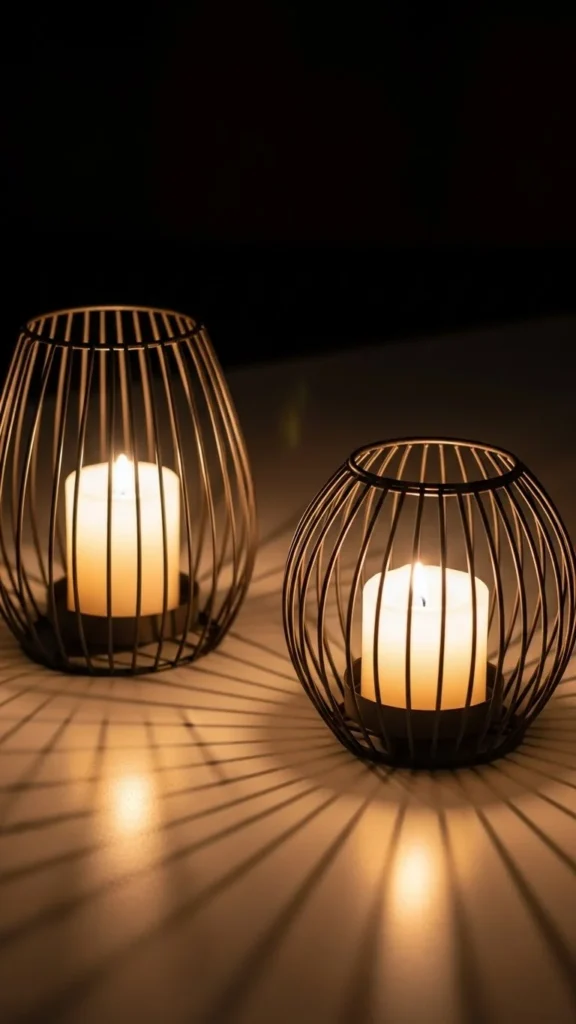
Bend thick wire into simple shapes. Create a base and handle.
The open design lets light move freely. Shadows add interest.
Wire is affordable and flexible. Keep shapes simple for balance.
16. Mosaic Tile Holders
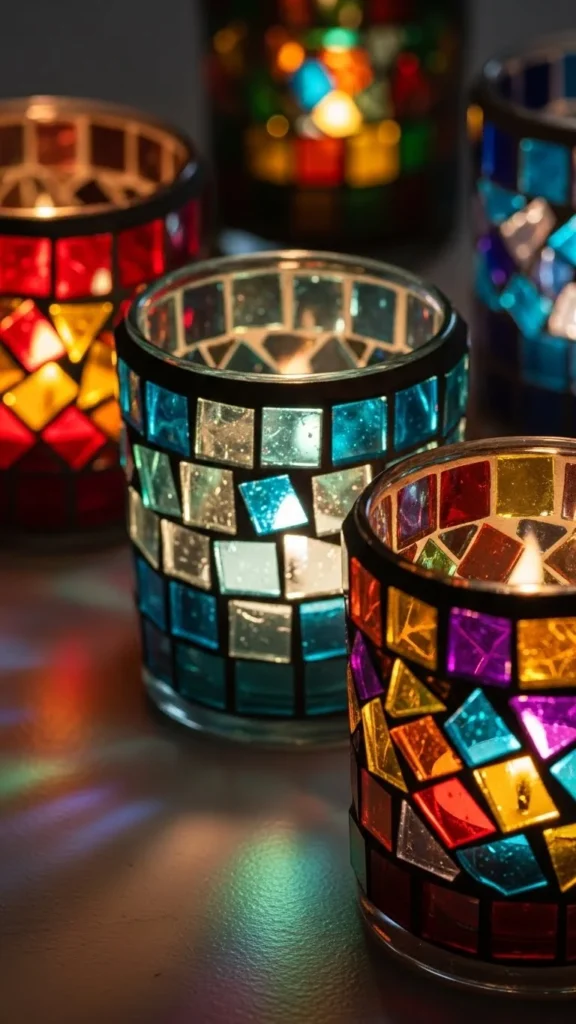
Glue broken tiles or glass onto jars. Grout lightly.
The surface reflects light in small flashes. Choose soft colors.
Use leftover tiles to keep costs down. Small imperfections blend in easily.
17. Cement Bowl Candle Holders
Pour cement into shallow bowls. Let cure fully.
Use as centerpieces. Multiple candles add warmth.
Simple shapes keep the look calm. One bowl can hold several lights.
18. Vintage Spoon Candle Holders
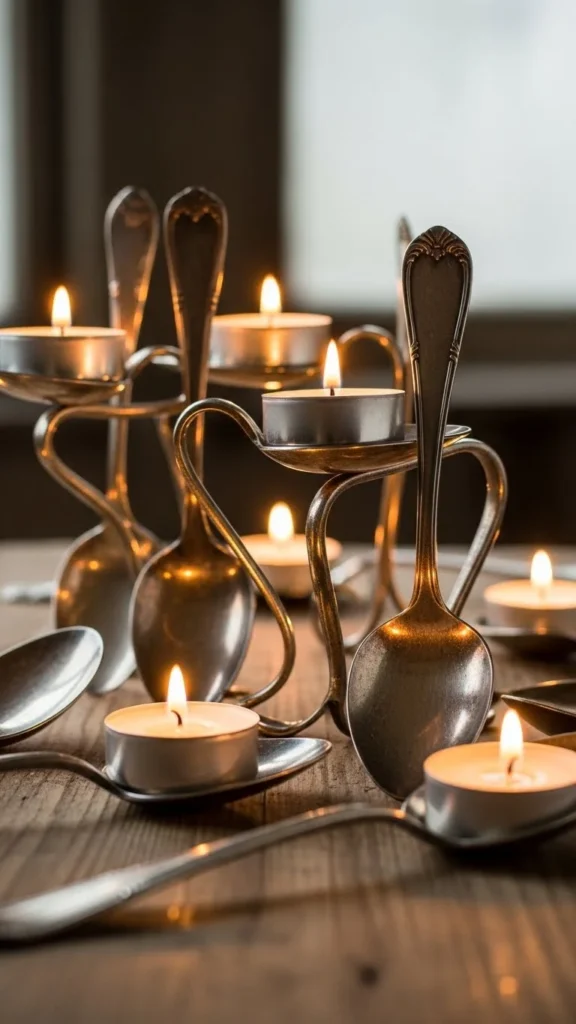
Bend old spoons to cradle tea lights. Secure on heat-safe bases.
The metal reflects glow nicely. Each piece feels unique.
Thrifted spoons keep costs low. Focus on sturdy pieces.
19. Terra Cotta Pot Holders
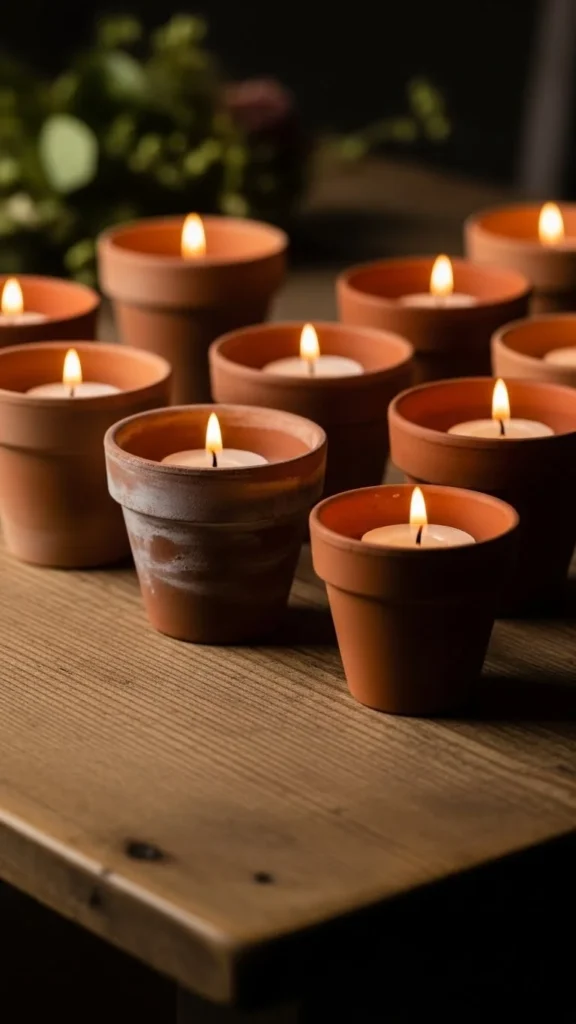
Invert small pots. Place candles on saucers.
The clay tone feels earthy. These suit shelves and patios.
Pots are inexpensive and easy to replace if damaged.
20. Marble Tile Candle Bases

Use leftover marble tiles as bases. Add felt pads underneath.
The stone surface reflects light softly. It feels clean and balanced.
Tile samples often cost very little. One tile works per candle.
21. Paper Mache Candle Covers
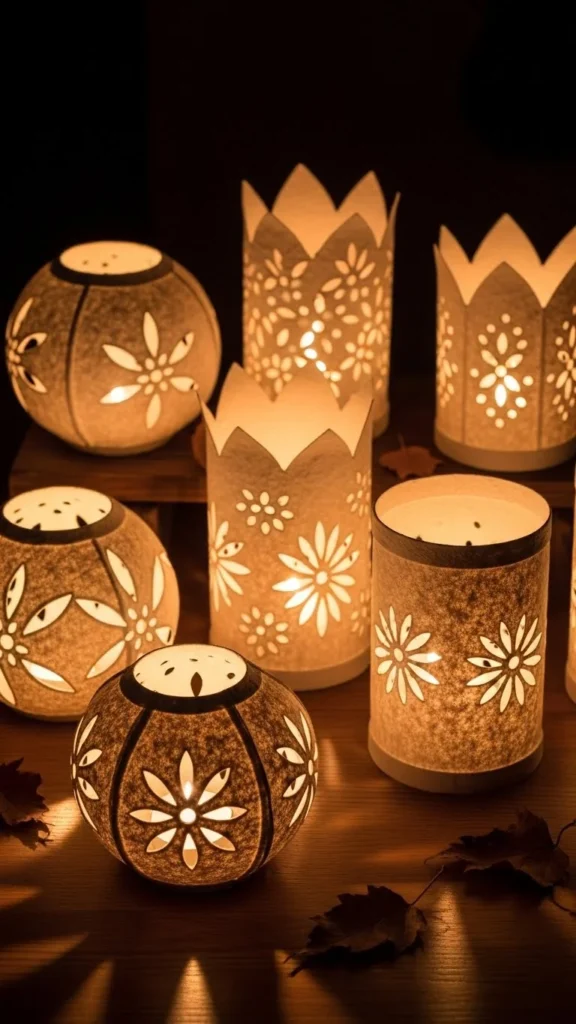
Create paper mache forms over balloons. Cut openings once dry.
The paper softens light beautifully. Keep candles small.
Use recycled paper. This project stays light and approachable.
22. Beaded Candle Holders
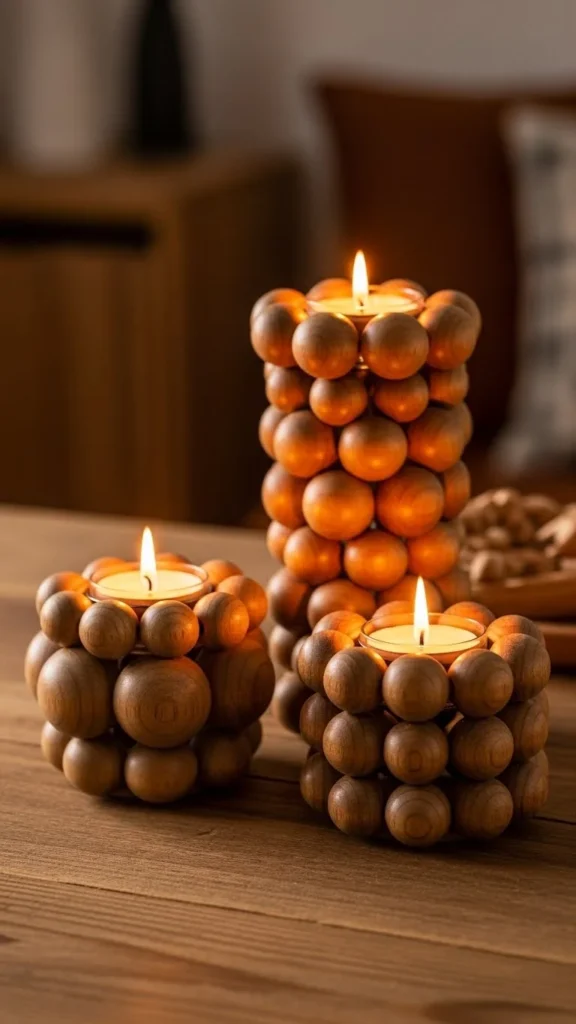
String wooden beads around jars. Glue in place.
The beads add texture and rhythm. Neutral beads work well.
Craft beads are affordable. Use leftover string or wire.
23. Layered Tray Candle Displays
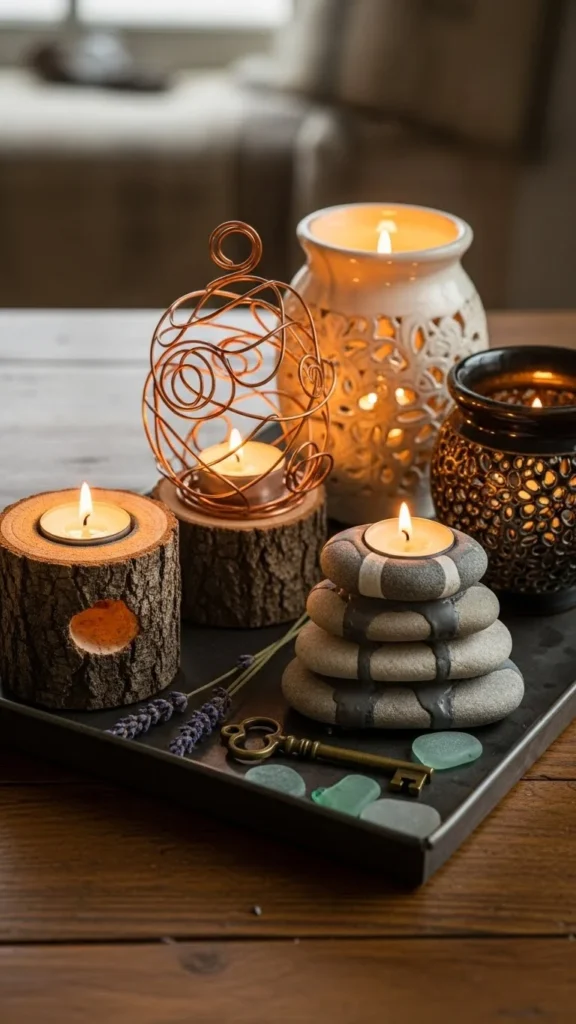
Arrange mixed holders on trays. Vary heights and textures.
The tray unifies the look. Move it easily from room to room.
Use items you already made. This approach ties everything together simply.
Conclusion
DIY candle holders give you control over mood, style, and cost. Each idea here focuses on simple steps, easy materials, and relaxed results that feel welcoming. Try one project or combine several for a layered look. Start small, use what you have, and let candlelight do the rest.

Leave a Reply