

Creating your own Christmas banners is an easy way to add personality and warmth to any holiday setup. They fill empty wall space, tie together your theme, and instantly make guests feel welcome. Whether you’re decorating a living room, party venue, porch, or dining area, the right banner can be the finishing touch. These ideas show simple ways to craft something charming without spending much. Most use everyday supplies, budget-friendly swaps, and quick assembly steps. Explore the list and pick a style that fits your holiday mood.
1. Felt Letter Garland

A felt letter garland is simple and timeless. The soft texture adds warmth to your space and works with almost any decorating style. Cut letters by hand or use pre-cut ones from a craft store. Choose classic colors like red, green, or cream, or keep it neutral with earthy tones. String the letters onto twine or cotton rope. Small wooden beads on each end add charm. If you want more detail, stitch around the edges using embroidery thread. This gives a handcrafted look without requiring advanced sewing skills. Hang it above a mantle, dessert table, or entryway. If you’re short on time, make a shorter version with a single festive word. Felt is forgiving, so mistakes barely show. Kids can help cut shapes, making this a fun family project. Use leftover felt scraps to create tiny stars or holly leaves for added texture.
2. Paper Snowflake Banner

Paper snowflakes always feel magical, and turning them into a banner is a quick way to decorate a large area. Use white printer paper or switch to metallic paper for extra shine. Fold and cut a few different patterns so the banner looks balanced and interesting. Attach the snowflakes to fishing line if you want a floating effect, or use twine for something rustic. This banner works especially well in front of windows, where the natural light shows off the cutout shapes. For a longer-lasting project, laminate the snowflakes before stringing them. This keeps them crisp throughout the season. You can also add small wooden beads between each snowflake for subtle warmth. The best part is that you can make as many as you need without spending much. Even beginners can create beautiful designs with basic tools.
3. Mini Stocking Banner
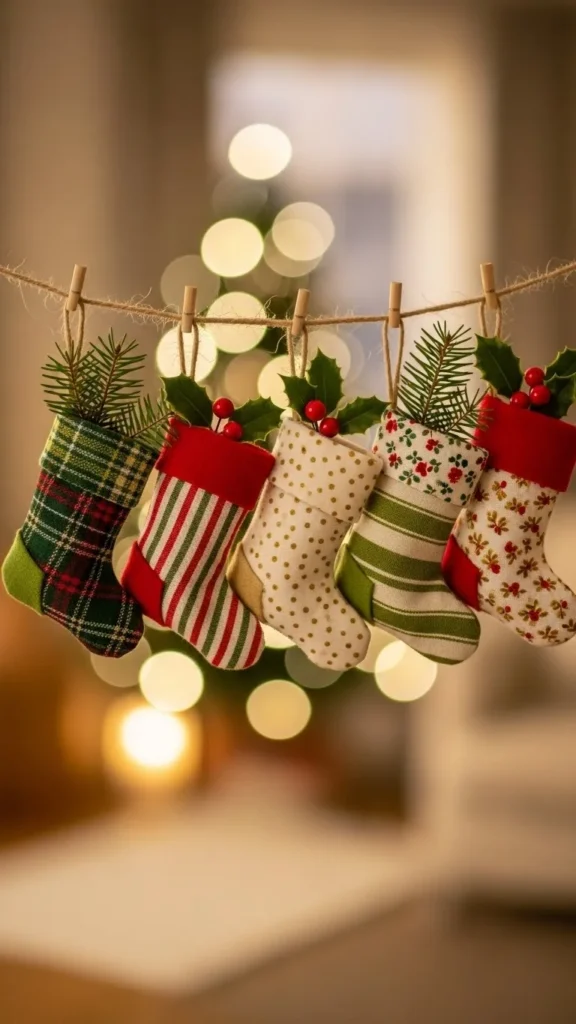
Mini stockings look cute and instantly bring holiday charm. Use scrap fabric, felt, or old flannel shirts to create each one. Simple hand stitching is enough, or you can use fabric glue for a no-sew approach. Mix patterns like stripes, plaids, and solids. Add a cotton cuff or tiny buttons for detail. Fill the stockings with faux greenery or candy canes for extra life. Hang them across your fireplace, console table, or stair railing. If you’re hosting a party, tuck small notes or treats inside for guests. This banner doubles as decor and a fun interactive element. To save time, trace one stocking shape and use it as your template. Repeat until you have enough pieces for your banner. They don’t need to match; the charm comes from the mix of textures.
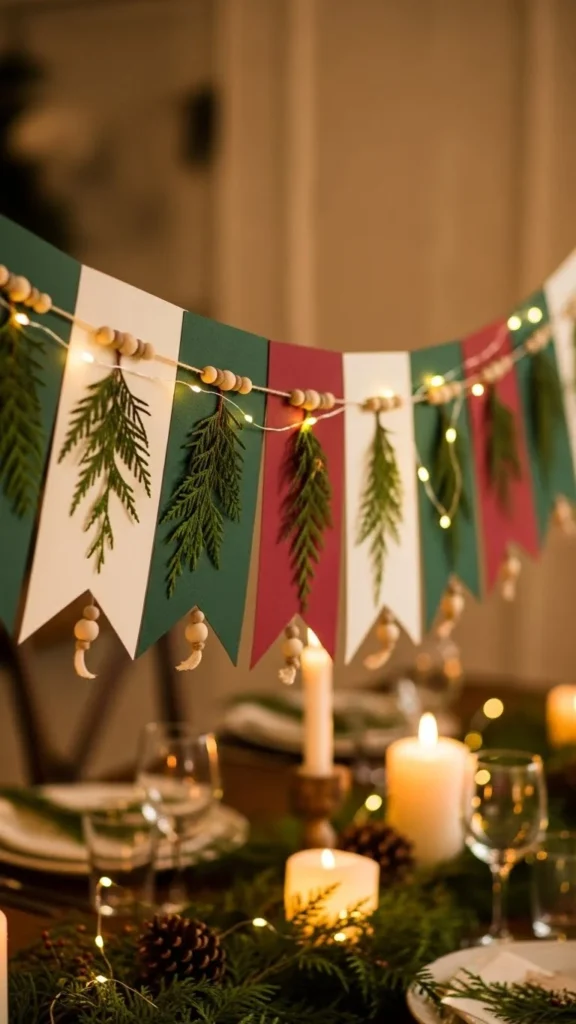
4. Evergreen Garland Banner

A simple evergreen banner adds a classic holiday feel. Use real or faux greenery depending on your preference. Real sprigs smell wonderful and give your room a natural look. Tie bunches of greenery along a piece of twine, leaving even spacing. Add pinecones or cinnamon sticks for detail. This type of banner works beautifully on a porch, mantle, or dining room wall. If you’re using real branches, mist them lightly every few days to help them last longer. For an indoor version that stays fresh without maintenance, use high-quality faux pieces. This banner pairs well with neutral or rustic decor and brings texture without feeling busy. It’s also extremely quick to assemble. For a softer appearance, weave in a thin ribbon in gold, cream, or forest green.
5. Kraft Paper Pennant Banner
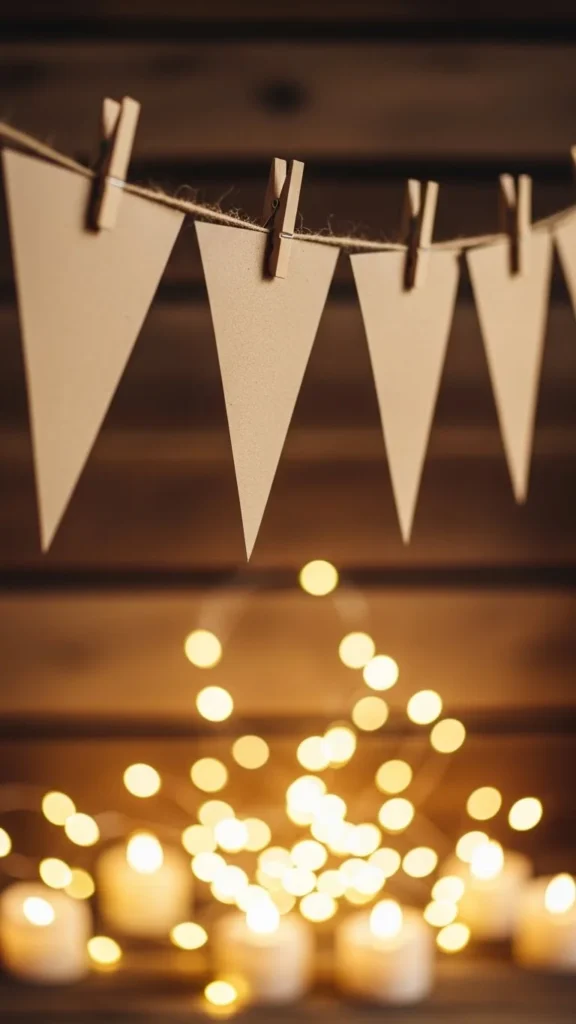
Kraft paper pennants are easy to personalize. Cut triangle pieces and punch holes for threading. You can draw patterns, stamp shapes, or glue on small cutouts. This project works well when you want something quick but still stylish. Because kraft paper has a natural look, it blends with most holiday themes—rustic, neutral, Scandinavian, or classic. Use jute twine to keep the look cohesive. If you’re decorating a large area, alternate triangle sizes for added interest. Write short festive words using stencils or add small sprigs of greenery to each pennant. This banner is budget-friendly and lightweight, so it’s perfect for apartment walls or rentals where you want to avoid heavy nails.
6. Pom-Pom Garland Banner

A pom-pom banner adds texture and color without feeling overwhelming. Buy pre-made pom-poms or make your own using yarn scraps. Mix different sizes for playful variety. This style works well across a mantel, doorway, or kids’ room. If you want a softer palette, use cream, taupe, or sage tones. Thread the pom-poms onto a large needle and slide them along the yarn. Add wooden beads between each pom-pom for warmth. This banner also pairs well with other garlands. Layer it above greenery or lights to create depth. It’s easy to store and reuse, so you can keep it for future seasons. If you’re hosting a party, consider making small matching pom-pom strands to decorate tables or chairs.
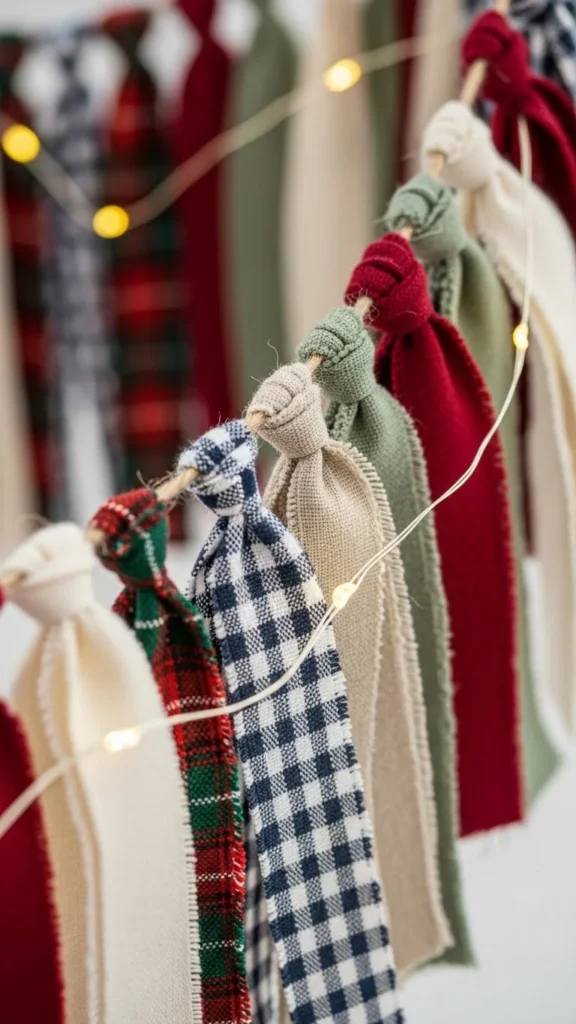
7. Ribbon Tassel Banner
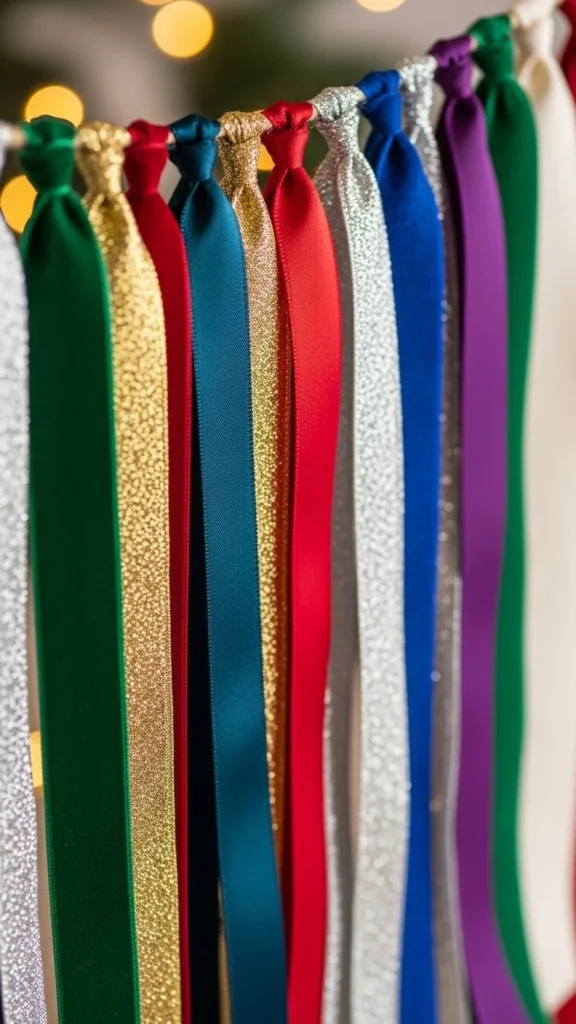
Ribbon tassel banners feel festive and soft. Use different ribbon textures to create variety—velvet for depth, satin for shine, and cotton for a natural look. Cut strips and tie them tightly onto a long piece of twine. This project takes little time but looks stylish once hung. Choose colors that match your party theme. Classic red and green work well, but neutral gold and cream create a calm look. Hang the banner behind a dessert table, over a window, or along a staircase. You can also tuck small sprigs of greenery into a few knots for detail. Ribbon is easy to find and often inexpensive when bought in bundles. If you want a fuller look, tie the pieces closer together. Kids can help choose ribbons and tie knots, making this a simple family craft.
8. Vintage Ornament Banner
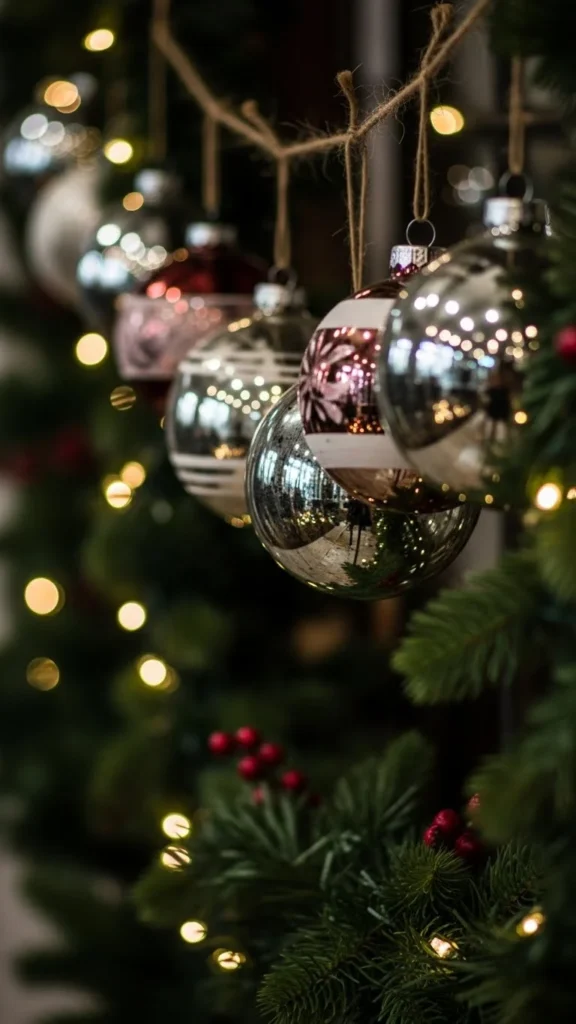
A vintage ornament banner adds a nostalgic touch. Pick plastic ornaments for safety, especially if you’re placing them near kids or pets. Choose classic shapes—round, teardrop, or ribbed designs. Mix metallics and matte finishes for contrast. Tie each ornament to the twine using thin ribbon. Space them evenly or group them in clusters. Hang the banner in a hallway, across a large window, or above a buffet table. If you have leftover ornaments, scatter them on shelves or place them in bowls for matching decor. This banner shines beautifully when paired with string lights. It’s also a great way to use older ornaments that don’t fit your tree’s theme anymore.
9. Burlap Holiday Banner
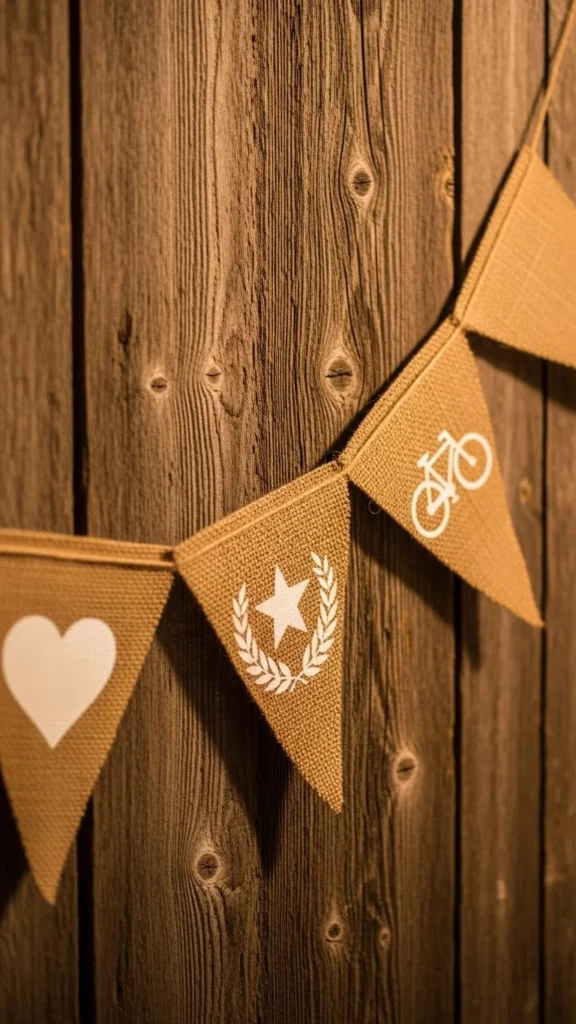
Burlap brings warmth and texture to holiday decor. Cut pennant shapes from burlap fabric and add simple stenciled patterns like stars, trees, or dots. Use white acrylic paint for contrast. Attach the pennants to twine using hot glue or stitching. This banner looks great on porches, mantles, or entryways. It pairs well with natural elements like pinecones and greenery. Because burlap is sturdy, you can reuse the banner every year. For a softer look, add lace or ribbon at the top of each pennant. If you’re decorating for a party, use larger pennants to make sure the design is visible from across the room. Keep the shapes simple so the texture of the burlap stands out.
10. Cookie Cutter Banner

Cookie cutters make an unexpected and adorable banner. Choose shapes like stars, trees, bells, or gingerbread men. Tie each one to twine using thin ribbon or string. This banner works especially well in the kitchen or above a baking station. You can leave the cutters as they are or spray-paint them gold or white for a cohesive look. Mix sizes to add interest. If you’re hosting a baking night, this banner sets the perfect mood. It’s lightweight and easy to assemble in minutes. You can also attach small tags or wooden beads to the ties for added charm. When the holidays are over, the cookie cutters go back into your kitchen drawer—no storage needed.
11. Paper Ornament Garland
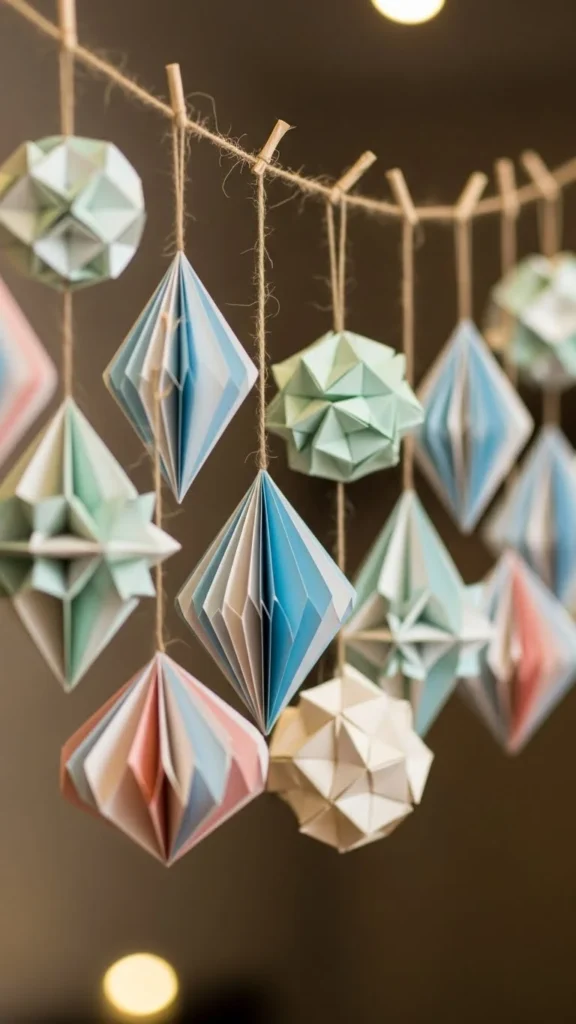
Paper ornaments bring color and shape without being heavy. Choose patterned scrapbook paper or solid colors depending on your theme. Fold and glue the pieces into three-dimensional shapes. Once dry, thread them onto twine. This banner works well across wide walls or behind a holiday photo spot. If you prefer simple decor, use monochrome shades like white or cream. For kids’ parties, pick bright patterned paper. These ornaments are lightweight and easy to store. If you want a more polished look, use metallic or glossy paper. The geometric shapes create nice shadows in evening lighting. Add small tassels at the ends of the banner for detail.
12. Clip-On Photo Banner
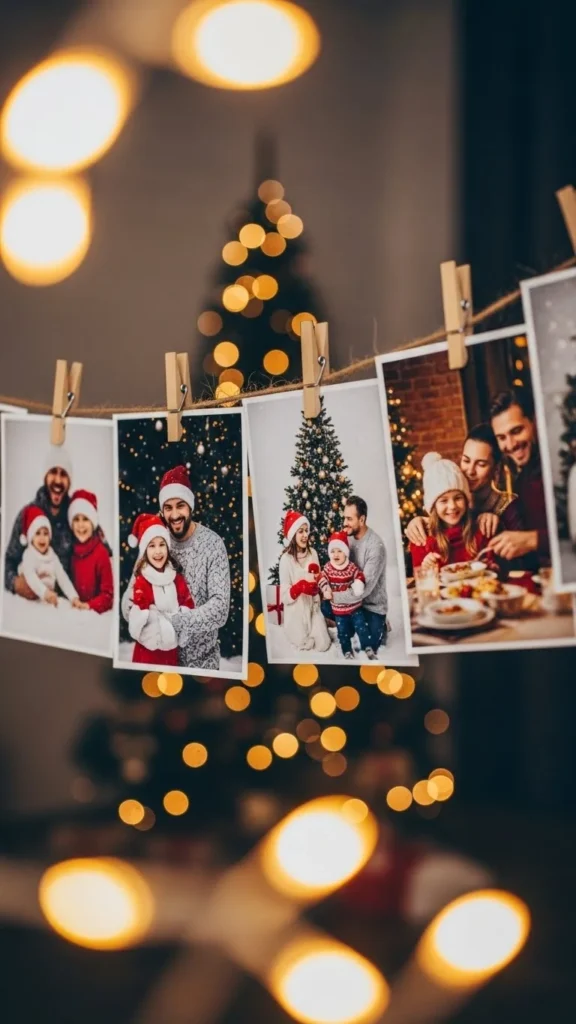
A photo banner feels personal and warm. Print a mix of holiday memories—from tree-decorating moments to snowy outdoor photos. Clip them along a piece of twine using mini clothespins. Add small sprigs of greenery in between for texture. This banner works beautifully above a mantle or along a dining-room wall. It’s a great conversation starter during gatherings. You can print the photos in black and white for a classic look. If you want to make the display last longer, choose thicker photo paper. Use command hooks to hang the banner without damaging walls. Swap out the photos each year to keep it fresh.
13. Holly Leaf Paper Banner

A holly leaf banner looks festive and bright. Cut holly shapes from green cardstock in two or three shades. Add red pom-poms for berries. Glue the pieces along a long piece of twine. This banner adds a pop of color to any wall and works well near entryways or tabletops. If you prefer a neutral palette, switch the green shades to sage or olive. The lightweight pieces make it easy to adjust spacing. Add subtle detail by using a scoring tool to create leaf veins. These small touches help the leaves stand out. Kids can help glue berries and arrange leaves. This project also works as a great classroom decoration or party backdrop.
14. DIY Beaded Wood Banner

A wooden bead banner gives your space a calm, natural feel. String large and small beads in alternating patterns. Leave the wood unfinished for a clean look or coat it lightly with white paint. Add a few knots in between beads to keep them evenly spaced. For a holiday touch, tuck small greenery pieces at intervals. This banner looks great layered with lights or greenery garlands. You can hang it on shelves, mantles, or around door frames. Beads are durable, so this piece can be reused each year. It also matches a wide range of decor styles, from Scandinavian to rustic. If you want more variation, add one or two colored beads in muted holiday tones.
15. Fabric Scrap Banner
Fabric scrap banners are perfect when you want something relaxed and homey. Use leftover fabric—flannel, cotton, linen, or even old shirts. Cut long strips and tie them to twine. The frayed edges add charm. Mix patterns like plaid, polka dots, and solids. This banner works well in living rooms, porches, and party spaces. Because each strip is cut by hand, the final look feels organic. If you want cleaner edges, fold each strip before tying. Add a few ribbons or lace pieces for detail. This project costs almost nothing if you’re using fabric you already have. It also stores easily and can be reused for rustic themes later in the year.
16. Star Cutout Banner

Star cutouts add shine without feeling flashy. Use cardstock or thin metallic sheets to create stars in different sizes. Punch small holes and string them onto thin twine. The layered shapes cast soft shadows, especially near warm lights. This banner looks great hanging behind a tree or across a hallway. Keep the colors simple—cream, gold, or silver—for a cohesive look. If you want something more playful, add deep greens or reds. You can use a star-shaped punch to speed things up. For added interest, glue two stars together with a bit of string sandwiched inside. This makes them appear double-sided as they rotate gently.
17. Gingerbread Paper Banner

A gingerbread-themed banner brings a whimsical feel. Cut gingerbread people from brown cardstock. Add details with a white paint pen—buttons, stripes, and smiles. String the shapes along twine at even intervals. This banner looks sweet in kitchens, kids’ rooms, or party setups. If you want more variety, add gingerbread houses or stars. Use patterned paper for clothing details. This project is easy enough for kids to help with. You can also create mini versions for treat tables or shelves. For something sturdy, laminate the shapes before drawing details.
18. Winter Village Banner
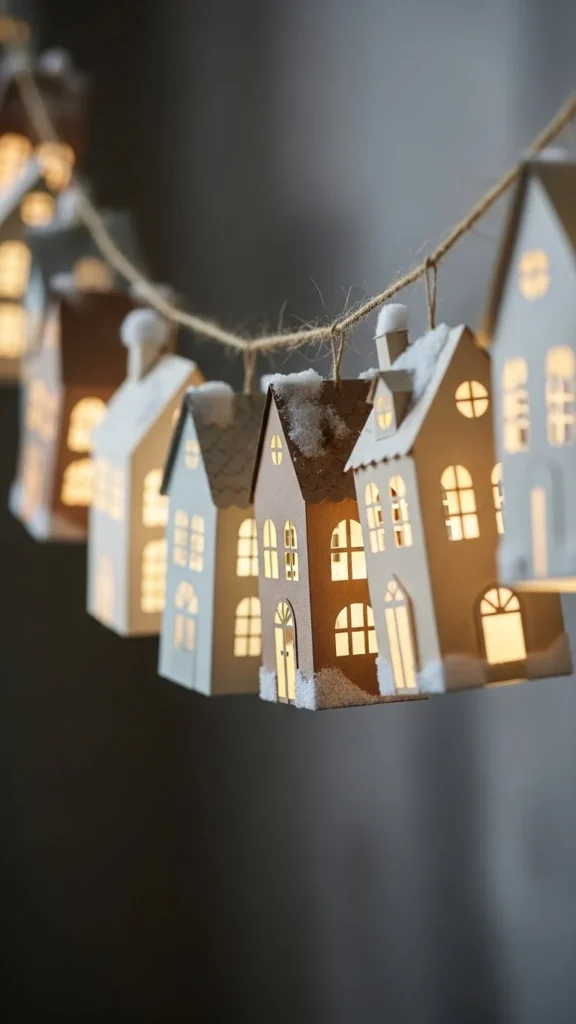
A winter village banner feels cozy and charming. Cut small house shapes from cardstock in neutrals like white, cream, or taupe. Add small windows using a craft knife. You can place tiny LED candles behind a few houses for a glowing effect on shelves. For the banner, glue or clip the houses along twine. Add small paper trees between each house for balance. This setup works beautifully on mantles or bookshelves. Keep the shapes simple so the silhouette stands out. You can also sprinkle faux snow along the banner if it’s placed on a flat surface.
19. Pinecone and Ribbon Banner
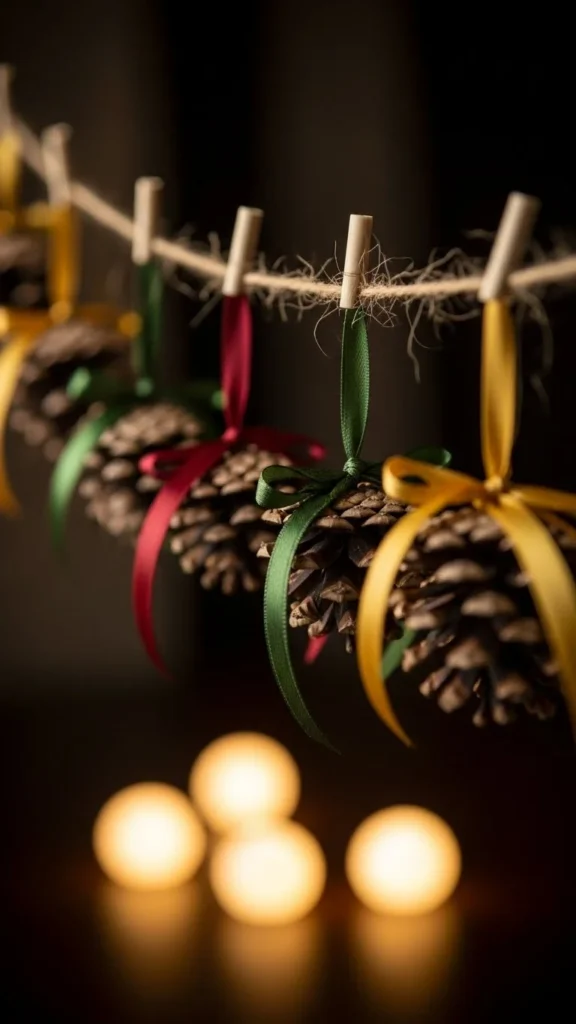
Pinecones are inexpensive and easy to find. Tie small pinecones to twine using thin ribbon in colors like red, cream, or sage. Leave small gaps between each one so the banner hangs evenly. This style works well for rustic or nature-inspired decor. If you want extra texture, add a touch of white paint to the pinecone tips for a snowy look. You can also mix in a few mini bells or beads. Hang this banner above a fireplace or along a long hallway. The natural materials make the space feel calm and warm. This project takes only a few minutes and costs very little.
20. Merry Message Banner
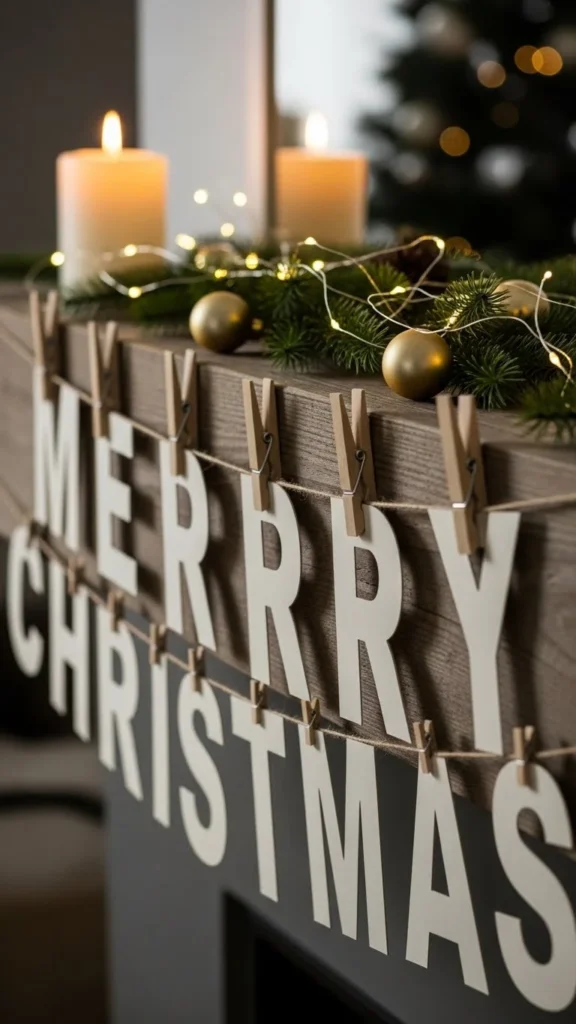
A simple word banner can make a strong impact. Cut large letters from sturdy cardstock. Choose colors that match your theme—classic red, soft neutrals, or modern metallics. Clip or glue the letters to twine. For a layered look, add small stars or greenery pieces between the words. Hang this banner in highly visible spots like behind a dessert table or across a living-room wall. Use thick cardstock so the letters don’t bend. If you want a textured look, glue the letters onto thin chipboard. For something softer, cut felt letters instead.
21. Tinsel Fringe Banner

Tinsel fringe adds sparkle and movement. Cut strips of tinsel and tie them along twine. Keep the strands long for a fuller look. This banner works great for parties and photo areas. Choose metallic shades like gold, silver, or rose gold. If you want a more subtle effect, combine tinsel with fabric strips. This keeps the look soft but still festive. The fringe sways gently when people walk by, adding life to your space. Hang the banner higher if you want it to frame the room without getting in the way. It’s lightweight and simple to take down after the party.
22. Paper Tree Banner
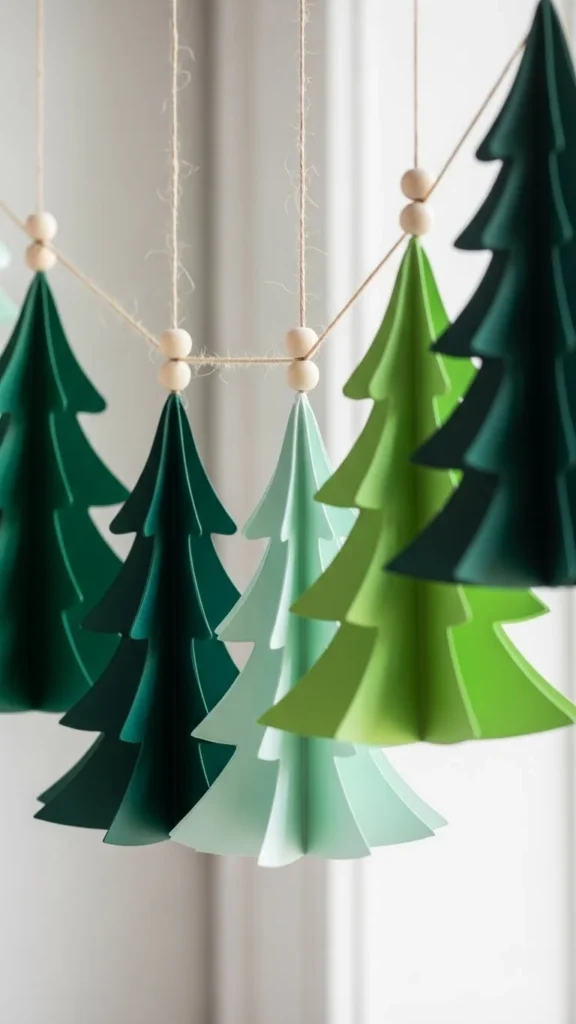
A paper tree banner is charming and easy to customize. Cut tree shapes from green cardstock in three or four tones. Layer a few pieces for dimension. Thread wooden beads between each tree. This gives the banner a natural, balanced look. Hang it across a window, mantle, or entryway. If you prefer soft decor, use muted greens or pastel tones. Add tiny gold stickers or punched dots for ornaments. This project is fast, budget-friendly, and easy to adapt to any color theme. Kids can help cut shapes or add embellishments.
Conclusion
DIY Christmas banners add warmth, color, and charm to any holiday setup. They’re simple to make, easy to personalize, and perfect for filling empty wall space during parties or family gatherings. Whether you enjoy bold colors, natural textures, or soft neutrals, there’s a banner here that fits your holiday style. Pick a few favorites, gather basic supplies, and start creating decor that feels personal and festive. Your space will instantly look ready for the season.

Leave a Reply