

There’s something magical about turning simple branches into beautiful Christmas stars. Maybe it’s the rustic charm, or maybe it’s the satisfaction of creating décor straight from nature. Either way, these DIY branch stars are the perfect mix of cozy, budget-friendly, and festive. And the best part? You can make them in under an hour using items you likely already have at home.
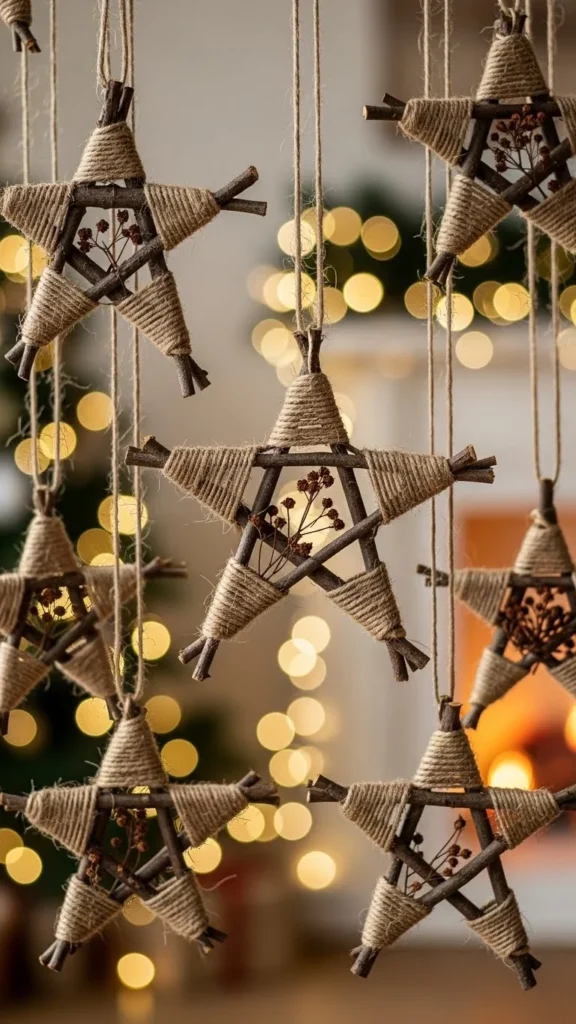
Whether you hang them on the tree, place them above the mantel, or create an entire wall arrangement, these branch stars add a calm, woodland feel to your holiday styling.
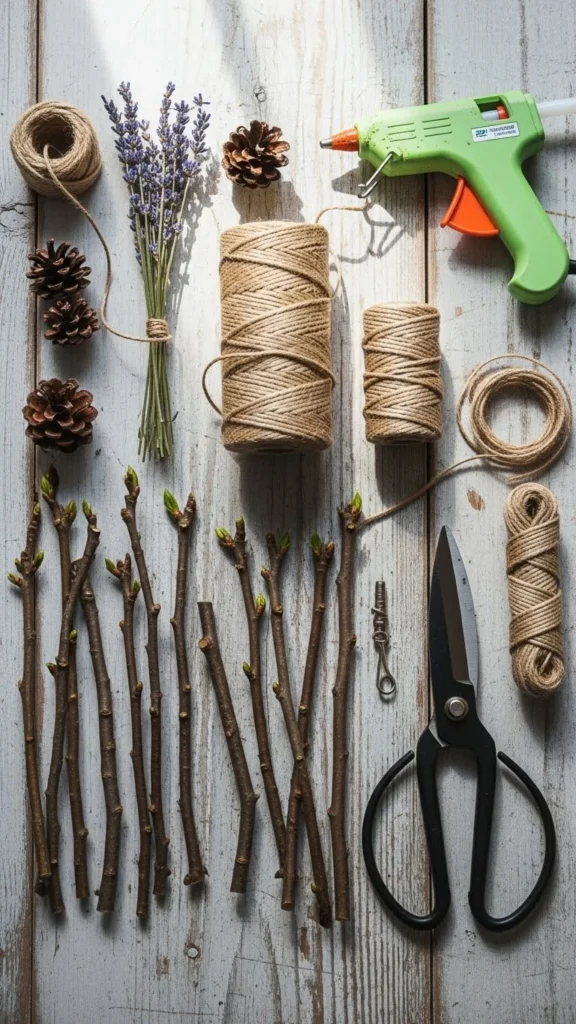
Gather Your Natural Materials
Before you start assembling your stars, you’ll want to gather the right branches and tools. The beauty of this craft is how simple the supply list is.
What You’ll Need:
- Thin, straight branches or twigs (dry and clean)
- Garden shears or scissors
- Twine, jute string, or thin rope
- Hot glue gun (optional but helpful)
- Optional accents: pine sprigs, mini bells, dried oranges, ribbon
Take a few minutes to look for branches that are relatively even in thickness. If you’re collecting them outdoors, choose dry ones—they’re easier to work with and hold their shape better.
Step 1: Trim and Prep Your Branches
Cut your branches into five equal lengths to form the star shape. For smaller stars, keep them around 6–8 inches long. For statement pieces, go up to 12–16 inches.
You’ll want clean, straight cuts so the star looks balanced. Don’t worry if the branches have little imperfections—those add personality and charm.
Tips:
- If branches are curved, mix and match them until the star looks even.
- Remove loose bark only if it flakes naturally—don’t force it.
- Wipe off any dirt so glue and twine adhere well.

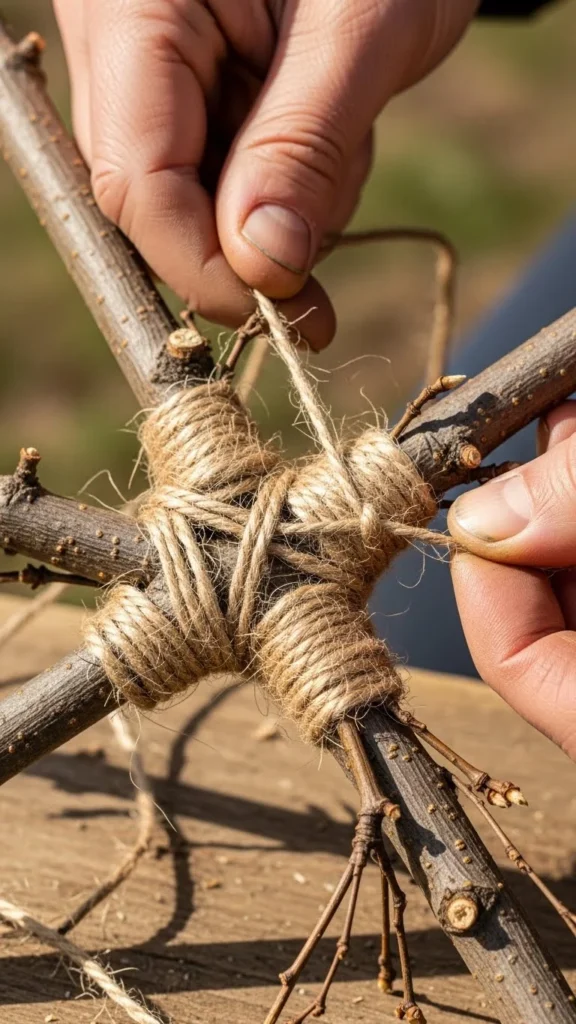
Step 2: Form the Star Shape
Now it’s time for the fun part—assembling your star.
Start by placing the five branches into a star outline, overlapping the ends where they meet. Once you’re happy with the shape, begin tying the points together with jute twine. Wrap the twine several times around each corner, then tie a tight knot.
Tips for a Strong Hold:
- Use a dab of hot glue under the twine for extra stability.
- Keep your twine wraps neat and tight for a clean look.
- If a branch slips out of place, adjust before securing the next point.
As the shape comes together, you’ll see how natural textures give the star its warm farmhouse style.
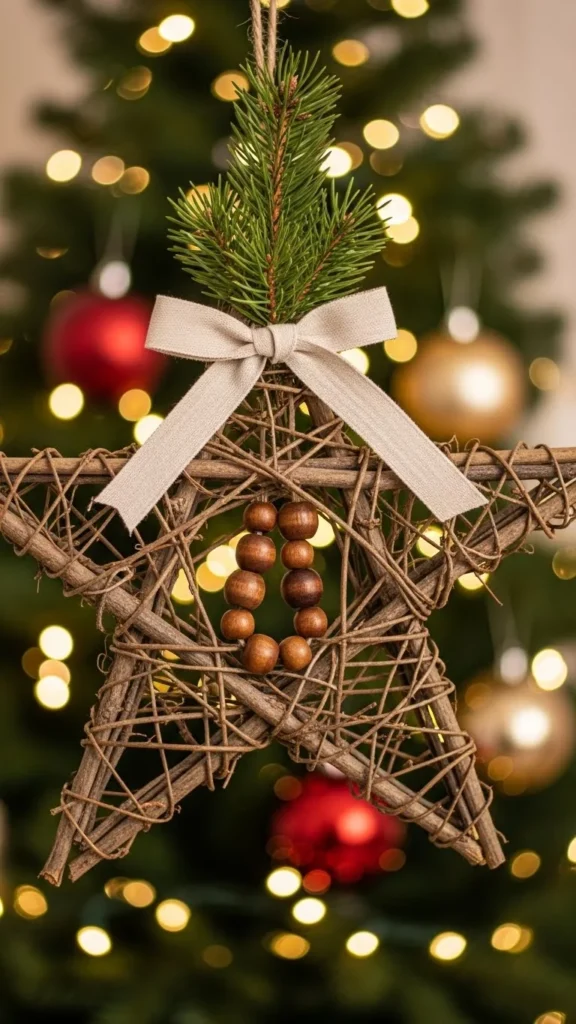
Step 3: Add Natural Decorative Touches
Once your star is secure and sturdy, you can leave it simple or add soft, natural embellishments.
Consider adding:
- A sprig of pine or cedar
- A small dried orange slice for a pop of color
- A cluster of wooden beads
- A tiny bow made from linen or cotton ribbon
Keep it minimal if you want a Scandinavian vibe, or layer textures for a fuller holiday look.
Placement Ideas:
- Attach décor to just one point for a modern aesthetic.
- Add a mini cluster in the center for balance.
- Keep the backside simple so it hangs flat against a wall or tree.
Step 4: Display Your Branch Stars
Now that your stars are finished, it’s time to show them off.
Try These Ideas:
- Hang several stars in different sizes on a blank wall.
- Place one above your mantel as a focal point.
- Tie small stars onto gift packages for natural wrapping flair.
- Create a large cluster for a stunning window display.
- Mix them into your Christmas tree décor for a woodland theme.
These stars are lightweight, versatile, and pair beautifully with greenery, candles, or neutral holiday styling.
Make It Your Own
The beauty of DIY branch stars is how customizable they are. You can experiment with:
- Different twine colors
- Painted branches (white or gold spray paint still keeps it natural but festive)
- Adding eucalyptus for a fresh, calming scent
- Making oversized versions for outdoor porch décor
Don’t be afraid to try new combinations. Each star develops its own personality, and that’s exactly what makes them special.
Final Thoughts
Creating natural DIY Christmas branch stars is a relaxing and rewarding craft that instantly elevates your holiday décor. They look handmade—in the best way—and bring organic texture into your home, making the season feel warm and grounded.
Save this idea for later and make a batch of stars whenever you need a cozy craft night!

Leave a Reply