

If you want to create a front door that instantly feels magical, a full DIY Christmas door frame garland is the perfect project. It’s cozy, festive, and surprisingly easy to build—even if you’ve never made one before. With the right supplies and a few simple steps, you can transform your entryway into a Christmas-ready showstopper that neighbors will admire all season long.

Let’s walk through everything you need to know to build a full, beautiful, Pinterest-worthy garland for your door.
Gather Your Supplies Before You Start
Before creating your masterpiece, gather all the essentials so you can work smoothly without interruptions.
Recommended Materials:
- Two or three artificial or real garlands (9 ft each)
- Floral wire or zip ties
- Green pipe cleaners
- Outdoor-safe LED string lights
- Hooks or adhesive garland clips
- Ornament picks, berries, ribbon, pinecones
- Scissors or wire cutters

Tip: If your door frame is wider or taller than average, plan for an extra garland to keep it looking full and fluffy.
Step 1: Prep the Door Frame
Before you attach anything, prep the area to make sure your garland stays secure.
Clean the Surface
Wipe along the sides and top of the door frame where you’ll attach the clips. Dust and debris can weaken the adhesive and cause sagging.
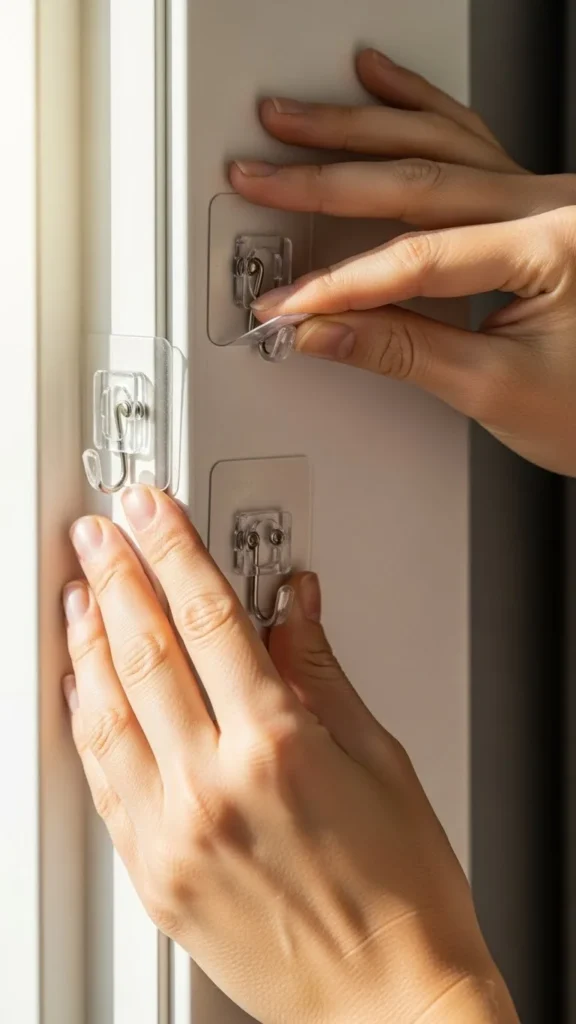
Add Hooks or Clips
Use:
- Outdoor adhesive hooks for smooth surfaces
- Nail-in hooks for rough surfaces
- Brick clips for brick walls
Place hooks 10–12 inches apart for best support.
Step 2: Build and Fluff the Garland
Garlands look best when they appear thick and natural. Most store-bought ones are a bit flat when first opened.
Fluff Each Branch
Spread the branches outward in different directions. This adds fullness and makes decorations stand out.
Combine Multiple Garlands
If one garland looks too thin, twist two together using floral wire. Secure them every 6–8 inches.
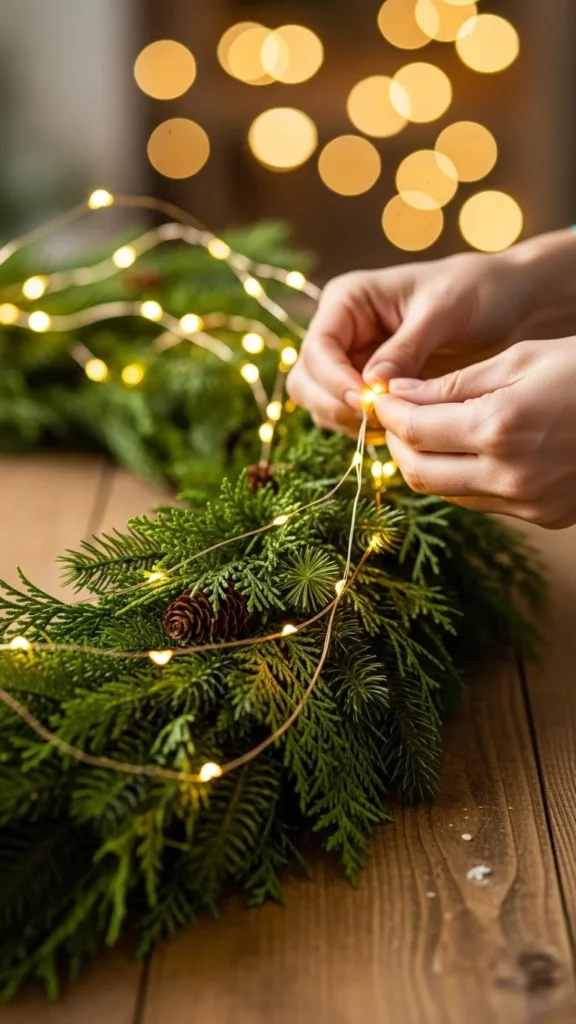
Add Lights Before Hanging
Wrap LED lights around the garland from end to end. Make sure the plug ends up on the side closest to your power source.
Step 3: Attach the Garland to the Door Frame
Once your garland is prepped, it’s time to hang it.
Start at the Top Center
Secure the middle of the garland first so it stays balanced on both sides.
Work Down Each Side
- Loop pipe cleaners over the garland and hook to each clip
- Keep it pulled slightly upward while attaching to prevent sagging
- Step back frequently to check symmetry
Shape as You Go
Gently bend branches outward to keep the garland looking voluminous from all angles.
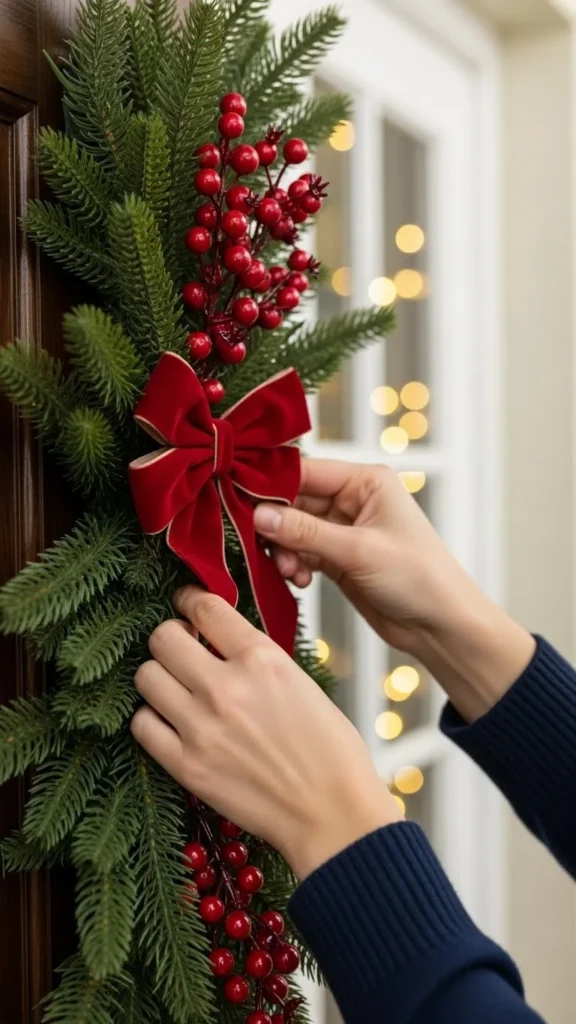
Step 4: Add Decorative Elements
Now comes the fun part—styling!
Use a Mix of Accents
Try adding:
- Red or gold ornaments
- Pinecones
- Faux berry clusters
- Ribbon bows
- Glitter-dipped leaves
- Mini bells
Place decorations evenly around the frame, but avoid making it too “perfect.” A bit of randomness makes it look natural and custom-made.
Secure Everything Well
Use short pieces of floral wire to attach ornaments and bows snugly.
Step 5: Create a Statement Topper (Optional)
If you want your garland to really stand out, add a decorative cluster at the top center.
Ideas for a Top Center Accent:
- Large bow made from wired ribbon
- Bundle of poinsettias
- Extra greenery picks
- Frosted branches
- Oversized ornament cluster
This focal point draws the eye upward and makes the whole display feel grand and intentional.
Step 6: Final Touches for a Polished Look
Check the Lighting
Turn on the lights and adjust any tangled wires or overly bright spots.
Hide the Power Cord
Use:
- Cord clips
- A side planter
- A small basket
- A discreet outdoor extension cord
Add Extra Filler
If you notice thin spots, tuck in evergreen sprigs or berry stems for added volume.
Test for Stability
Give the garland a gentle shake to ensure it’s secured in every spot.
Helpful Tips for Success
- Choose weather-resistant materials if placing the garland outdoors.
- Use wire-edged ribbon—it holds shape better and looks more elegant.
- Don’t over-decorate. Leave some areas plain for a natural look.
- Measure your door frame before buying garlands to avoid shortages.
- Mix textures—matte ornaments, glossy berries, velvet bows—to add depth.
Bring Holiday Magic to Your Front Door
Creating a full DIY Christmas door frame garland is easier than it looks and delivers a huge visual impact. With a little prep and creativity, you can design a stunning display that feels warm, welcoming, and totally custom to your home.
Ready to try it yourself? Save this idea for later and revisit it when you start decorating!

Leave a Reply