

If you want a holiday craft that’s easy, magical, and instantly decorative, Christmas glitter trees are the perfect project. These sparkly little accents brighten mantels, centerpieces, shelves, and entry tables without much effort. Plus, you can customize the colors to match any theme—classic red and green, snowy neutrals, or bold metallics.
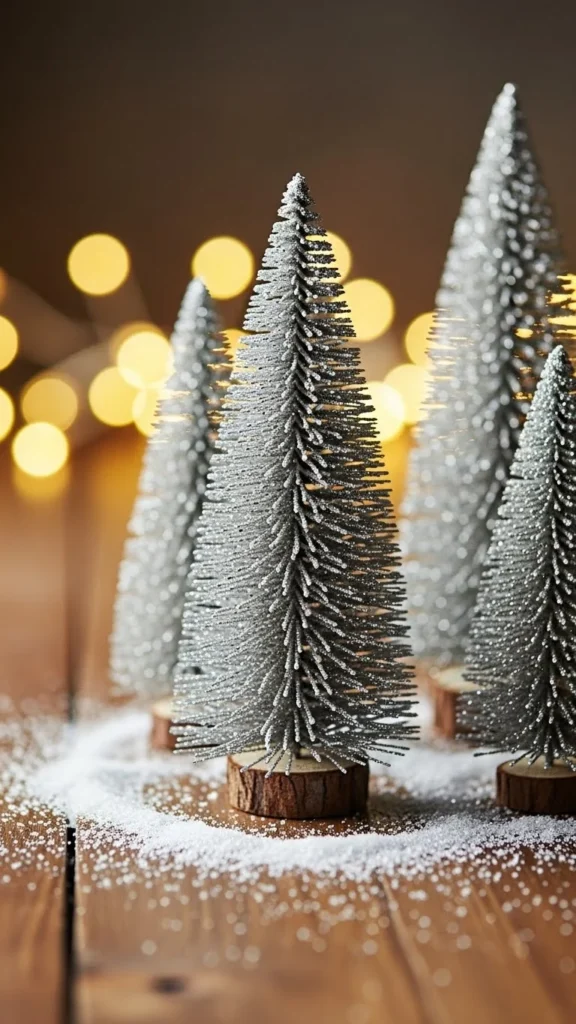
With just a few supplies and a little imagination, you can create décor that looks boutique-quality while costing almost nothing. Let’s dive into the steps so you can make your own glittering mini forest.
What You Need to Get Started
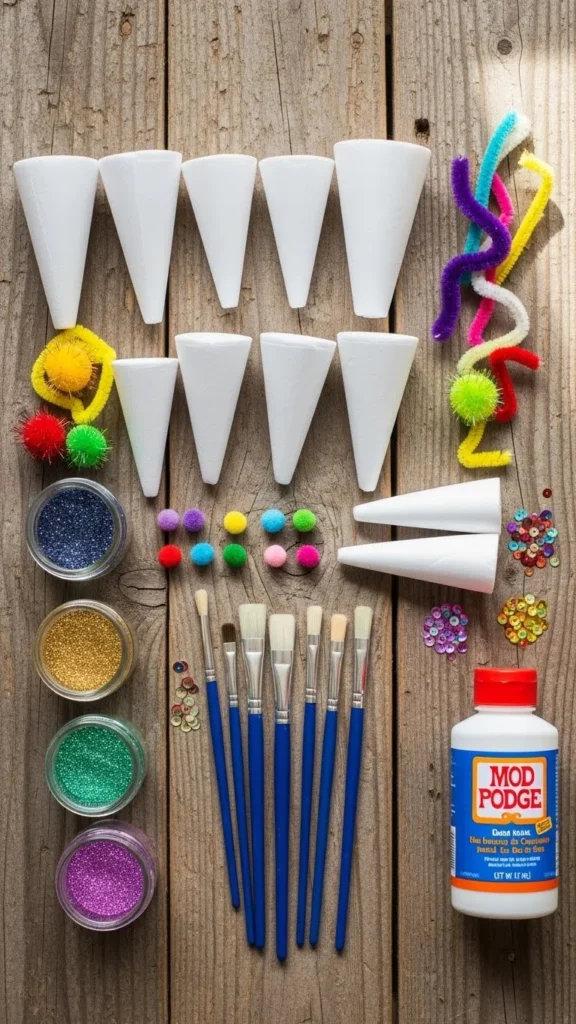
Before you begin, gather a few simple supplies. Most are easy to find at craft stores or even in your existing art stash.
Basic Materials
- Foam or cardboard cones (any size)
- Acrylic paint in your chosen color
- Fine glitter (matching or contrasting)
- Mod Podge or clear-drying glue
- Small paintbrush or sponge brush
- Tray or paper plate for catching excess glitter
- Optional extras: faux snow, sequins, ribbon, mini stars for toppers
Having everything in one place makes the crafting process faster and a lot more fun. Choose colors that match your Christmas palette so your trees blend effortlessly into your décor.
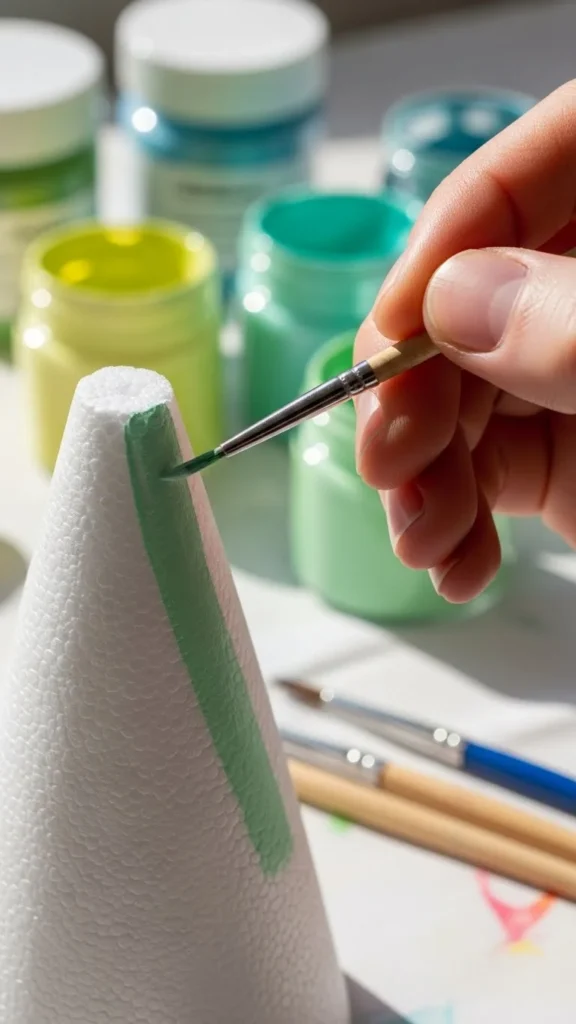
Step 1: Paint Your Cones for a Smooth Base
Start by giving your cones a quick coat of acrylic paint. This helps the glitter stick better and prevents any foam color from showing through.
- Use a brush or sponge to apply an even layer.
- Don’t worry about perfection—the glitter will hide most of it.
- Let the paint dry fully before moving to the next step.
If you want ombre trees, paint the cone in two or three colors and blend them while still wet.
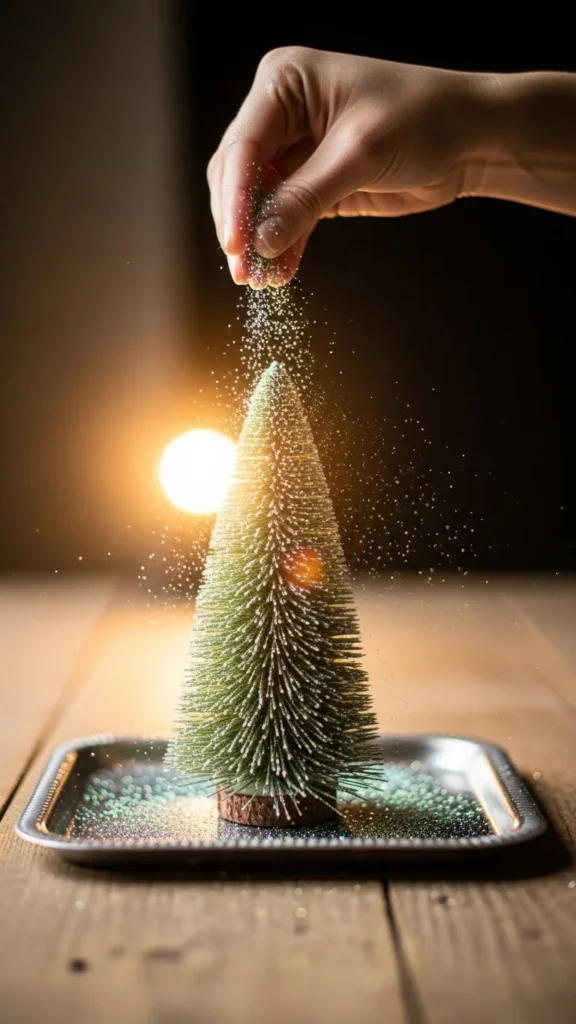
Step 2: Add the Glitter Layer (The Fun Part!)
This is when the magic really happens. Grab your Mod Podge and glitter.
How to Apply Glitter Perfectly
- Brush a generous layer of glue onto the cone.
- Set the cone on a tray or plate.
- Gently sprinkle glitter from the top down, letting it fall like snow.
- Rotate the cone as you go to cover every angle.
- Lightly shake off the excess.
For a thicker sparkle, repeat the process once the first layer dries. You can also mix different glitter sizes for extra texture.
Step 3: Customize Your Glitter Trees
Once your glitter layer is fully dry, you can start customizing. This is where your creativity takes over.
Ideas for Decorating Your Trees
- Add tiny star toppers for a classic look.
- Wrap a thin ribbon spiral around the cone for a candy-cane feel.
- Use a hot glue gun to attach small beads or sequins.
- Brush on a light layer of faux snow for a frosted effect.
You can also group your trees in different heights to create a layered, visually rich display.
Step 4: Seal the Glitter to Reduce Shedding
Glitter can get messy—especially during the holidays when everything already feels sparkly. Sealing your trees keeps the shine without the constant shedding.
- Spray a clear acrylic sealer over the finished trees.
- Use light, sweeping motions.
- Allow them to dry completely before moving or styling.
This step is optional but highly recommended if you’ll have these trees on a high-traffic table or near kids.
Step 5: Style Your Glitter Trees Around the Home
Now comes the most rewarding part—decorating with your new creations. Glitter trees look beautiful almost anywhere.
Styling Ideas
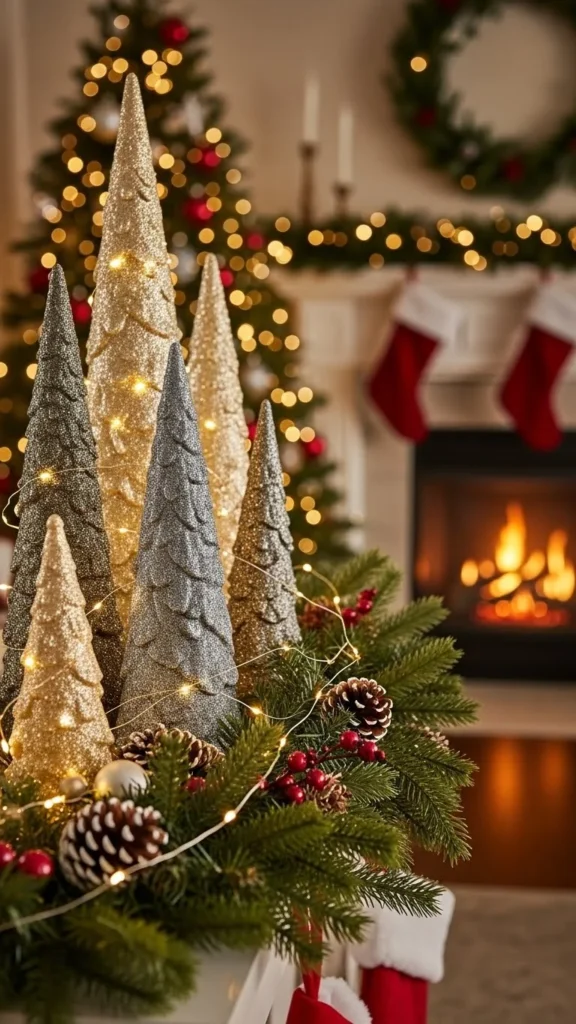
- Arrange them on your mantel with fairy lights.
- Place a group of three on your dining table as a centerpiece.
- Add them to your entryway for a cheerful first impression.
- Use mini versions to decorate bookshelves or kitchen counters.
They also make charming handmade gifts for friends, coworkers, or teachers.
Tips for Beginner Crafters
If this is your first time making glitter trees, here are a few friendly reminders:
- Start with one tree to test your technique.
- Choose fine glitter for a smooth, elegant finish.
- Keep a small handheld vacuum nearby for quick cleanup.
- Experiment with metallics—gold, silver, and rose gold always look luxe.
- Save the extra glitter by letting it fall back into the jar using a folded paper funnel.
Final Thoughts
DIY Christmas glitter trees are the kind of project that looks more complicated than it really is. They’re simple, customizable, festive, and perfect for anyone who loves hands-on holiday decorating. Whether you prefer classic colors or bold, modern shades, you can create your own magical mini forest in just a couple of hours.
If this project inspired you, save this idea for later and start crafting your sparkle-filled Christmas décor today!

Leave a Reply