

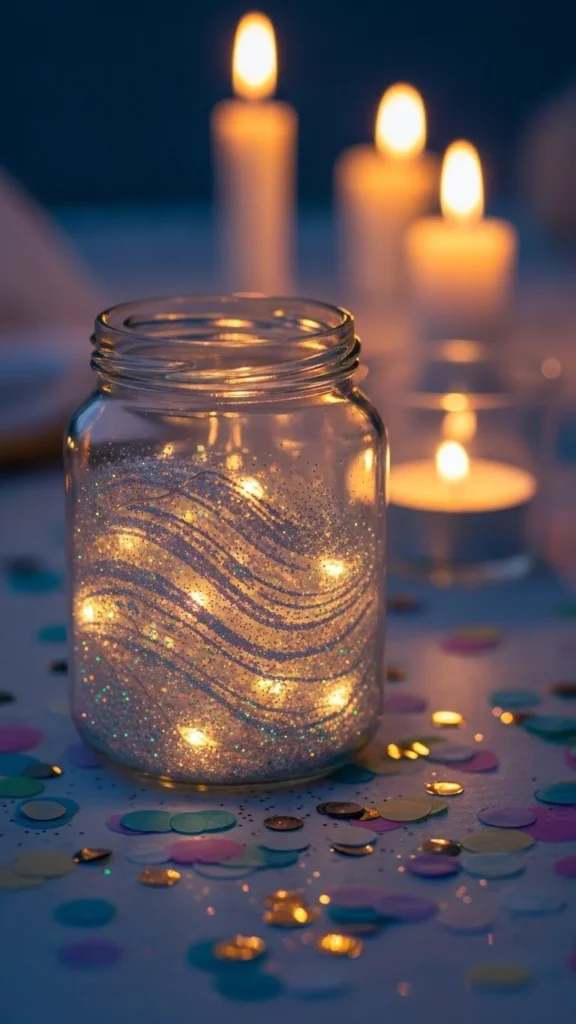
Glitter jars are one of those simple decor ideas that look magical with very little effort. They glow. They shimmer. And they instantly turn an ordinary table into a party moment. Best of all, you don’t need crafting skills or expensive supplies to make them look amazing.
Whether you’re planning a birthday, holiday gathering, sleepover, or cozy celebration, glitter jars add sparkle without stress.
Below is a step-by-step guide that keeps things easy, affordable, and fun.
Why Glitter Jars Work So Well for Parties
Glitter jars do more than decorate a space. They create atmosphere.
They work because:
- They catch light from every angle
- They feel playful and calming at the same time
- They can match any color theme
- They double as table decor and party favors
You can scatter them across a dessert table, line a walkway, or cluster them in the center of a dining table for instant impact.
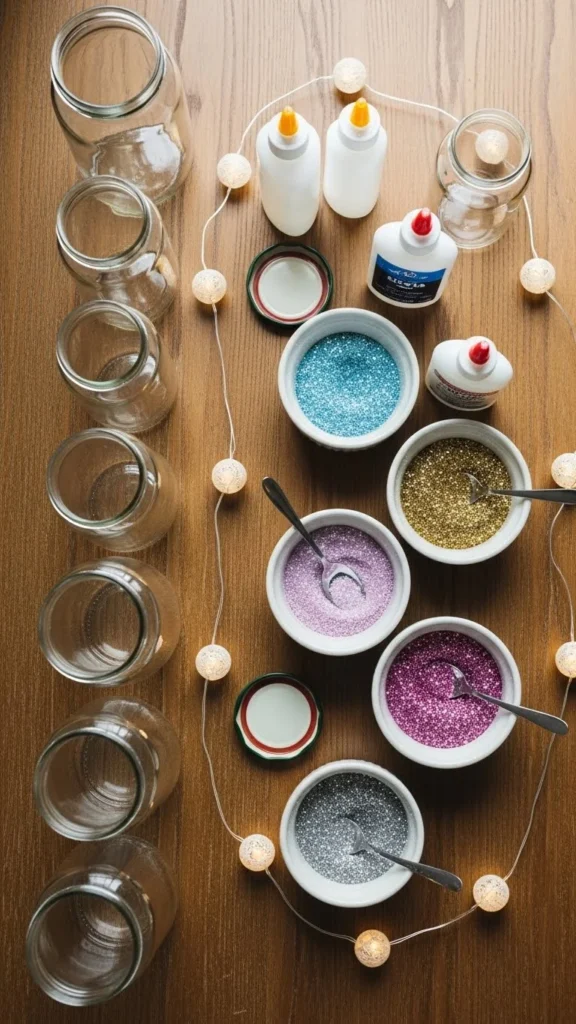
Supplies You’ll Need (Nothing Fancy)
You probably already have most of these at home.
- Clear glass jars or bottles (mason jars work great)
- Warm water
- Clear glue or glitter glue
- Fine glitter (1–3 colors works best)
- Optional chunky glitter or sequins
- Glycerin or clear hair gel (optional, for slow sparkle movement)
- Spoons or stir sticks
- Battery-operated tea lights or fairy lights
- Paper towels (trust me, glitter travels)
Tip: Fine glitter floats better than chunky glitter. Use chunky pieces sparingly for accent sparkle.
Step-by-Step: How to Make a Basic Glitter Jar
This method works for beginners and kids too.
1. Fill the Jar with Warm Water
Fill the jar about ¾ full. Warm water helps everything blend smoothly.
2. Add Glue
Squeeze in 1–2 tablespoons of clear glue.
This helps the glitter stay suspended instead of sinking right away.
3. Sprinkle in Glitter
Add glitter slowly. Start small. You can always add more.
A good mix:
- One main glitter color
- One accent color
- A pinch of chunky sparkle
4. Add Glycerin (Optional)
A few drops slow down the glitter for a dreamy, floating effect.
5. Seal and Shake
Close the lid tightly. Shake gently until everything blends.

If the glitter sinks too fast, add more glue or glycerin and shake again.
Lighting Your Glitter Jars Safely
Lighting is what makes glitter jars truly shine.
Best options:
- Battery-operated tea lights
- Small fairy light strands
- LED cork lights
Drop lights into the jar after sealing it.
Avoid open flames inside jars for safety, especially at parties.
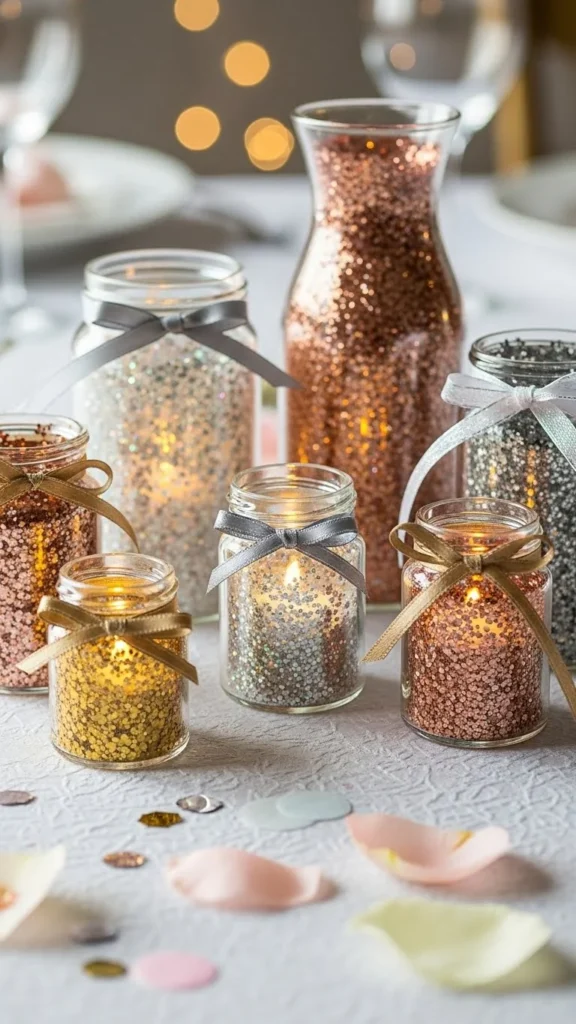
Easy Color Themes That Always Look Good
You don’t need dozens of colors. Simple combos look the most polished.
Try these:
- Gold + clear for elegant parties
- Pastels for birthdays and showers
- Green + white for spring or themed events
- Silver + blue for evening gatherings
- Rainbow glitter for kids’ parties
Use the same color palette across all jars for a cohesive look.
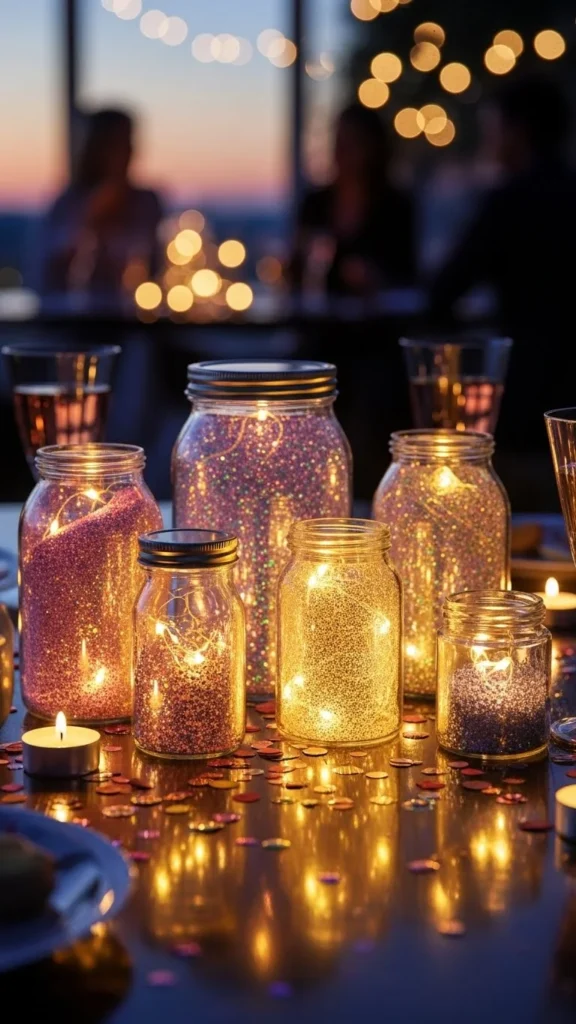
Ways to Use Glitter Jars as Decor
Once they’re done, the fun part begins.
Place them:
- Down the center of a table
- On drink or dessert stations
- Along windowsills
- At entryways to set the mood
- On outdoor tables at dusk
They also make great take-home favors. Just add a ribbon or tag.
Common Mistakes (and How to Fix Them)
Too cloudy?
You used too much glue. Add water and shake again.
Glitter sinks instantly?
Add a few more drops of glycerin or glue.
Jar leaks?
Seal the lid with a thin line of glue before closing.
Too much sparkle?
Yes, that’s possible. Dilute with water and remix.
Make It a Group Activity
Glitter jars are perfect for:
- Kids’ party stations
- Craft nights
- Pre-party setup with friends
- Family afternoons
Lay down paper, set out colors, and let everyone design their own version.
Final Touches That Make Them Look Finished
Small details go a long way.
- Wrap twine or ribbon around lids
- Paint jar lids to match your theme
- Group jars in odd numbers for visual balance
- Mix jar sizes for depth
Final Takeaway
Glitter jars prove that party decor doesn’t have to be complicated or expensive to feel special. With a few supplies and a little creativity, you can create sparkly decor that guests notice, photograph, and remember.
Save this idea for your next celebration—and let the sparkle do the decorating.

Leave a Reply