

Balloon arches instantly turn an ordinary space into a celebration. They frame entrances, highlight dessert tables, and make photos feel extra special. The best part? You don’t need to be a professional decorator to pull one off. With a little planning and a few smart tricks, you can create a balloon arch that looks polished, playful, and totally Pinterest-worthy.

Below is a step-by-step guide to help you create balloon arches that truly wow every guest—from start to finish.
Choose the Right Balloon Style and Color Palette
Before you inflate a single balloon, decide on your look. A cohesive color palette is what separates a “wow” arch from a messy one.
Think about:
- The occasion: birthdays, baby showers, weddings, or seasonal parties
- The space: indoors vs. outdoors, neutral walls vs. busy backgrounds
- Your vibe: soft and elegant, bold and playful, or modern and minimal
Popular color combinations include:
- Neutrals with one accent color
- Pastels mixed with white
- Two bold colors with a few metallic tones
Tip: Stick to 2–4 colors max to keep things visually balanced.
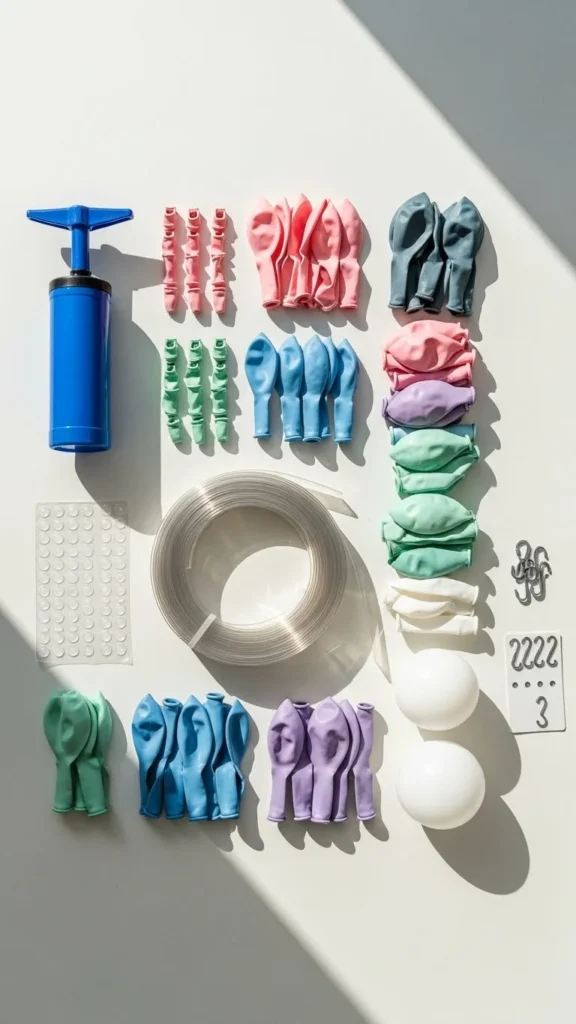
Gather the Essential Supplies First
Having everything ready makes the process smooth and stress-free.
Here’s what you’ll need:
- Balloons in various sizes (5”, 10”, 12”, and a few larger ones)
- Balloon decorating strip or fishing line
- Hand pump or electric balloon pump
- Balloon glue dots or double-sided tape
- Command hooks, stands, or sturdy supports
Pro tip: Buy extra balloons. A few will pop, and having backups saves time and frustration.
Inflate Balloons in Mixed Sizes for a Fuller Look
Uniform balloon sizes can make an arch look stiff. Variation is key.
As you inflate:
- Mix small, medium, and large balloons
- Slightly under-inflate some balloons for a softer shape
- Keep balloons round, not oval, for a polished look
Lay inflated balloons out by size so you can grab them easily while assembling.
This simple step makes your arch look custom and high-end, even on a budget.
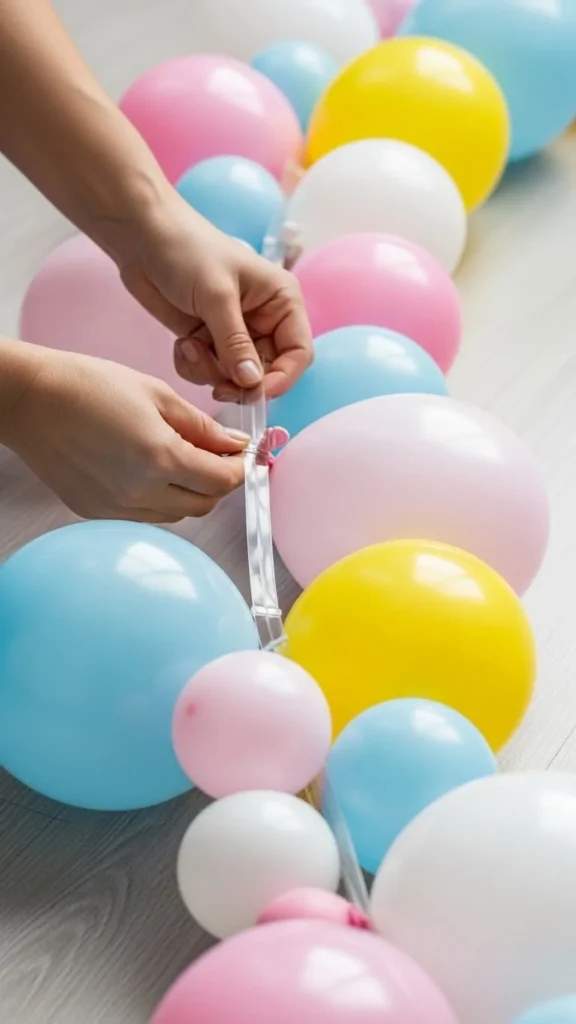
Build the Base of Your Balloon Arch
Now comes the fun part—assembling the arch.
If using a balloon decorating strip:
- Insert balloon knots into the holes, alternating colors
- Space balloons closely for a full appearance
- Build the arch flat on the floor before lifting it up
If using fishing line:
- Tie balloons in clusters of four
- Twist clusters together and string them along the line
Don’t worry if it looks uneven at first—adjustments come later.
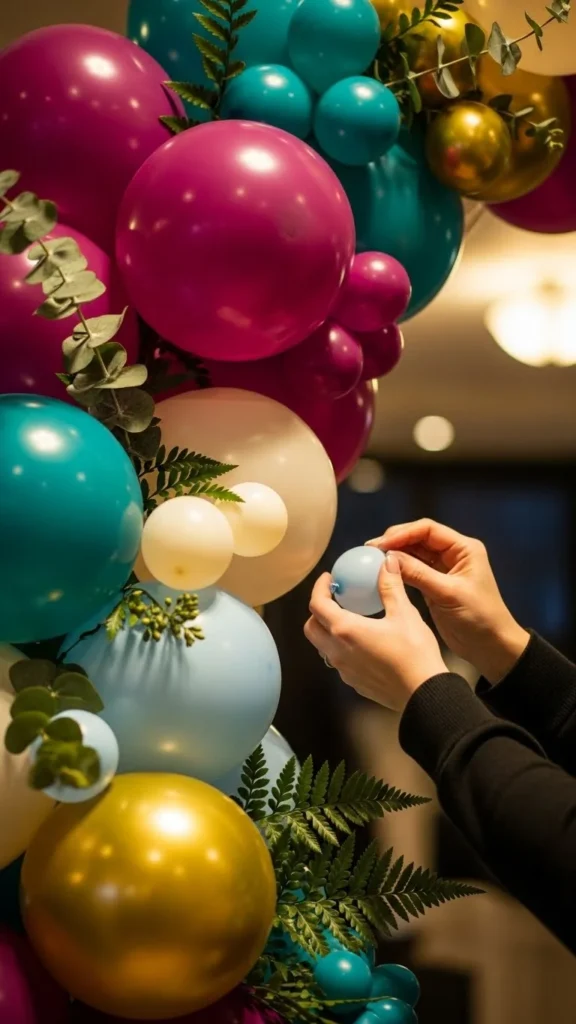
Add Depth With Accent Balloons and Fillers
This is where your arch goes from “nice” to “wow.”
Use smaller balloons to:
- Fill gaps
- Add depth and movement
- Create a more organic, flowing shape
Attach them with glue dots or tape, tucking them between larger balloons.
Optional extras:
- Greenery or faux leaves
- Flowers
- Fabric draping near the base
Step back often and view your arch from different angles as you work.
Secure and Style the Arch in Its Final Spot
Once assembled, move the arch carefully into place.
Popular placements:
- Doorways or entry points
- Behind dessert or gift tables
- As a photo backdrop
Secure it using:
- Command hooks on walls
- Balloon stands
- Weights hidden behind furniture
Adjust balloon positions by gently twisting or repositioning until the arch looks balanced.
Keep Your Balloon Arch Looking Fresh
To make your arch last through the entire event:
- Inflate balloons close to party time
- Keep indoors when possible
- Avoid direct sunlight or sharp edges
If a balloon pops, replace it quickly using your extra supplies.
Common Balloon Arch Mistakes to Avoid
Even simple mistakes can affect the final look. Watch out for:
- Too many colors competing for attention
- Balloons all inflated to the same size
- Gaps that aren’t filled with smaller balloons
- Weak support that causes sagging
A little patience goes a long way here.
Final Thoughts: Your Party, Elevated
A balloon arch isn’t just decoration—it’s a statement. With thoughtful colors, mixed balloon sizes, and a bit of creativity, you can create something that guests will talk about long after the party ends.
Save this guide, pin it for later, and use it as your go-to resource whenever you want to create a celebration that truly stands out.

Leave a Reply