

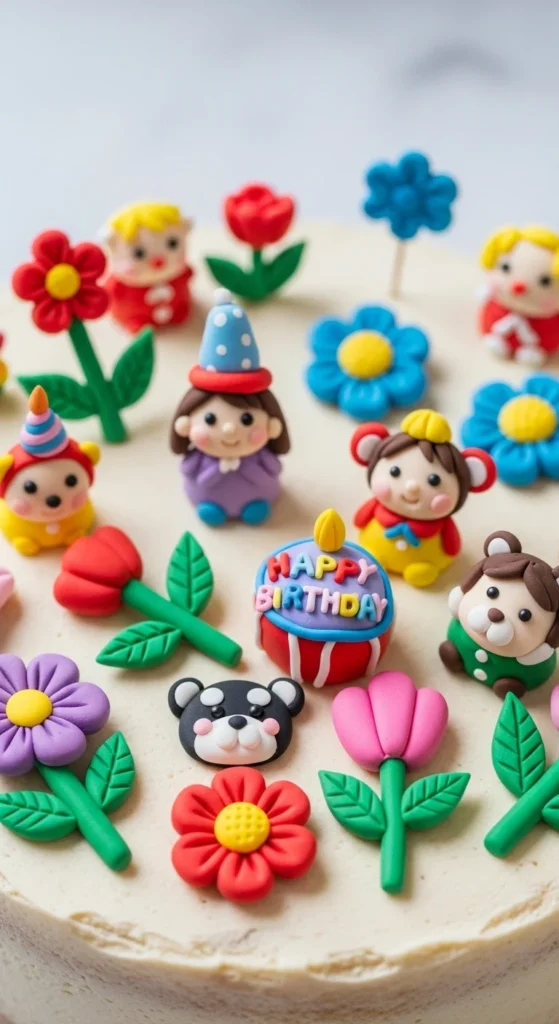
Decorating cakes with custom toppers has become one of the most popular trends in the baking world. Clay toppers are a fun and creative way to make your cakes stand out, whether you’re crafting them for a special event, a birthday, or just for fun. The beauty of clay cake toppers is that they can be molded into any shape or theme you desire, from delicate flowers to quirky characters. In this guide, we’ll walk you through how to create your own clay toppers that are both beautiful and easy to make.
What You’ll Need
Before you start crafting your clay toppers, gather all the necessary supplies. Here’s a simple list of what you’ll need:
- Polymer clay (available in a variety of colors)
- Rolling pin or pasta machine (for flattening the clay)
- Clay tools (such as sculpting tools, craft knives, and dotting tools)
- Baking sheet (for baking your clay after shaping)
- Toothpicks or wooden dowels (to secure your topper to the cake)
- Acrylic paint (optional, for adding finer details after baking)
- Glaze or clear finish (optional, for a glossy finish)
Step 1: Roll and Prepare the Clay
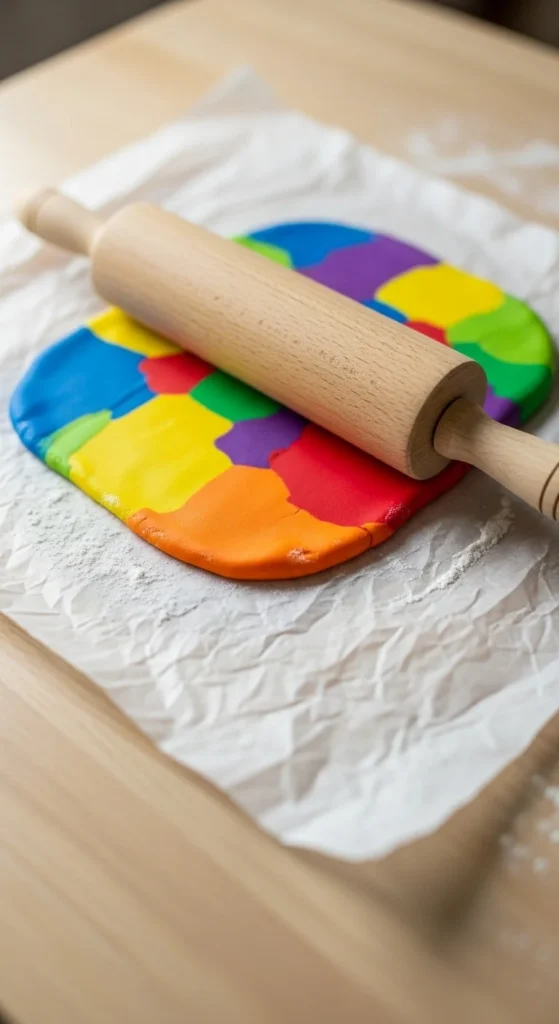
Start by choosing the colors of polymer clay that fit your cake theme. For example, if you’re making a flower cake topper, you might want to use pastel shades, or for a superhero-themed cake, bright primary colors might be ideal. Take a small amount of clay, knead it in your hands until it’s soft, and then roll it out on a clean surface using a rolling pin or pasta machine.
Tip: Make sure your clay is rolled evenly. If you’re using a rolling pin, it’s helpful to use parchment paper underneath and on top of the clay to prevent sticking.
Step 2: Shape Your Design
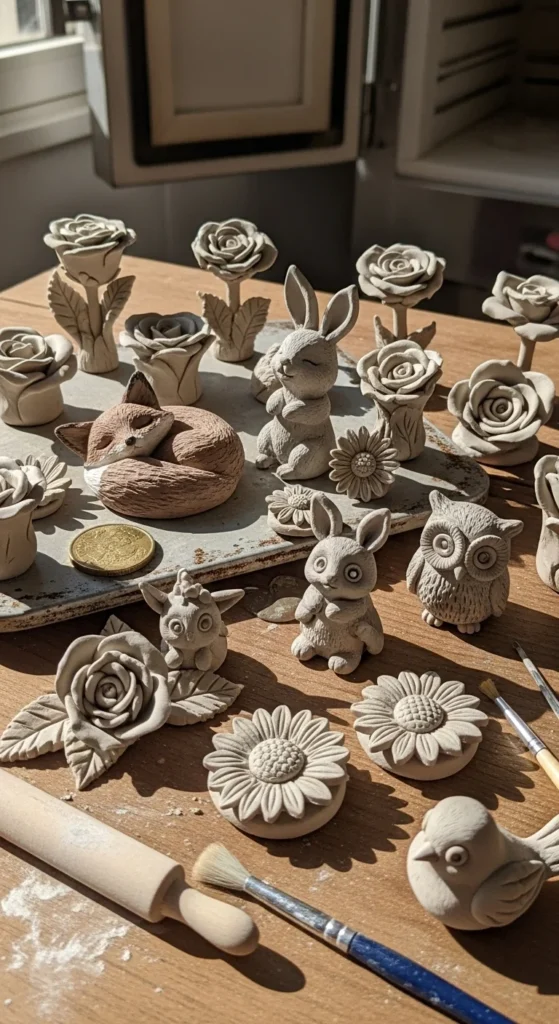
Once you have your clay rolled out, it’s time to start shaping. Depending on your design, you might want to cut out shapes, mold them by hand, or use sculpting tools to add details. For example:
- Flowers: Cut out petal shapes and layer them to create a full bloom. You can add details with dotting tools to make the centers stand out.
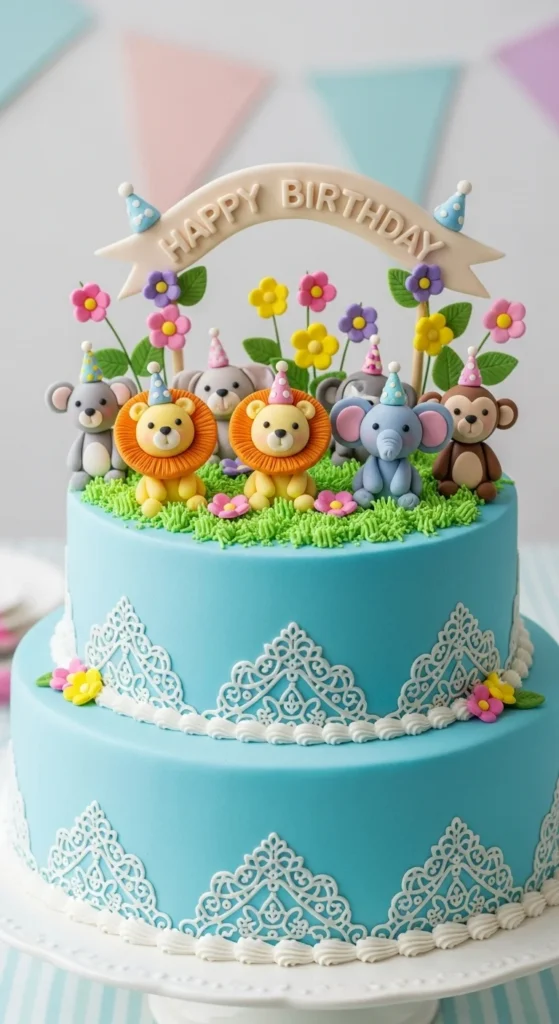
- Animals or Figures: Use the clay to create small balls for heads and bodies, and then attach the pieces together. For added detail, add tiny eyes or texture using small tools.
- Geometric Shapes: For a modern cake, you might want to make simple geometric shapes like hearts, stars, or circles. Use a cutter or hand-shape them for a custom look.
Remember to keep your design in proportion to your cake. These toppers are typically small, so avoid making overly large pieces that might look out of place.
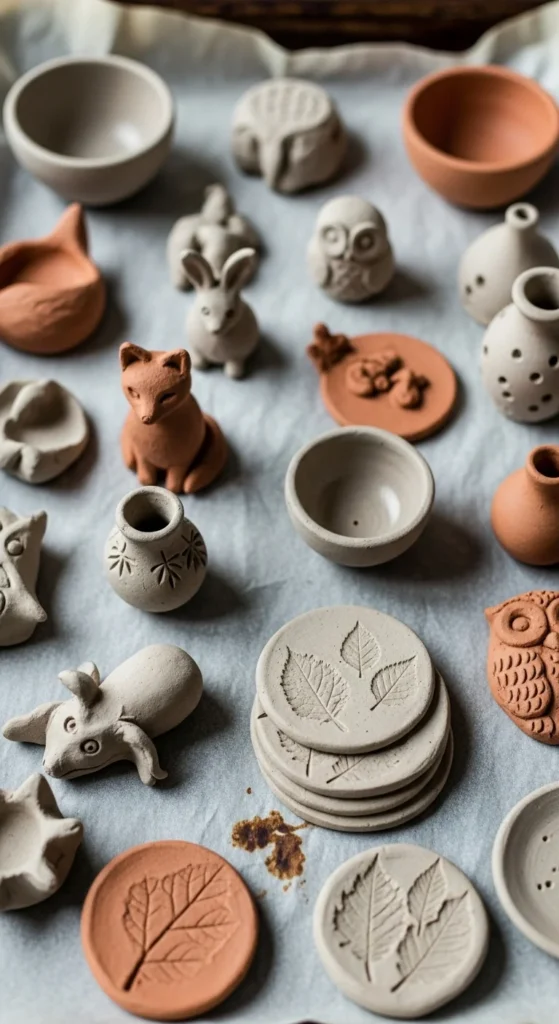
Step 3: Bake the Clay
Once you’re happy with your design, it’s time to bake the clay. Preheat your oven according to the instructions on the polymer clay packaging (usually around 275°F/130°C). Lay your clay creations on a baking sheet lined with parchment paper and bake for the recommended time. This usually takes about 15-30 minutes, depending on the size of your toppers.
Tip: Keep an eye on your clay as it bakes to ensure it doesn’t burn. If you’re unsure, it’s better to slightly underbake the clay than overbake it.
Step 4: Add Finishing Touches
After your clay toppers have cooled, it’s time to add any final details. You can paint them with acrylic paint for added depth or use a glaze to give them a shiny, polished look. A coat of glaze can help your toppers last longer and make them look even more stunning on the cake.
If your topper needs a way to attach securely to the cake, insert a toothpick or small wooden dowel into the base of the topper before baking. After baking, this will allow you to easily stick the topper into your cake.
Tip: If you plan on using a topper for multiple cakes, be sure to give it a protective glaze or sealant to preserve its appearance.
Step 5: Arrange the Toppers on Your Cake
Finally, arrange your clay toppers on your cake. Depending on your design, you can use them to decorate the top, sides, or even create a 3D scene around the cake. Carefully insert the dowels or toothpicks into the cake, ensuring the toppers are positioned securely.
Conclusion
Making clay toppers for custom cakes is a fun and creative way to personalize your baking projects. Whether you’re creating flowers for a spring-themed cake, fun animals for a kids’ birthday, or intricate designs for a wedding, the possibilities are endless. With just a few materials and a little patience, you can make toppers that will not only look great but also stand the test of time.
So, next time you’re planning a cake, why not add a custom clay topper to make it truly special? Happy crafting!
Save this guide for later and create your own cake masterpieces with these simple steps!

Leave a Reply