

If you’re looking to add a touch of personality to your home decor while also protecting your surfaces, crocheted coasters are the perfect solution! They’re functional, customizable, and incredibly easy to make. Whether you’re a seasoned crocheter or a beginner, creating your own coasters is a fun project that adds a personal touch to your living space.
Why Crochet Coasters?
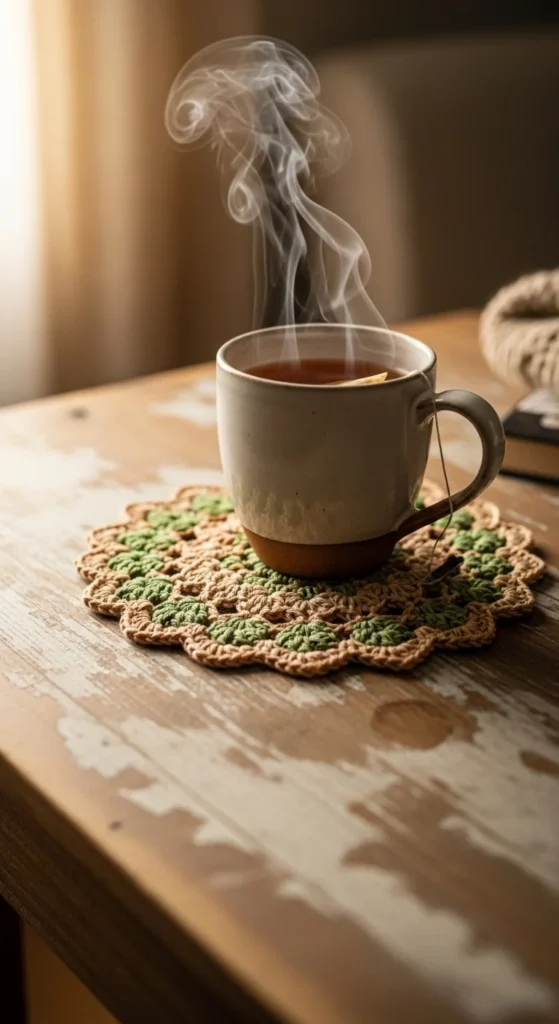
Crocheted coasters serve two purposes: they protect your furniture from water rings, hot cups, and spills, while also adding a decorative flair to your table. With so many yarn colors and patterns to choose from, you can easily match them with your home’s aesthetic. Plus, crocheting your own coasters is a great way to use up leftover yarn from other projects!
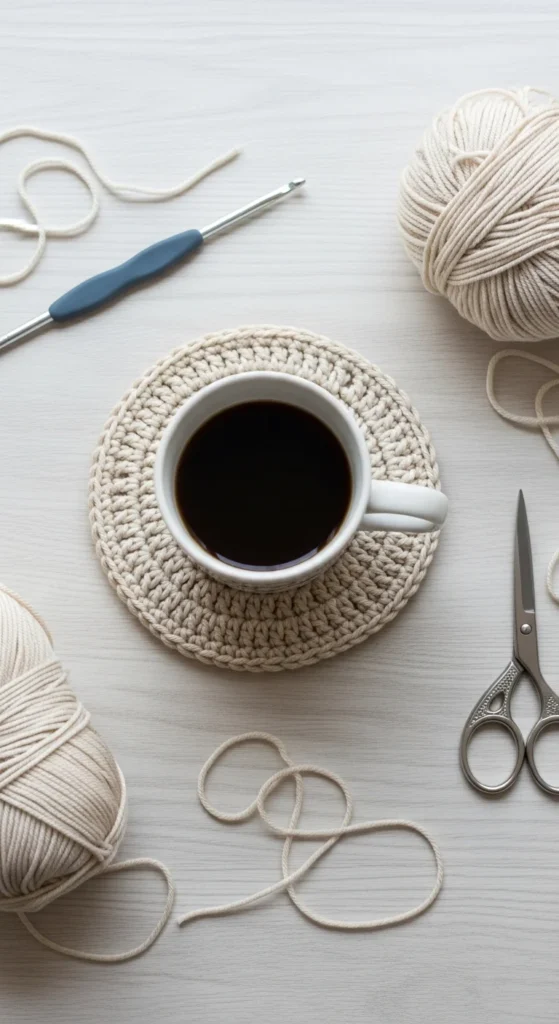
Materials You’ll Need
Before you start crocheting, gather your supplies. Here’s a simple list to help:
- Yarn: Choose cotton yarn for durability and absorbency. You can pick any color that matches your décor, or even use multiple colors for a fun, vibrant look.
- Crochet Hook: A size G (4.0mm) hook is perfect for most coaster patterns, but feel free to check your yarn label for recommended hook sizes.
- Scissors: To cut your yarn when you’re finished.
- Yarn Needle: For weaving in the ends when your coaster is complete.
Step-by-Step Guide to Making Your First Crocheted Coaster
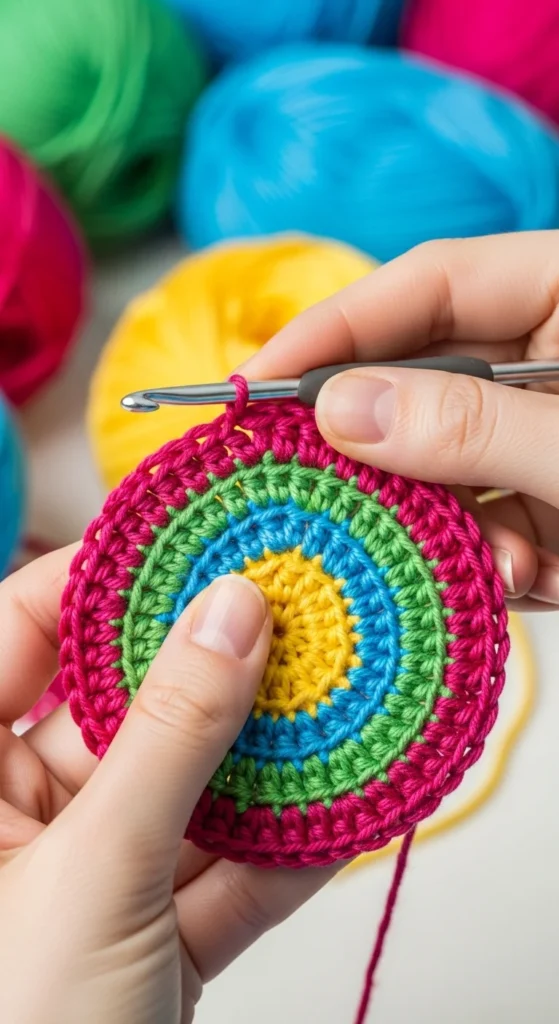
1. Start with a Magic Ring
Begin by creating a magic ring. This is a simple loop that will allow you to crochet in the round. If you’re not sure how to make a magic ring, here’s a quick guide:
- Wrap your yarn around your fingers to create a loop.
- Insert your hook into the loop, yarn over, and pull through to create your first chain.
- Work your first round of stitches into the magic ring.
This magic ring will form the base of your coaster.
2. Crochet the First Round
Now it’s time to crochet the first round. Most coaster patterns start with a series of double crochet stitches. In the magic ring, make 12 double crochets (dc), or follow the pattern for your desired coaster design. Once you’ve completed the first round, pull the yarn tail to close the ring.
3. Create the Second Round
For the second round, you’ll increase the number of stitches. If you’re following a basic coaster pattern, make 2 double crochets in each stitch around the ring. This will help the coaster lay flat and increase its size. After you finish the second round, you’ll notice your coaster beginning to take shape.
4. Continue with Rounds
For larger coasters, continue increasing in each round by adding a few more stitches until your coaster reaches your desired size. Don’t forget to keep your stitches tight but not too tight; this will ensure the coaster is both sturdy and flexible.
Tips for Personalizing Your Coasters
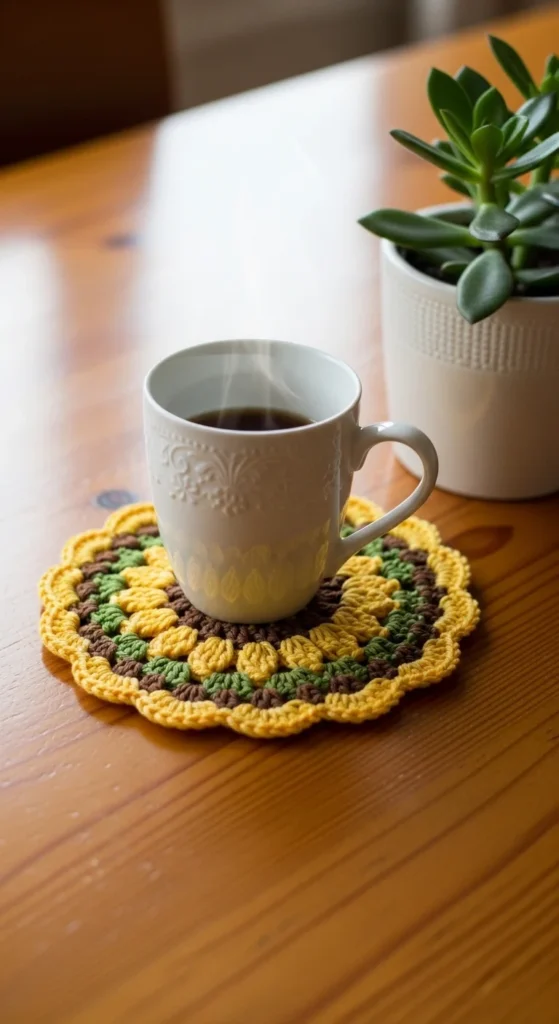
- Color Combinations: Mix and match yarn colors to create coasters that complement your living room, dining area, or office space. You could even make a set with different colors for each season—think pastel shades for spring, earthy tones for autumn, and bold colors for summer!
- Patterns and Designs: Once you’re comfortable with basic rounds, experiment with different patterns. Try a star stitch, granny squares, or even add a border to give your coasters more texture.
- Make Them Larger: If you want a larger coaster for bigger mugs, teacups, or even small plates, just add more rounds.
5. Finish Your Coaster
Once you’ve reached your desired size, finish the coaster by making a final slip stitch to close the round. Then, cut the yarn, leaving a small tail. Use your yarn needle to weave in the ends, making sure they’re secure so they don’t unravel over time.
Conclusion: Customize Your Coasters to Match Your Style
Crocheted coasters are an easy and fun way to personalize your home while protecting your tables and countertops. Whether you’re making them for yourself or as a thoughtful gift, the possibilities are endless. Get creative with color and pattern combinations, and soon you’ll have a beautiful collection of coasters that not only look great but are also functional.
So grab your yarn and hook, and start crocheting some cute coasters today! And don’t forget to save this guide for later—you’ll want to keep these instructions handy for all your future coaster-making adventures!

Leave a Reply