

There’s something magical about a beautifully decorated birthday cake. It instantly sets the mood, makes photos pop, and turns a simple celebration into a special memory. The good news? You don’t need fancy equipment or years of bakery experience to get that polished, professional look at home. With a few smart techniques and a little practice, you can decorate birthday cakes that look straight out of a bakery window.
Below, you’ll find step-by-step tips, beginner-friendly tricks, and decorating ideas that actually work—even if this is your first time trying.
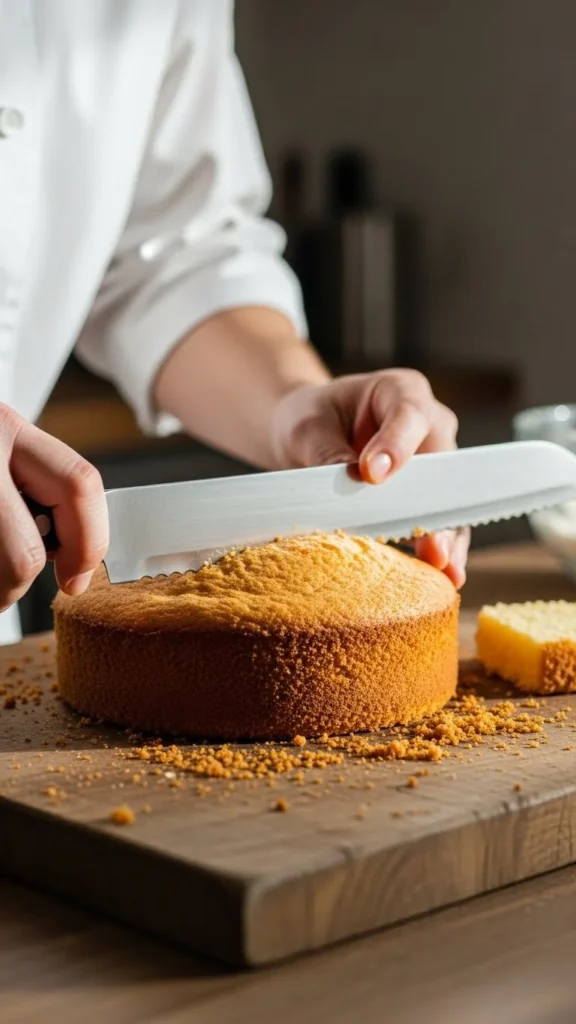
Start With a Solid Cake Base
Professional results always begin with a good foundation. Even the prettiest decorations can’t hide a cake that’s uneven or crumbly.
Before you decorate:
- Level your cake layers using a serrated knife so they stack evenly.
- Chill the layers for 20–30 minutes. Cold cake is easier to frost.
- Secure the cake to a board or stand with a small dab of frosting underneath.
Take your time here. This step alone makes a huge difference in how clean and polished your final cake looks.
Master the Crumb Coat (Your Secret Weapon)
If there’s one professional trick worth learning, it’s the crumb coat. This thin first layer of frosting locks in crumbs and creates a smooth base for the final layer.
How to do it:
- Spread a thin layer of frosting over the entire cake.
- Don’t worry if crumbs show—this is normal.
- Chill the cake again for 15–20 minutes until the frosting firms up.
Once set, your final coat will glide on smoothly without dragging crumbs around.
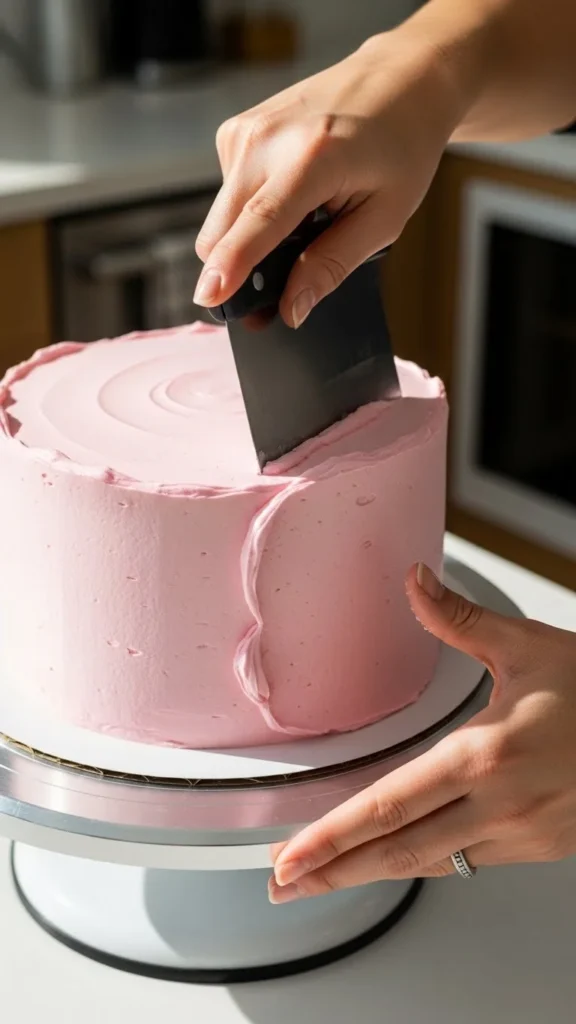
Get That Smooth, Bakery-Style Finish
A smooth cake instantly looks more professional, even with minimal decoration.
Tips for a flawless finish:
- Use an offset spatula for control.
- Apply frosting generously, then remove excess.
- Hold a bench scraper or flat spatula against the sides while slowly turning the cake.
- Smooth the top last, pulling frosting inward from the edges.
Don’t stress about perfection. Slight texture can still look intentional and stylish.
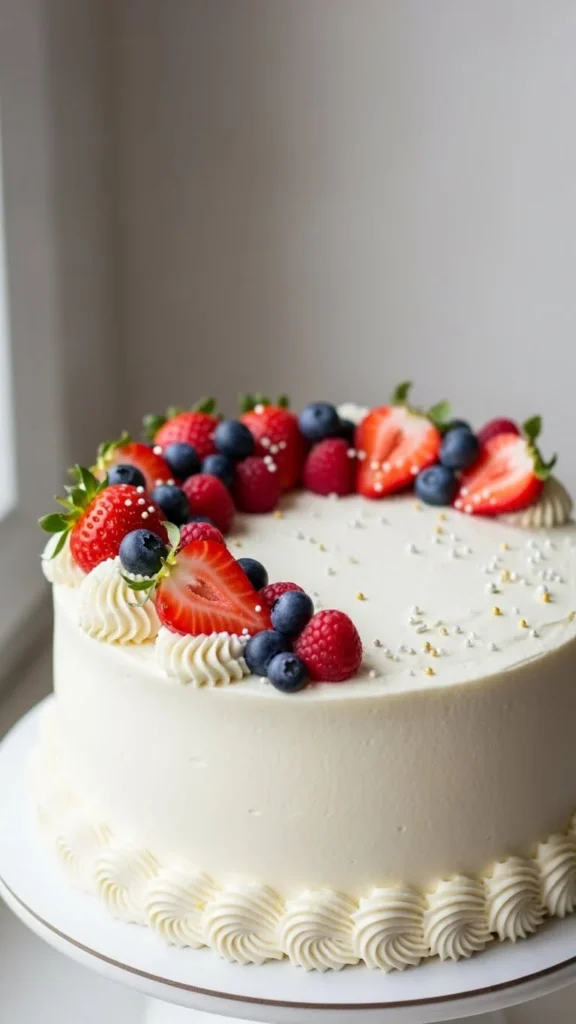
Decorate With Purpose, Not Pressure
Professional bakers don’t overload cakes—they decorate with intention. Pick one or two styles and commit to them.
Easy, elegant decoration ideas:
- Simple piping: Borders, shells, or swirls around the top edge.
- Sprinkle edges: Press sprinkles gently around the base or rim.
- Drip effect: Let a slightly warm glaze drip naturally down the sides.
- Fresh fruit: Berries or sliced fruit arranged neatly on top.
- Chocolate accents: Shards, curls, or simple drizzles.
Choose colors that match the party theme and keep the design balanced.
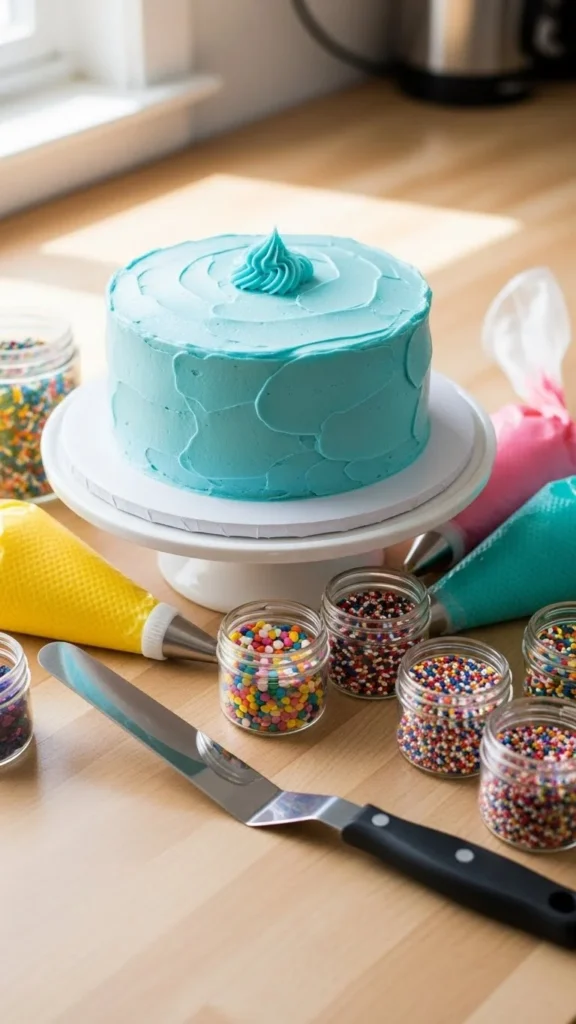
Use Piping Bags Without Fear
Piping looks intimidating, but it’s one of the fastest ways to elevate a cake.
Beginner-friendly piping tips:
- Star tip for rosettes and borders
- Round tip for dots and writing
- Petal tip for simple floral designs
Practice on parchment paper first. If you don’t love the result, scrape it back into the bowl and try again. That’s exactly how professionals learn.
Add Final Touches That Make It Pop
The last details are what make people say “Wow.”
Before serving:
- Clean the cake board with a damp paper towel.
- Add candles or toppers carefully so they don’t smudge frosting.
- Step back and check balance—sometimes removing one decoration improves the look.
If something feels off, trust your instinct and simplify.
Practice Makes Progress
No professional decorator started out perfect. Each cake teaches you something new—how frosting behaves, how much pressure to use, or which designs you enjoy most.
Start simple. Focus on smooth frosting first. Then add piping. Over time, your confidence and skills will grow naturally.
Final Takeaway
Decorating birthday cakes like a professional isn’t about expensive tools—it’s about technique, patience, and having fun with the process. Save this guide, try one new trick on your next cake, and enjoy the moment when everyone asks, “Where did you buy this cake?”

Leave a Reply