

First impressions matter. A birthday invitation sets the tone before the party even begins. The good news? You don’t need a graphic design degree—or an expensive printer—to create invitations that look polished and professional.

With a few smart design choices and a focus on details, your DIY invitations can look just as refined as anything from a boutique stationery shop. Let’s break it down step by step.
Start With a Clear Theme and Mood
Before opening any design tool, decide how the invitation should feel. This choice guides every design decision that follows.
Ask yourself:
- Is the party playful, elegant, or minimal?
- Is it for a child, teen, or adult?
- Will it be casual at home or more dressed-up?
Once you know the vibe, stick to it. Consistency is what makes designs look professional.
Popular theme directions:
- Soft pastels for kids or spring birthdays
- Neutral tones for modern or minimalist parties
- Bold colors for energetic, fun celebrations
Avoid mixing too many styles. One strong direction always looks more intentional.
Choose Fonts That Feel Polished
Fonts make or break an invitation. Store-bought designs usually keep typography simple and readable.
A good rule of thumb:
- One decorative font for the name or headline
- One clean font for details like date and location
Avoid using more than two fonts. Too many styles make designs feel cluttered.
Helpful font tips:
- Script fonts work best in small doses
- Sans-serif fonts look modern and clean
- Leave plenty of spacing between lines
If you’re unsure, lean simple. Clean fonts always photograph and print better.

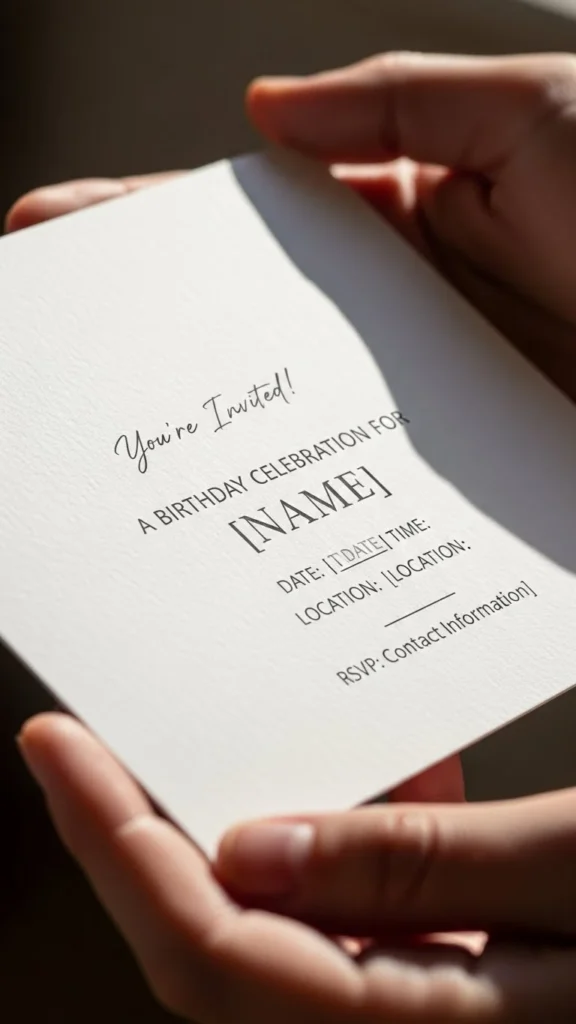
Use a Balanced Layout (White Space Is Your Friend)
Professional invitations never feel cramped. White space—the empty area around text and graphics—creates a high-end look.
Try these layout ideas:
- Centered text with wide margins
- Simple border framing the content
- Clear sections for name, date, and details
Resist the urge to fill every inch. Empty space makes important details stand out and gives the design room to breathe.
Quick layout checklist:
- Is the name easy to spot?
- Can details be read at a glance?
- Does anything feel crowded?
If yes, remove something. Less almost always looks better.
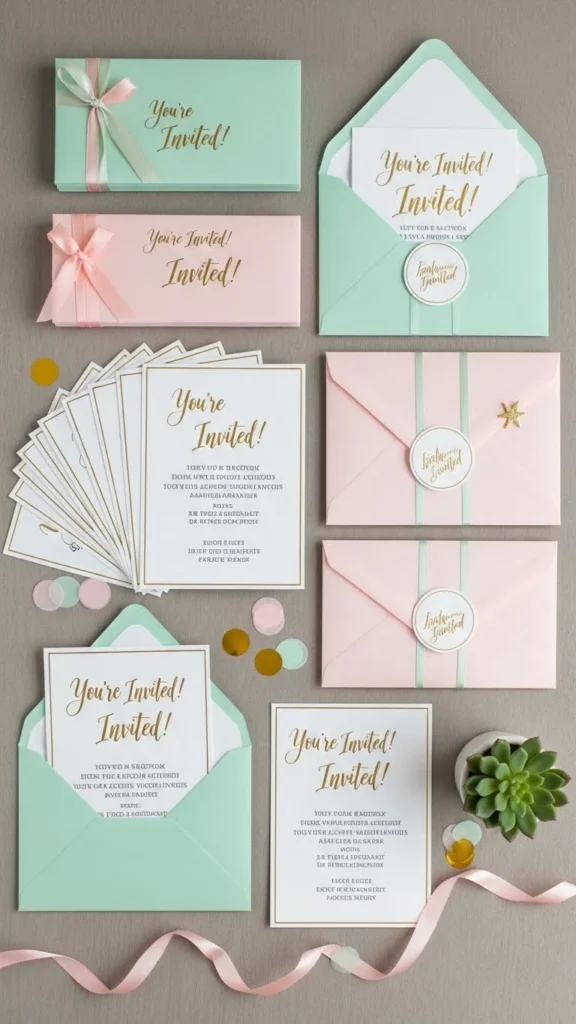
Stick to a Simple Color Palette
Limiting your colors is one of the easiest ways to get a store-bought look.
Aim for:
- One main color
- One accent color
- One neutral (white, cream, or soft gray)
Using too many colors can feel messy, especially when printed.
Design tip:
- Light backgrounds print cleaner than dark ones
- Soft tones photograph beautifully for keepsakes
- Matching envelope colors elevate the final look
Add Subtle Design Details (Not Decorations Overload)
Small details make invitations feel intentional without overpowering the design.
Consider adding:
- Thin lines or borders
- Soft shapes like dots or arches
- Light textures that resemble paper grain
Avoid heavy graphics or busy patterns. Subtle accents look more refined and are easier to print cleanly.
Pro tip:
If it wouldn’t look good in black and white, it might be too busy.
Pick the Right Paper for a Premium Feel
Paper choice instantly upgrades your invitation. Even a simple design looks high-end on quality paper.
Look for:
- Medium to heavyweight cardstock
- Matte or lightly textured finishes
- Smooth edges for clean trimming
You don’t need specialty shops. Many local stores carry excellent cardstock options that print beautifully at home.
Test Print Before Making Final Copies
This step is often skipped—and often regretted.
Before printing everything:
- Print one sample
- Check colors and spacing
- Make sure text is readable
What looks perfect on screen can shift slightly on paper. Adjust brightness or font size if needed.
Bonus tip:
Trim one test invitation fully. Seeing it finished helps you spot small issues early.
Finish With Thoughtful Presentation
Presentation matters just as much as design.
Elevate your invitations by:
- Using matching envelopes
- Adding simple envelope liners
- Sealing with a small sticker or stamp
Even minimal designs feel special when the presentation is intentional.
Final Takeaway
Designing birthday invitations that look store-bought isn’t about fancy tools—it’s about smart choices. Keep your theme clear, fonts simple, colors limited, and layouts uncluttered. Focus on quality paper and clean presentation, and your invitations will look polished, professional, and party-ready.
Save this guide for your next celebration—and enjoy creating invitations that impress before the party even starts.

Leave a Reply