

A great party doesn’t end when the guests leave. It lingers in the small details they take home. Thank-you tags are one of those details. They may be tiny, but when they match your party theme, they feel thoughtful, intentional, and memorable. Whether you’re planning a birthday, baby shower, holiday gathering, or casual get-together, themed thank-you tags pull everything together in a way guests instantly notice.
Below is a simple, step-by-step guide to designing thank-you tags that truly match your party theme—without overthinking it or overspending.
Start With the Party Theme First
Before opening a design app or choosing cardstock, pause and define your theme clearly. A matching tag starts with theme clarity, not design tools.
Ask yourself:
- Is the party playful, elegant, rustic, modern, or whimsical?
- What are the main colors already used in décor?
- Are there repeating elements like florals, stars, animals, or shapes?
Once you’re clear, every design decision becomes easier. Your thank-you tag should feel like a natural extension of the party, not a separate piece added at the end.
Tip: If your party uses three main colors, limit the tag to one or two of them. This keeps it cohesive without looking busy.
Choose a Shape That Fits the Vibe
Tag shape is often overlooked, but it sets the tone instantly. The shape should echo the theme’s personality.
Common options:
- Classic rectangle or square for clean, modern parties
- Scalloped or rounded edges for soft, sweet themes
- Circle tags for playful or kid-friendly events
- Die-cut shapes (stars, hearts, animals) for themed celebrations
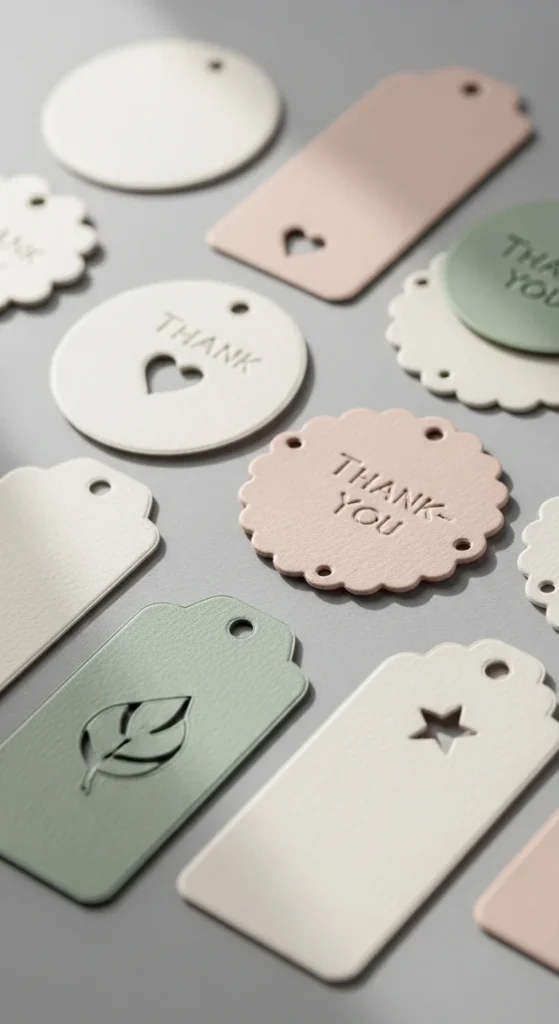
You don’t need specialty equipment. Many craft stores sell pre-cut tags, or you can cut simple shapes with scissors and a steady hand.
Match Fonts Without Overdoing It
Fonts carry mood. A mismatched font can make even the prettiest tag feel off-theme.
A simple rule:
- Script or handwritten styles work well for romantic or soft themes
- Bold, clean fonts suit modern or minimalist parties
- Rounded fonts feel friendly and fun for kids’ events
Keep it readable. Thank-you tags are small, so avoid overly thin or decorative fonts that are hard to see from arm’s length.
Design tip: Use one font only or pair a simple font with a slightly decorative one. More than two fonts can feel cluttered.
Use Graphics That Reflect the Decor
If your party has visual motifs, repeat them subtly on the tag. This could be:
- Florals that match table arrangements
- Stars, clouds, or rainbows from banners
- Seasonal elements like leaves or snowflakes
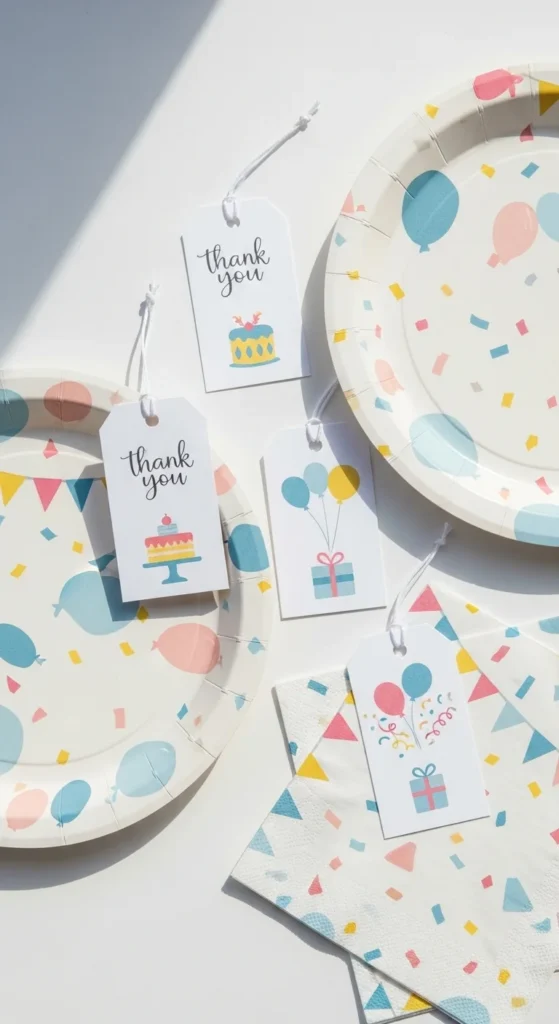
You don’t need complex illustrations. Even a small icon in one corner can create a strong connection between the tag and the party setup.
Pick the Right Paper Finish
Paper choice affects how the tag feels in someone’s hand. It’s a small detail, but it makes a big impression.
Popular options:
- Matte cardstock for a soft, polished look
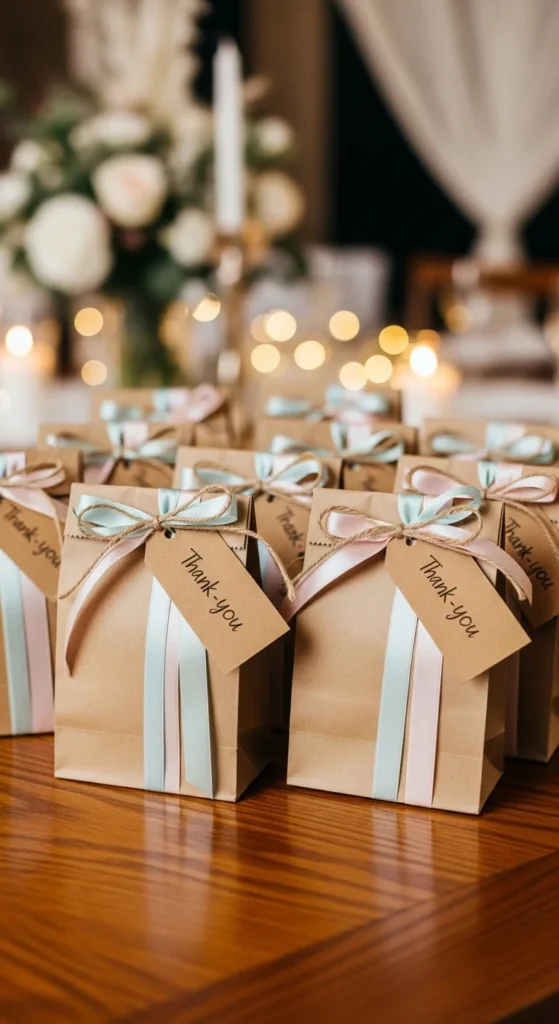
- Kraft paper for cozy or rustic themes
- Glossy paper for bright, colorful parties
If printing at home, choose heavier paper so the tag doesn’t bend easily when tied to favors.
Budget tip: Print multiple tags on one sheet and cut them yourself. This keeps costs low while still looking custom.
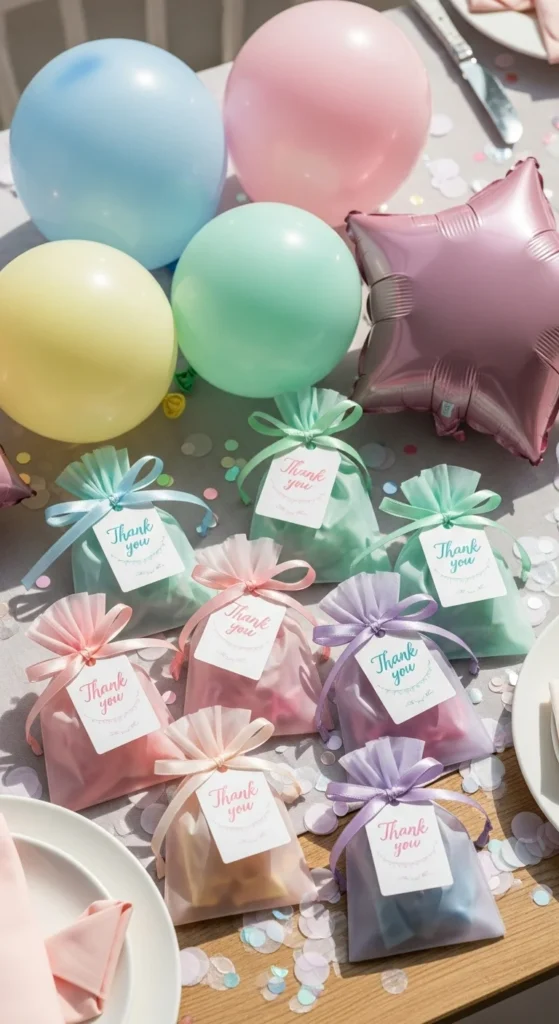
Coordinate With the Favor, Not Against It
The thank-you tag should complement the favor it’s attached to. A beautiful tag loses impact if it clashes with the packaging.
Think about:
- Ribbon or string color
- Favor bag or box material
- Overall size balance
If the favor is busy or colorful, keep the tag simple. If the favor is neutral, let the tag add personality.
Keep the Message Short and Sweet
The design matters, but the message still counts. A few words are enough.
Examples:
- “Thank you for celebrating with us”
- “So glad you came”
- “Thanks for making today special”
Short messages leave room for design to shine and prevent the tag from feeling crowded.
Final Touches That Make It Feel Custom
To elevate your tags without extra effort:
- Punch a small hole slightly off-center for a handmade look
- Use twine, ribbon, or raffia that matches the theme
- Round corners with scissors for a softer finish
These details make the tag feel intentional rather than last-minute.
The Takeaway
Designing thank-you tags that match party themes doesn’t require advanced skills—just thoughtful choices. When colors, shapes, fonts, and materials work together, even the smallest tag feels special.
Save this guide for your next party, and let your thank-you tags become part of the celebration—not just an afterthought.

Leave a Reply