

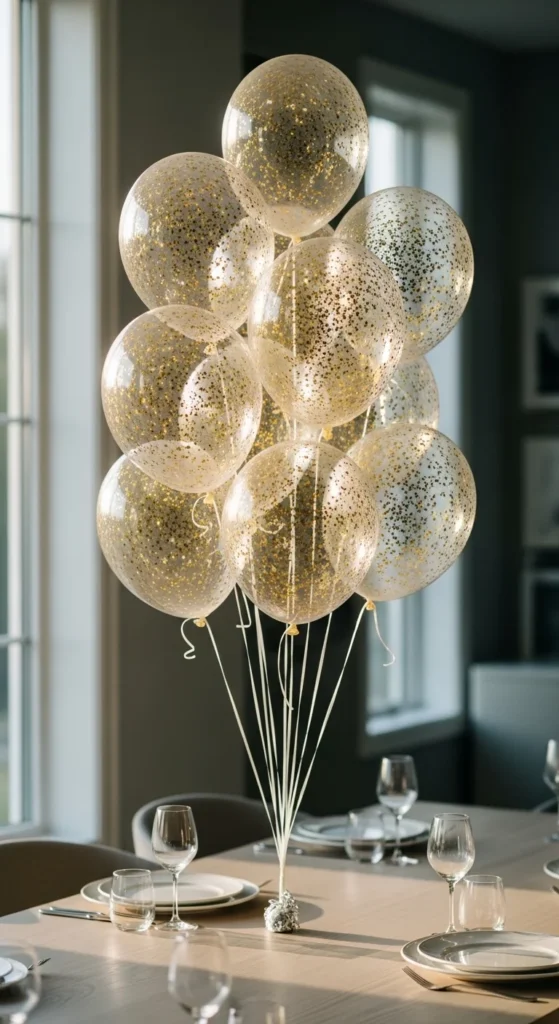
Glitter balloons are one of those party details that look high-end but are surprisingly easy to make at home. They catch the light, photograph beautifully, and instantly make a celebration feel styled and intentional. Whether you’re planning a birthday, baby shower, engagement party, or cozy at-home celebration, glitter balloons add that extra sparkle without blowing your budget.
The best part? You don’t need special equipment or crafting experience. With a few simple supplies and a little patience, you can create glam balloons that look store-bought and Pinterest-ready.
Why Glitter Balloons Make Such a Statement
Glitter balloons work because they balance simplicity with shine. Clear balloons feel modern and airy, while the glitter inside adds movement and glow as the balloons shift.
They’re perfect for:
- Backdrops behind dessert tables
- Balloon bouquets for corners or entryways
- Photo moments and flat-lay party shots
- Mixing with solid balloons for visual contrast
Because you control the glitter color and amount, you can tailor them to any theme, from soft neutrals to bold glam.
What You’ll Need Before You Start
Before you inflate anything, gather your supplies. Having everything ready makes the process smoother and less messy.
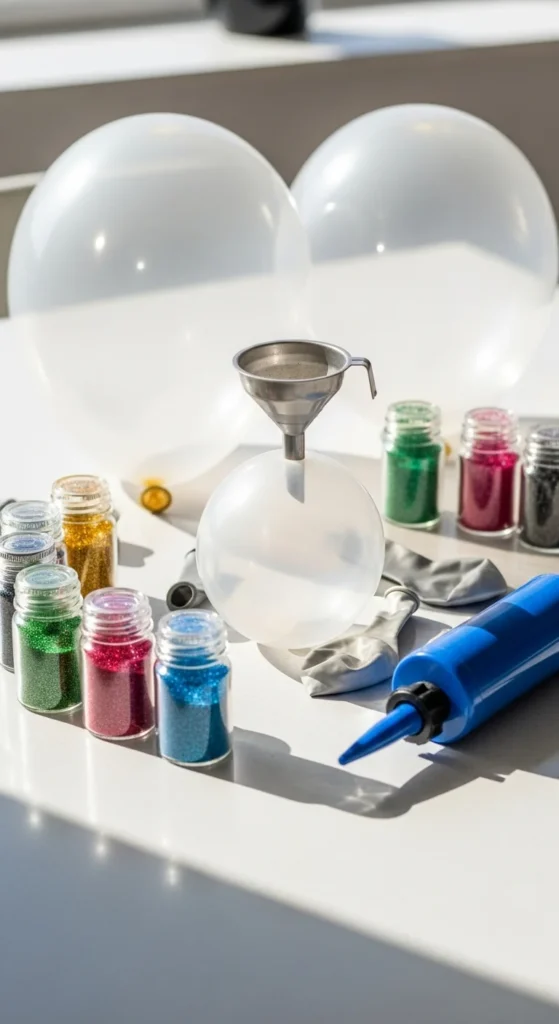
Basic supplies:
- Clear latex balloons (quality matters here)
- Fine glitter (ultra-fine works best)
- A small funnel or paper cone
- Balloon pump (optional but helpful)
- Microfiber cloth or paper towel
- Optional ribbon or balloon weights
Quick tip: Avoid chunky glitter. Fine glitter spreads evenly and sticks better to the balloon interior.
How to Add Glitter Without the Mess
This is the step that intimidates most people—but it’s easier than it looks.
Step-by-step:
- Stretch the balloon first. Gently pull it a few times to make inflation easier later.
- Insert the funnel. Place it snugly into the balloon opening.
- Add glitter slowly. One teaspoon is usually enough for a standard balloon.
- Remove the funnel carefully. Pinch the balloon opening to keep glitter inside.
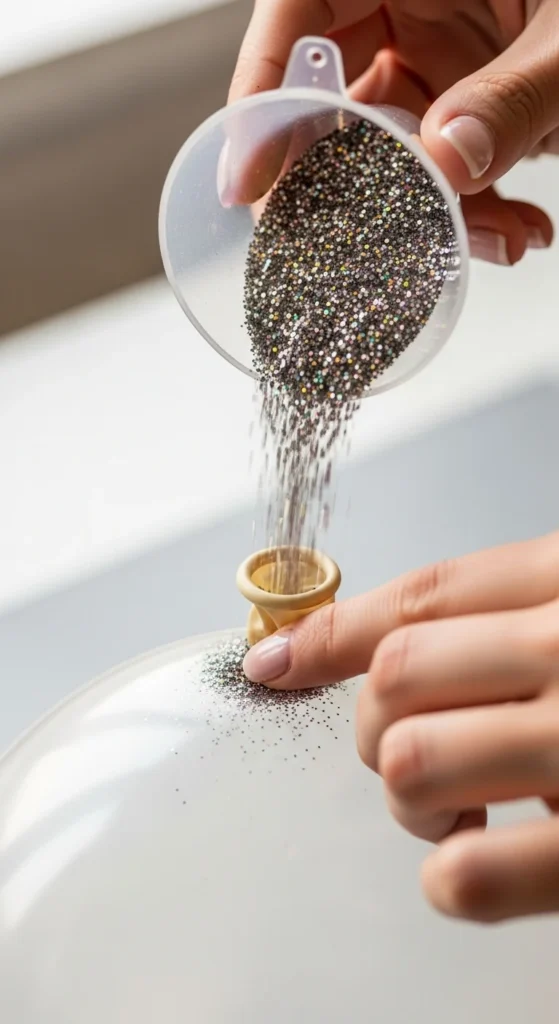
If glitter sticks near the opening, tap the balloon gently to move it deeper inside.
Inflating and Coating the Balloon Evenly
Once the glitter is inside, it’s time to bring the balloon to life.
Inflation tips:
- Inflate slowly to prevent glitter from clumping.
- Stop just before the balloon is fully tight.
- Tie the knot carefully to avoid static spills.
To evenly coat the inside:
- Rub the balloon gently with a microfiber cloth.
- Roll the balloon in your hands.
- Tilt and rotate until glitter spreads around the interior.
This step creates that floating, scattered sparkle effect that looks so polished in photos.
Choosing Colors for a Glam Look
Color choice makes a huge difference in the final result. Think about the mood you want to create.
Popular combinations:
- Clear balloons + gold glitter for classic glam
- Clear balloons + silver glitter for modern themes
- Clear balloons + blush or rose glitter for soft elegance
- Clear balloons + black glitter for dramatic contrast
You can also mix glitter balloons with solid latex balloons to create depth and keep the look balanced.
Styling and Display Ideas That Feel Effortless
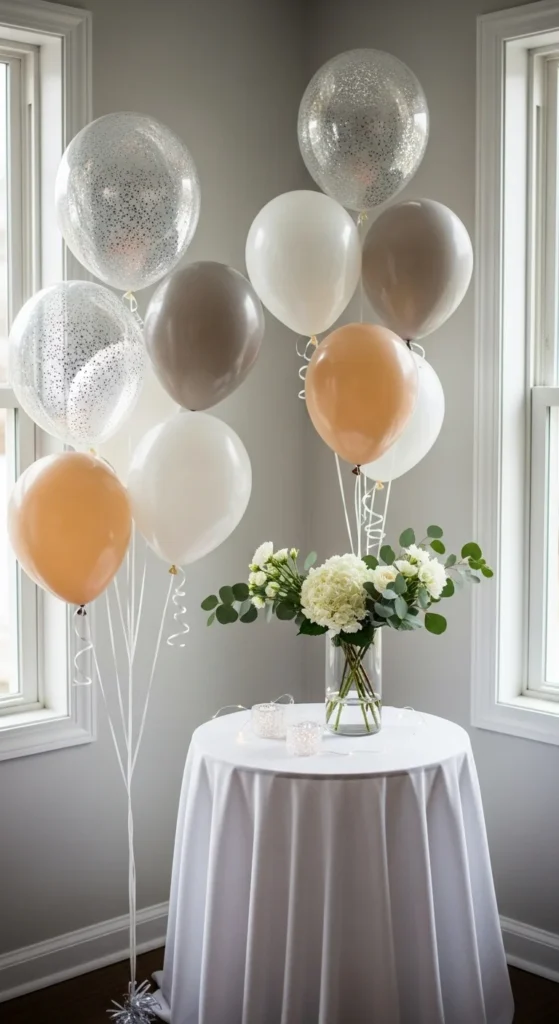
Glitter balloons shine most when they’re styled simply. Let the sparkle do the work.
Easy display ideas:
- Group balloons in odd numbers for a natural look
- Use clear fishing line for a floating effect
- Anchor balloons with minimal weights or decor accents
- Place near windows to catch daylight
Avoid overcrowding. Space allows the glitter to reflect light and keeps the setup feeling airy.
Common Mistakes to Avoid
Even simple DIYs have a few pitfalls. Here’s how to avoid frustration.
- Overfilling with glitter: Less is more
- Using low-quality balloons: They can look cloudy
- Skipping the coating step: Glitter won’t distribute evenly
- Inflating too fast: This causes clumps
Taking your time during setup makes a big difference in the final look.
Make Them Ahead Without Losing the Shine
You can prep glitter balloons a few hours before your event.
Best practices:
- Inflate them the same day if possible
- Store away from heat and direct sunlight
- Keep them spaced so they don’t rub together
This keeps the balloons clear, glossy, and party-ready.
Final Takeaway
Glitter balloons are proof that small details create big impact. With a few basic supplies and a calm setup process, you can transform any space into something that feels intentional, celebratory, and photo-worthy.
Save this idea for your next celebration, and don’t forget to pin your favorite color combos for later.

Leave a Reply