

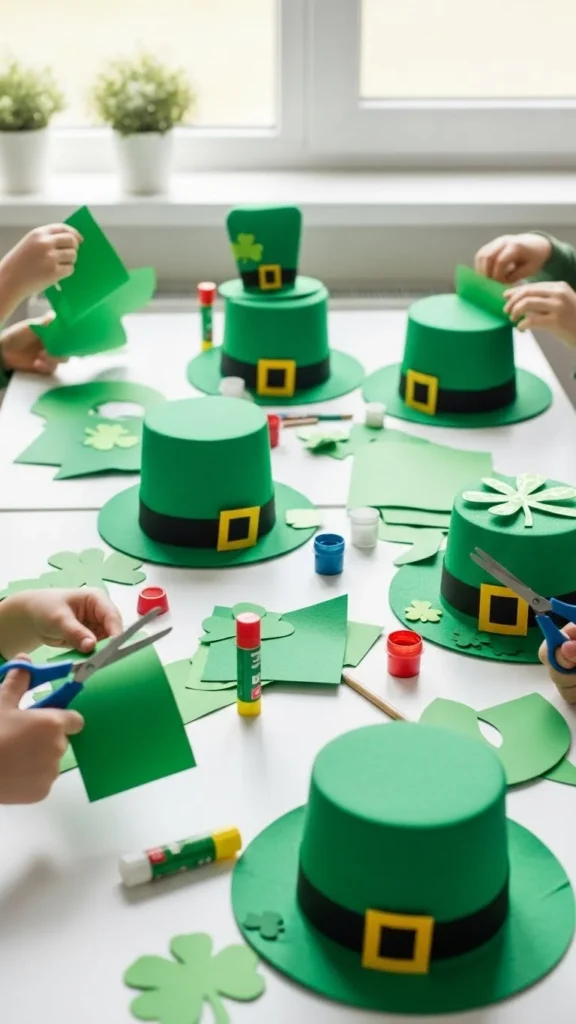
Leprechaun hat crafts are a fun way to keep kids busy while letting them use their hands and imagination. These projects work well for classrooms, rainy afternoons, or St. Patrick’s Day parties at home. Most ideas use simple supplies you may already have. Paper, cardboard, paint, and glue go a long way. Each craft focuses on easy steps, low cost, and lots of room for kids to add their own style.
1. Paper Plate Leprechaun Hat
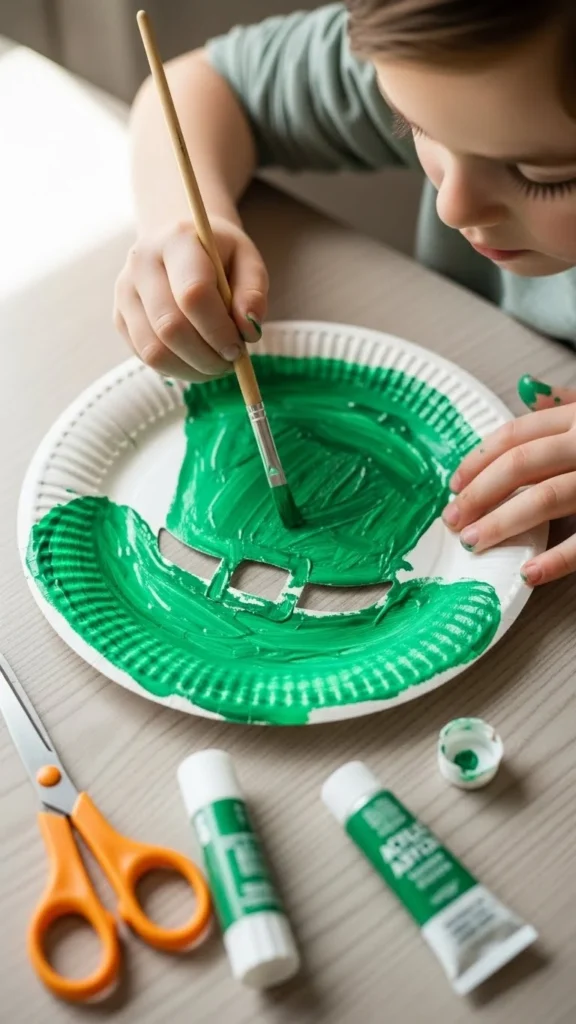
Paper plates are easy to find and simple to shape. Start by cutting a strip from the center of one plate to form the hat base. Use another plate to cut the brim. Kids can paint everything green and let it dry. Once dry, glue the pieces together.
This craft works well for younger kids. The plate is sturdy and easy to hold. Add a paper strip for the buckle using scrap paper. Crayons or markers also work if paint feels messy.
For a budget tip, use leftover plates from parties. Let kids share paint trays to save supplies. Each hat turns out a little different, which keeps the activity fun. Hang the finished hats on a wall or string them together for simple room decor.
2. Toilet Paper Roll Mini Hat
Toilet paper rolls make great mini hats. Paint the roll green and let it dry. Cut a circle from cardboard for the brim and glue the roll in the center. Add a paper buckle or sticker shapes.
These hats are small and quick to finish. Kids enjoy seeing trash turn into art. Use them as table decorations or tape them to paper for a full scene.
Save money by collecting rolls ahead of time. Cardboard boxes work well for brims. This craft fits short attention spans and still feels special once finished.
3. Construction Paper Folded Hat
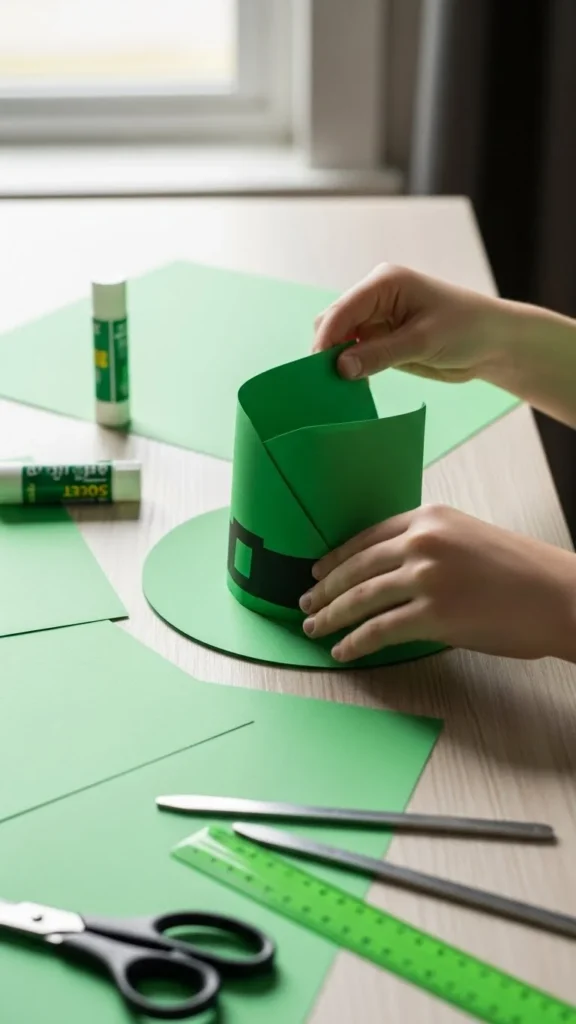
Construction paper hats are all about folding and simple cuts. Start with a rectangle. Fold it into a tube shape and tape it closed. Cut a brim from another sheet and attach it.
Kids can practice folding and shaping. This helps with hand control. Let them choose different green shades or mix in white paper details.
Construction paper is low cost and easy to replace. Mistakes are part of the fun. Each hat shows a child’s own choices and ideas.
4. Felt Sticker Leprechaun Hat
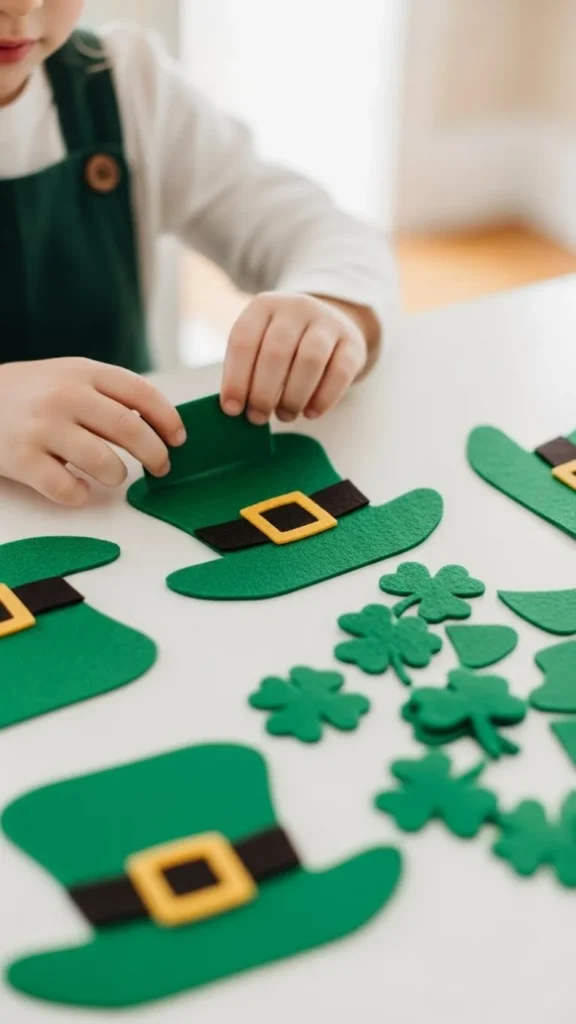
Felt stickers make crafting quick and clean. Cut a simple hat shape from cardstock. Let kids cover it with felt pieces. Peel-and-stick felt removes the need for glue.
This craft works well in group settings. There is less mess and faster setup. Kids can layer colors and shapes.
Buy felt sheets in packs to save money. Leftover felt can be reused for other projects. The hats feel soft and sturdy once finished.
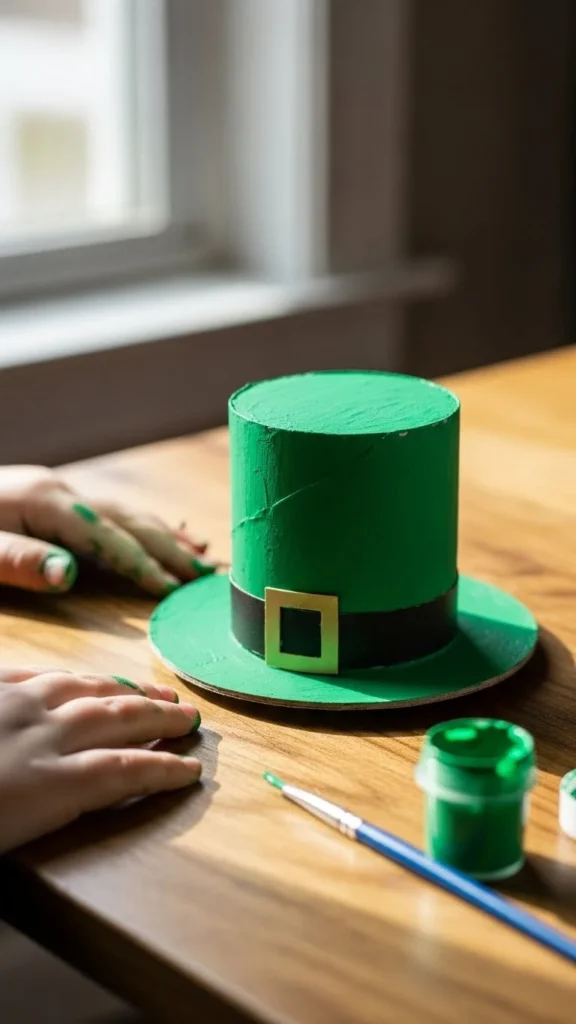
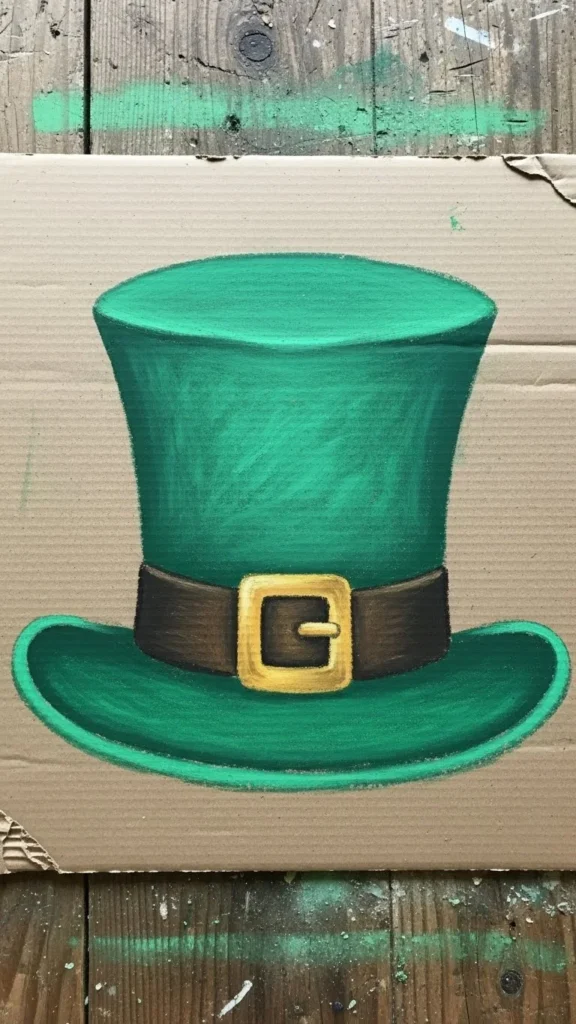
5. Cardboard Box Hat
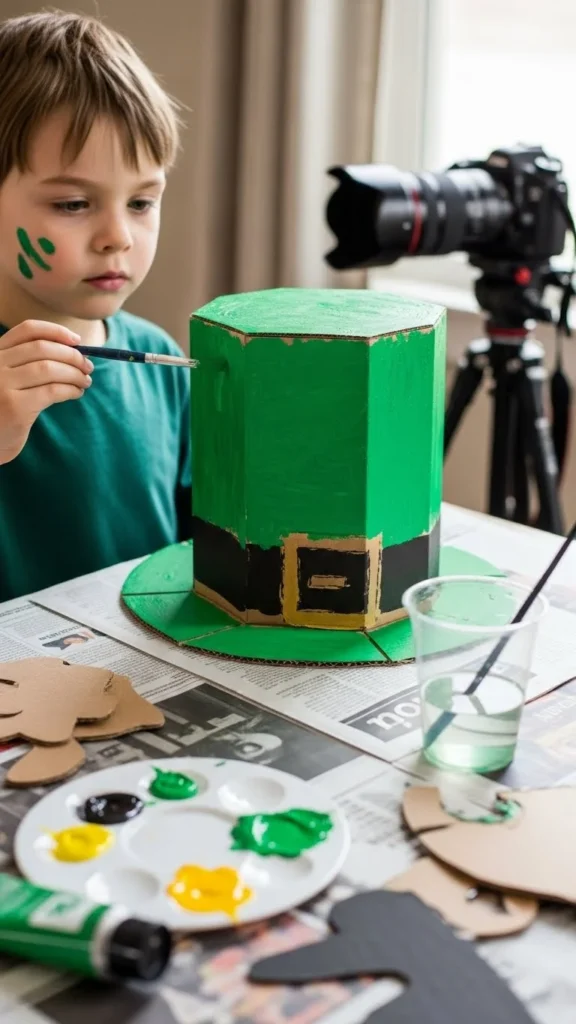
Small cardboard boxes can become bold leprechaun hats. Cut the box into a tall hat shape. Add a flat cardboard brim. Paint everything green.
This craft feels big and exciting. Kids enjoy working on something larger. It also works well as a shared project.
Use shipping boxes to keep costs low. Acrylic or washable paint both work. Let the hats dry fully before wearing or displaying.
6. Paint-Stamped Hat Art
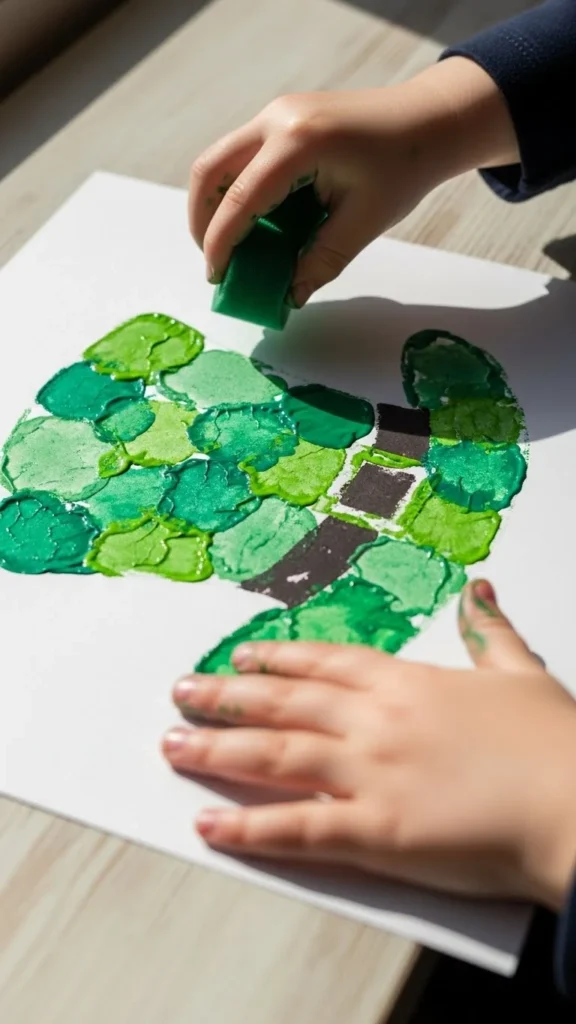
Stamping is fun and easy. Cut a simple hat shape on paper. Use sponges or foam shapes dipped in paint to stamp patterns.
This project focuses on texture. Kids can mix light and dark greens. No two hats look the same.
Use dish sponges cut into shapes. Wash and reuse them. This keeps the activity affordable and repeatable.
7. Sponge-Painted Hat Craft
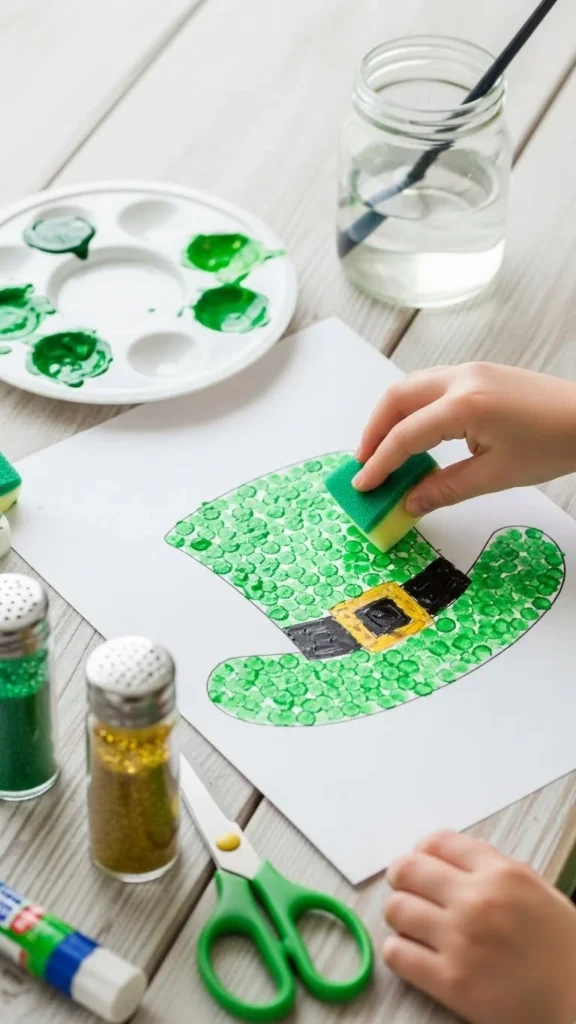
Sponge painting gives a soft, dotted look. Draw a hat outline on paper. Dip sponges into paint and dab inside the lines.
This method is easy for small hands. It also dries quickly. Kids enjoy the tapping motion.
Reuse sponges from the kitchen. Paper towels work in a pinch. Simple tools still lead to fun results.
8. Hat with Yarn Hair
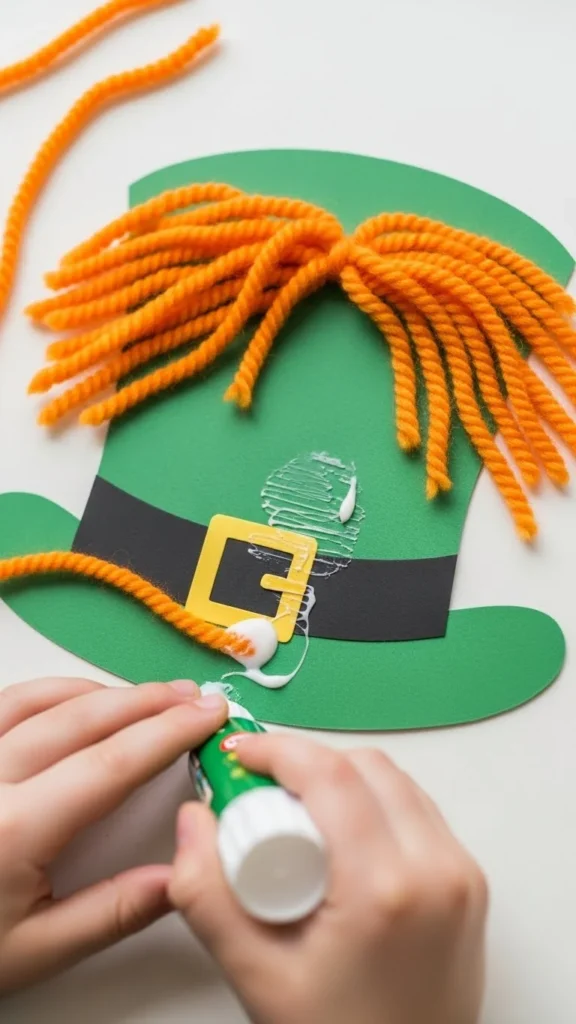
Add yarn to give the hat character. Create a paper hat base. Glue short yarn strands along the sides or bottom.
Kids can choose yarn colors and lengths. This adds texture and movement.
Use scrap yarn from other projects. Short pieces work best. This is a good way to use leftovers.
9. Leprechaun Hat Headband
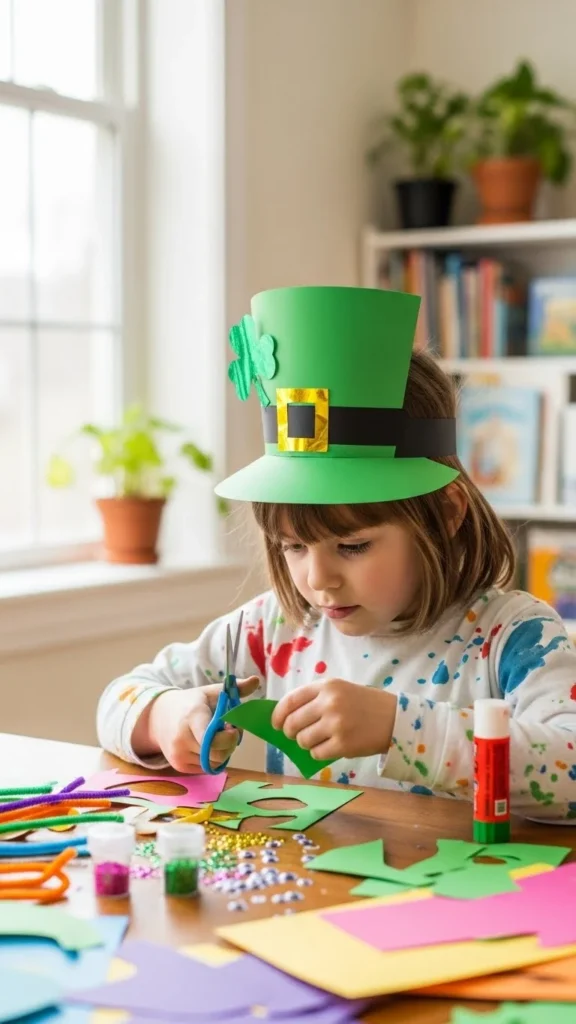
Turn hats into wearables with headbands. Make a small paper hat and glue it to a plain headband.
Kids enjoy wearing their work. It also makes photos fun.
Use plain plastic or paper headbands. Tape works if glue is not ready. Simple materials still bring smiles.
10. Cup-Based Mini Hat
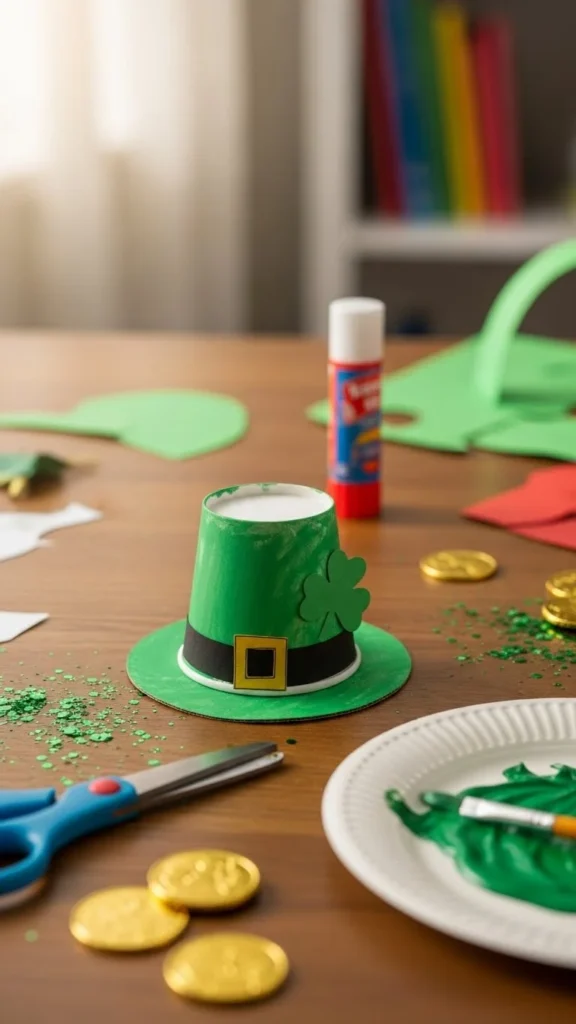
Paper cups flip into easy hats. Turn the cup upside down. Paint it green. Add a cardboard brim.
This craft is quick and sturdy. It stands up well for displays.
Save cups from parties. Cardboard scraps finish the look without extra cost.
11. Crayon-Resist Hat Art
Draw a hat with white crayon. Paint over it with watercolor. The lines appear as the paint dries.
Kids love the surprise effect. It feels like magic.
Crayons and watercolor are low cost. This craft also dries flat for easy storage.
12.Button-Decorated Hat
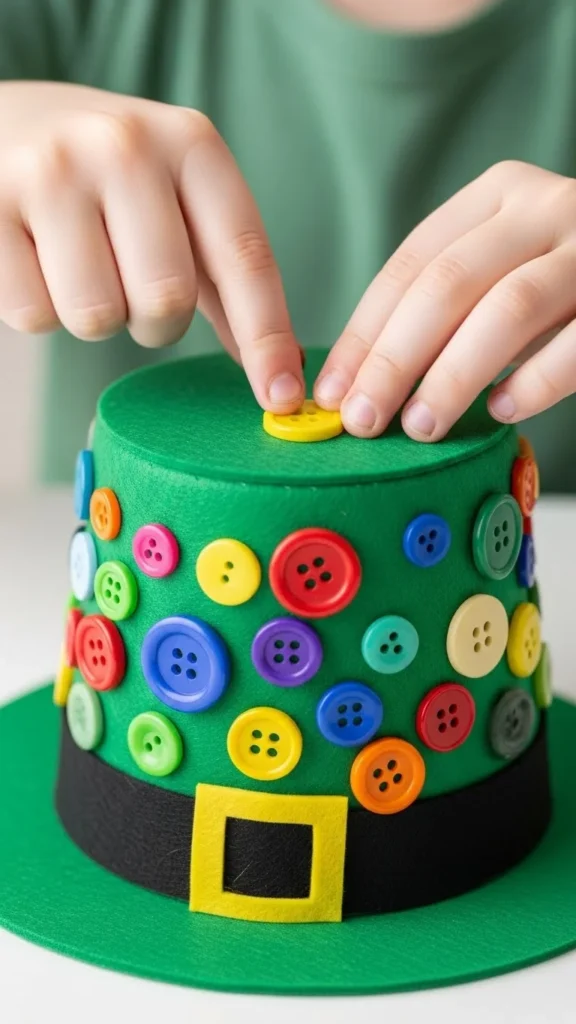
Buttons add detail. Glue them onto a paper or cardboard hat shape.
This craft helps with hand control. Buttons come in many sizes.
Use spare buttons from sewing kits. Mix colors for a playful look.
13. Recycled Cereal Box Hat
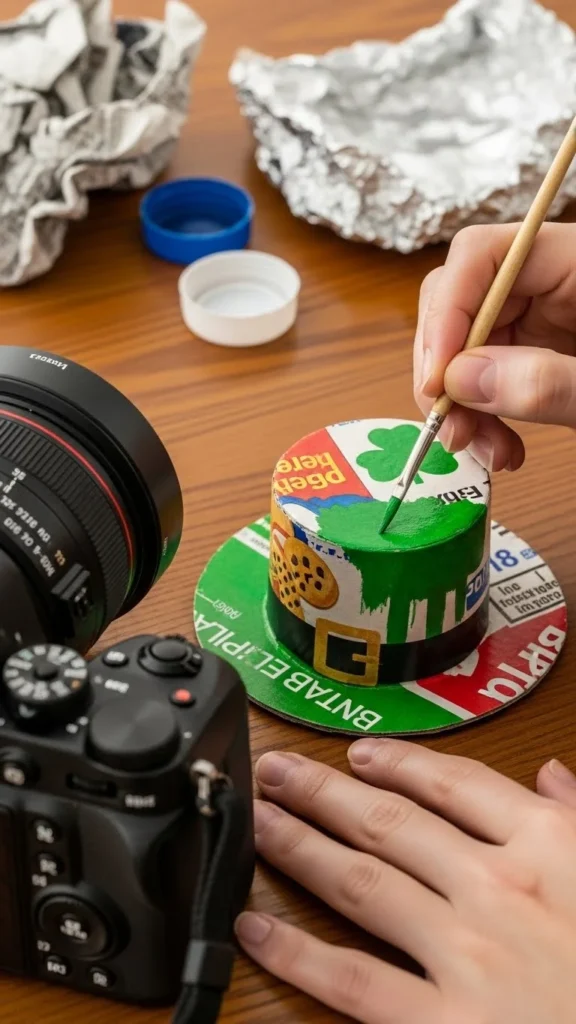
Cereal boxes cut easily. Use them to shape a hat and brim. Paint or color.
This is a smart way to reuse packaging. It also keeps costs low.
Let kids help cut with safety scissors. The cardboard holds its shape well.
14. Foam Sheet Leprechaun Hat
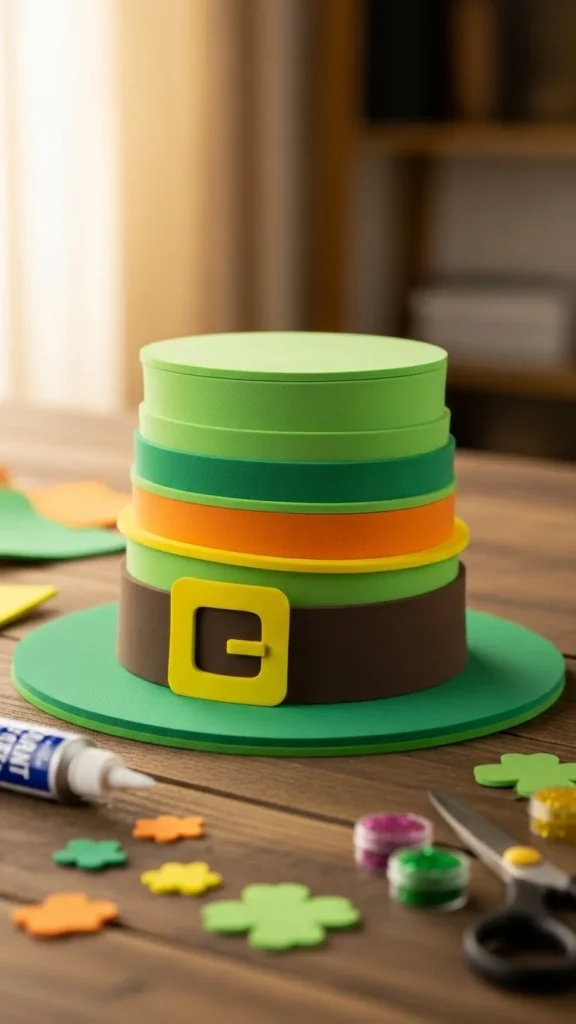
Foam sheets are soft and easy to cut. Shape the hat and layer pieces.
No paint is needed. Colors stay bold.
Buy foam in multipacks. Leftovers store flat for later use.
15. Hat with Cotton Cloud Trim
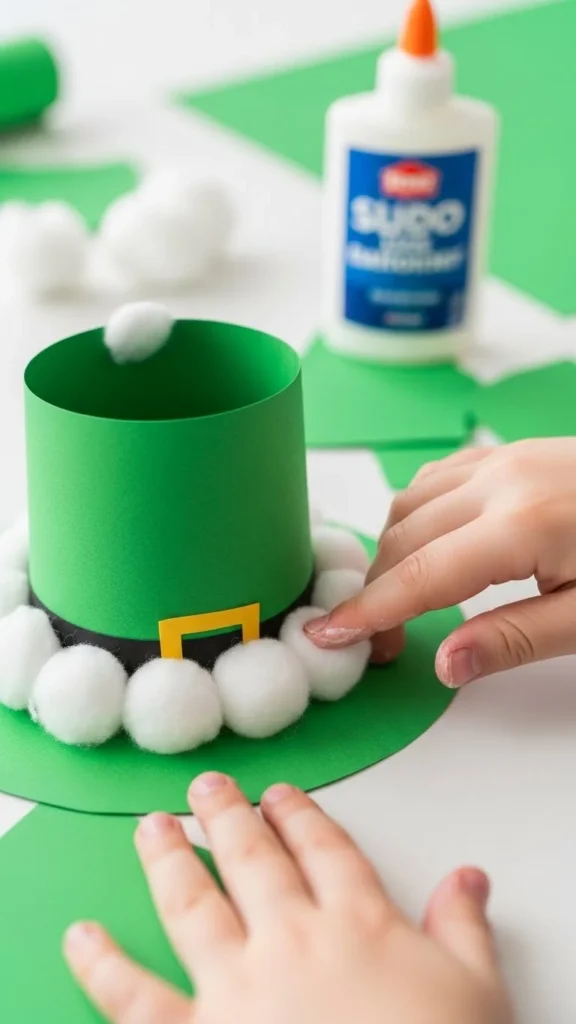
Cotton balls add softness. Glue them along the brim or top.
Kids enjoy the texture. It changes the look of the hat.
Cotton is low cost and easy to replace. Use small amounts to save supplies.
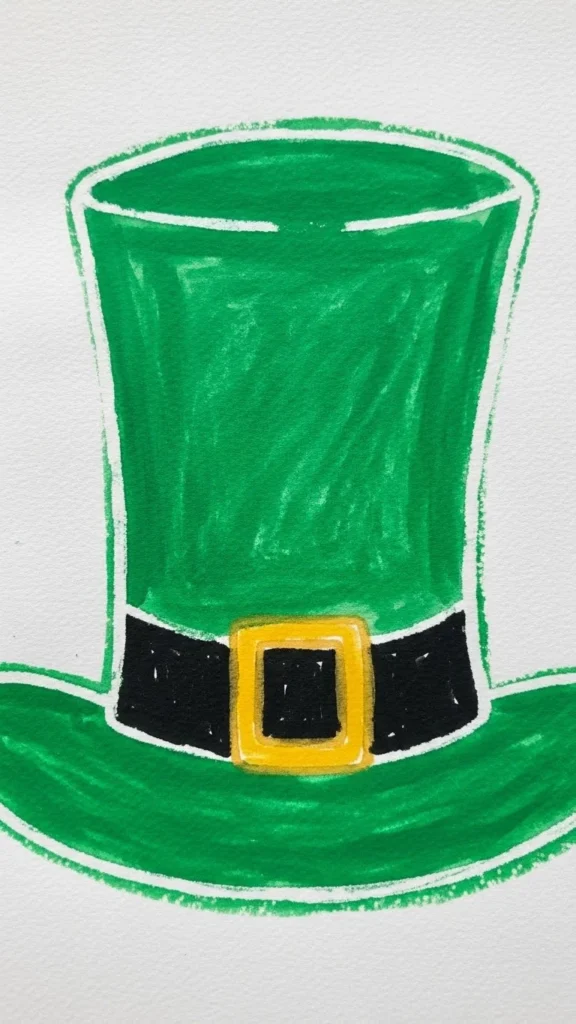
16. Watercolor Leprechaun Hat
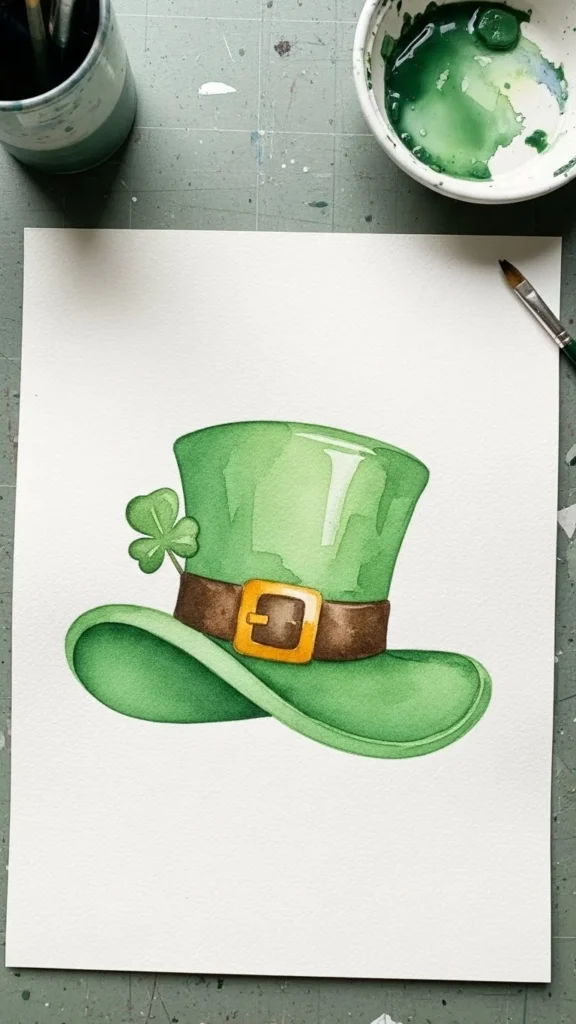
Paint a hat using watercolor. Let colors blend naturally.
This feels calm and creative. Each hat looks different.
Use thick paper to avoid tearing. Watercolor sets last a long time.
17. Hat with Pipe Cleaner Buckle
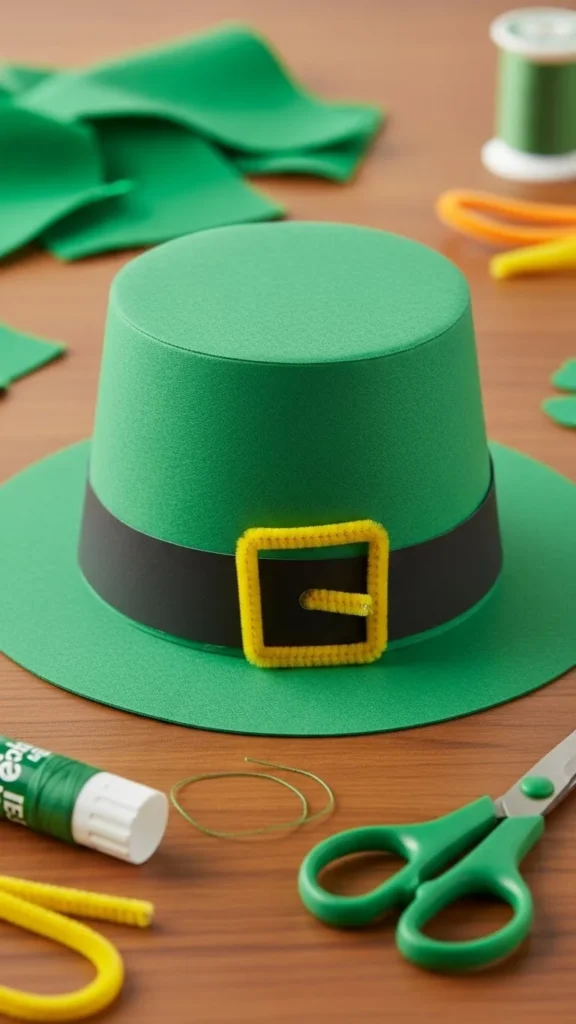
Pipe cleaners bend easily. Shape them into a buckle and glue on.
Kids can twist and shape freely. This adds depth.
Pipe cleaners come in packs and store well. One pack covers many projects.
18. Chalk-Paint Hat Board
Paint a cardboard hat with chalk paint. Draw details with chalk.
Kids can redraw again and again.
Use leftover chalk. This craft stays reusable for days.
19. Sticker Scene Leprechaun Hat
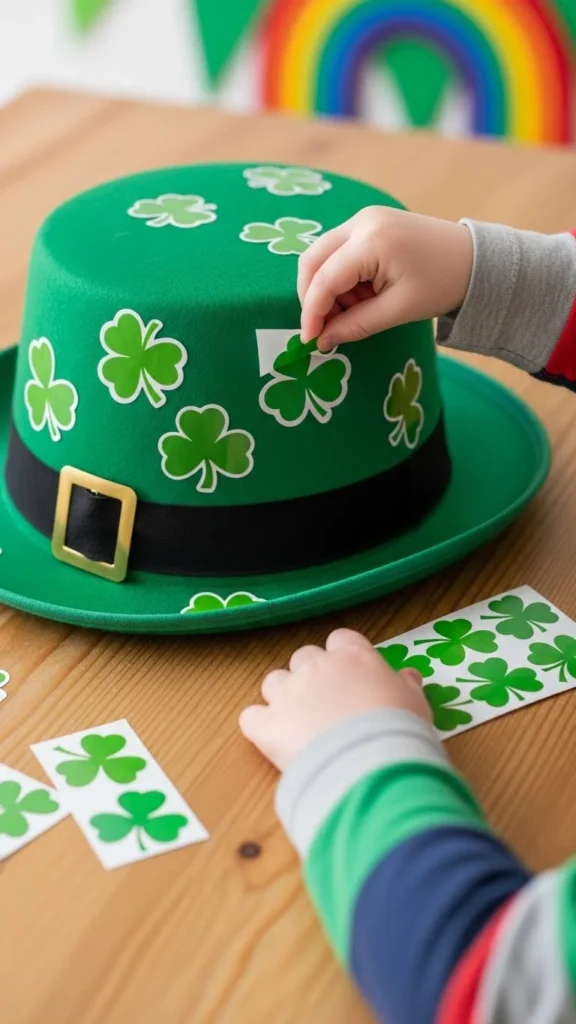
Stickers make decorating easy. Start with a paper hat and let kids decorate.
This works well for all ages. No drying time.
Use themed sticker packs. Extras stay useful later.
20. Hat with Paper Fringe
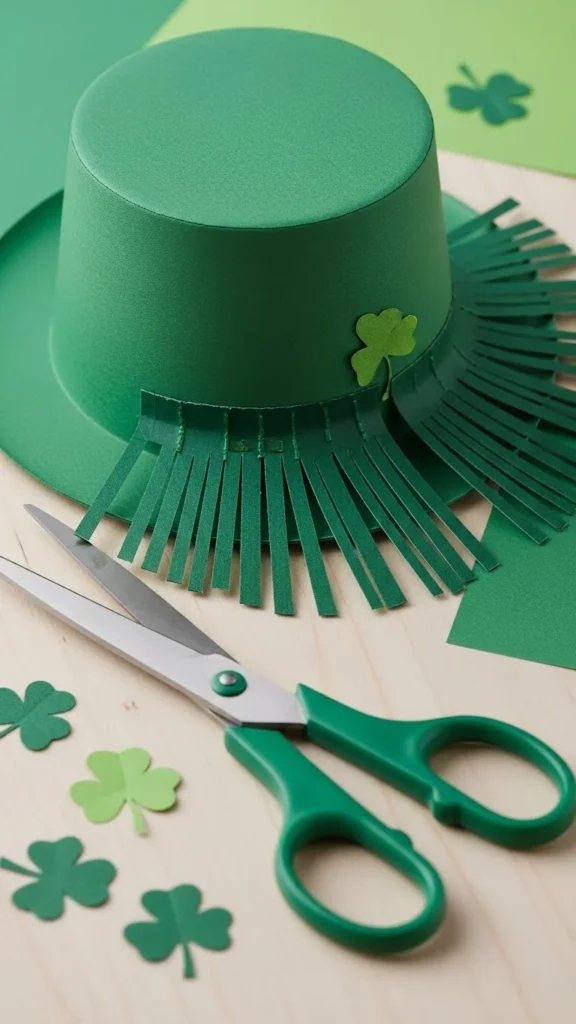
Cut fringe along the edges of the hat. Curl with fingers.
This adds motion and style. Kids enjoy cutting.
Use scrap paper. Small pieces work fine.
21. Hat with Gold Coin Details
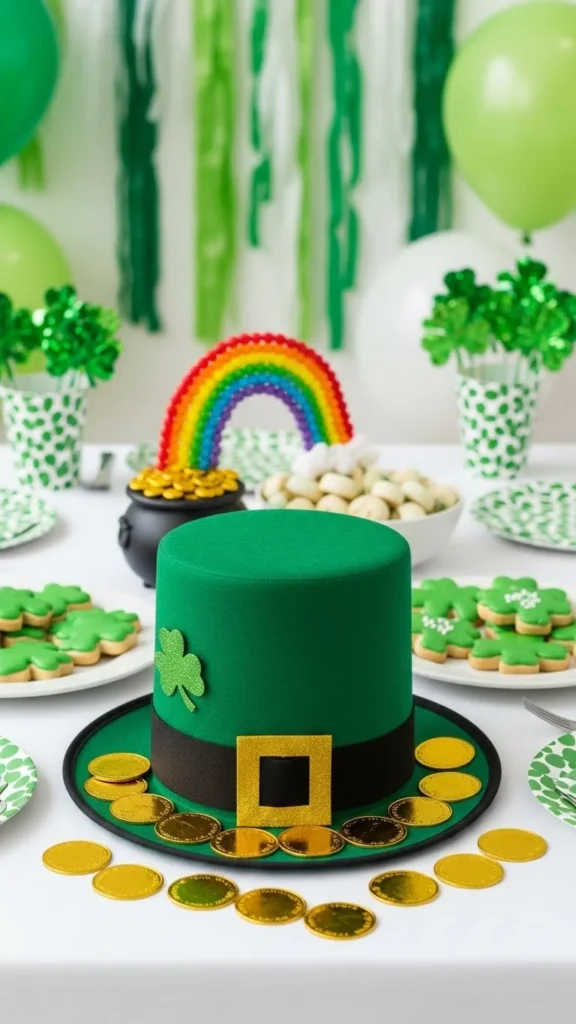
Cut circles from yellow paper for coins. Glue onto the hat.
This adds a story feel. Kids like repeating shapes.
Paper scraps save money. Foil paper also works.
22. Hat with Patterned Paper Mix
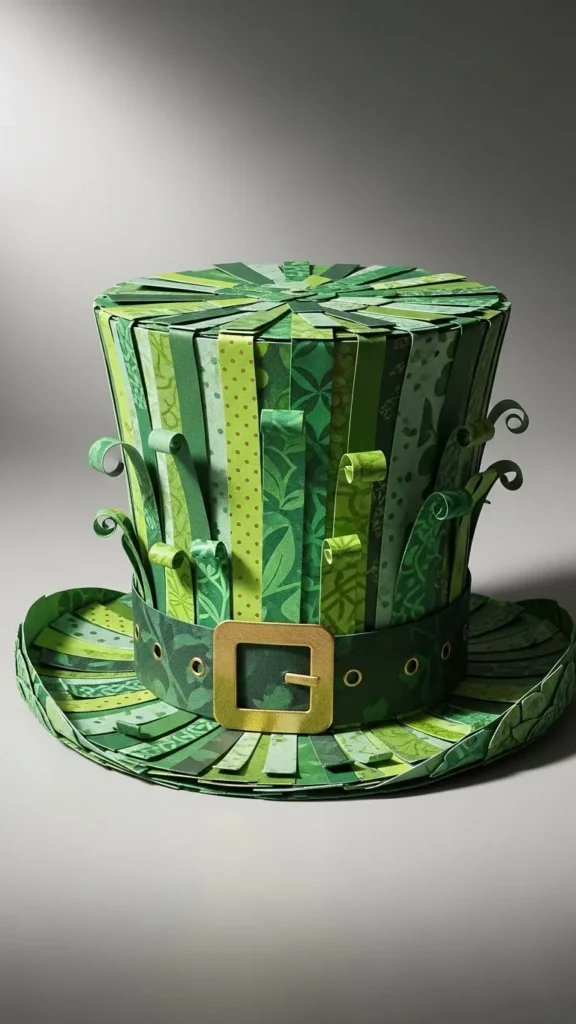
Mix polka dots, stripes, and solids. Cut and glue layers.
This teaches pattern play. Each hat feels unique.
Use leftover wrapping paper. Small bits add interest.
23. Hat Puppet Craft
Attach the hat to a stick. Add a face below.
Kids can act out stories. This extends playtime.
Use craft sticks or straws. Tape works if glue is wet.
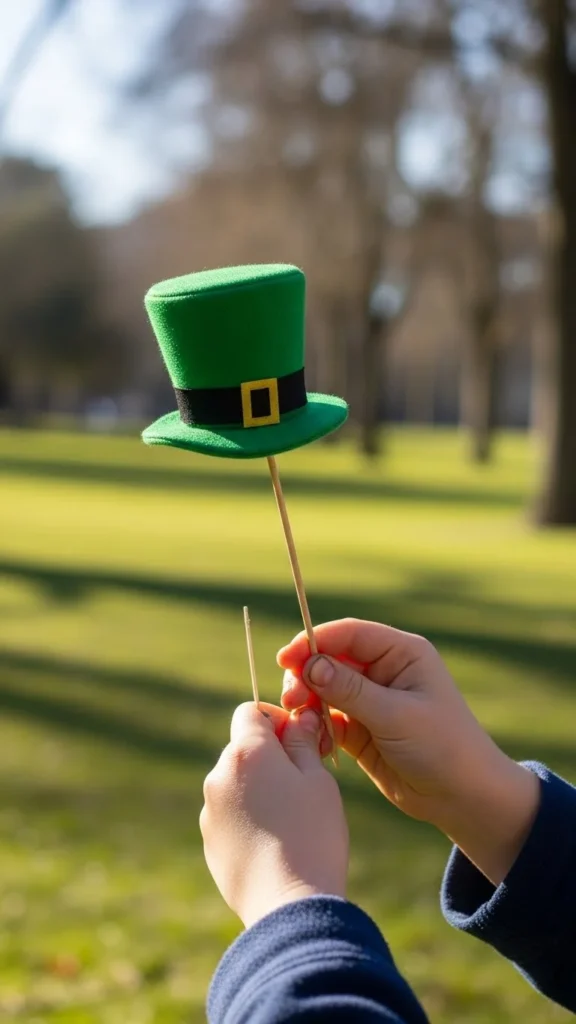
24. Hat on a Stick Craft
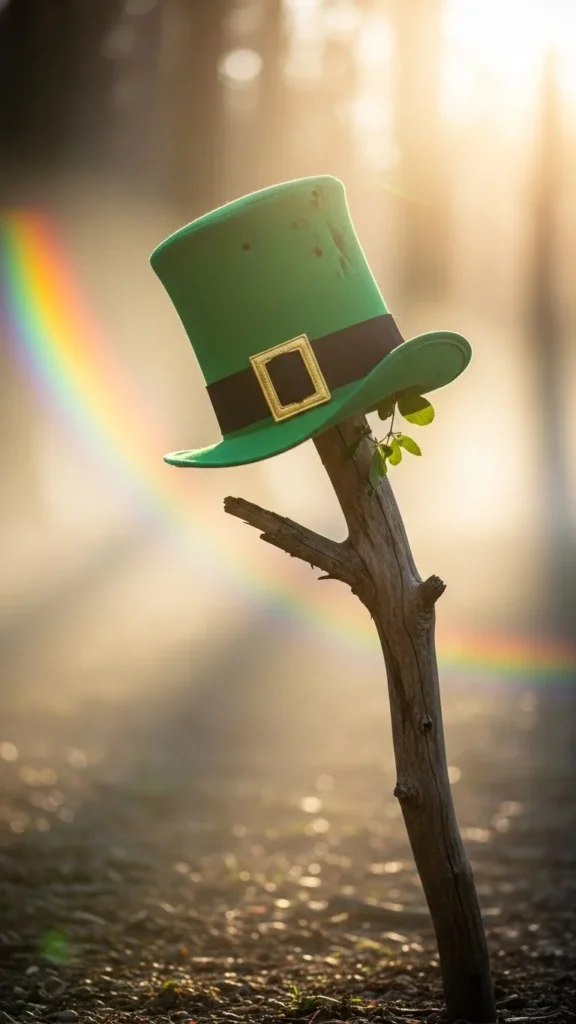
Mount the hat on a stick for pretend play.
This is quick and fun. Kids wave them during songs.
Use skewers with blunt ends. Paper straws are another option.
25. Hat with Nature Collage
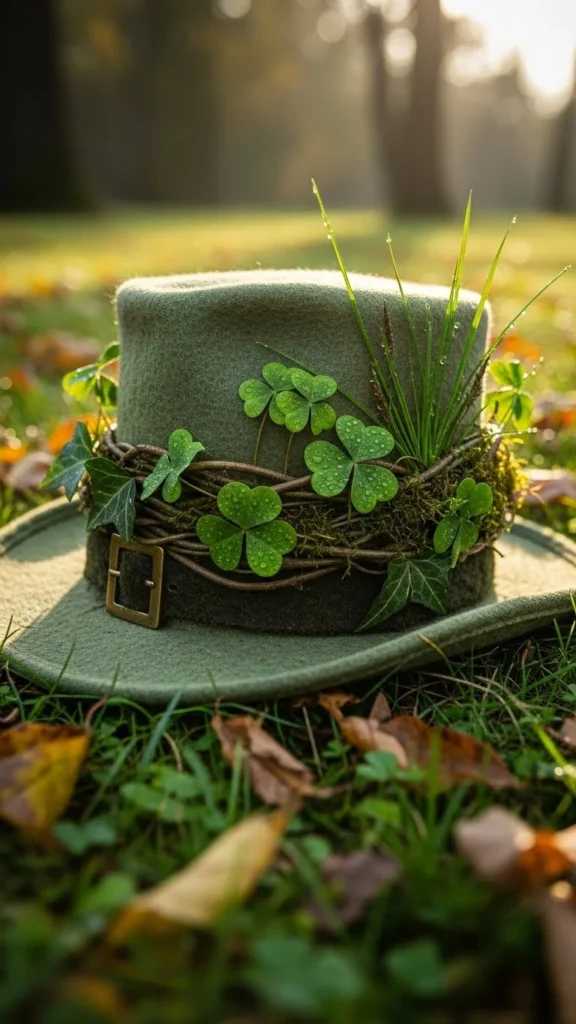
Glue leaves or grass onto the hat.
This brings nature into crafting. Each piece looks different.
Collect items outside. Let them dry before gluing.
26. Giant Group Leprechaun Hat Poster
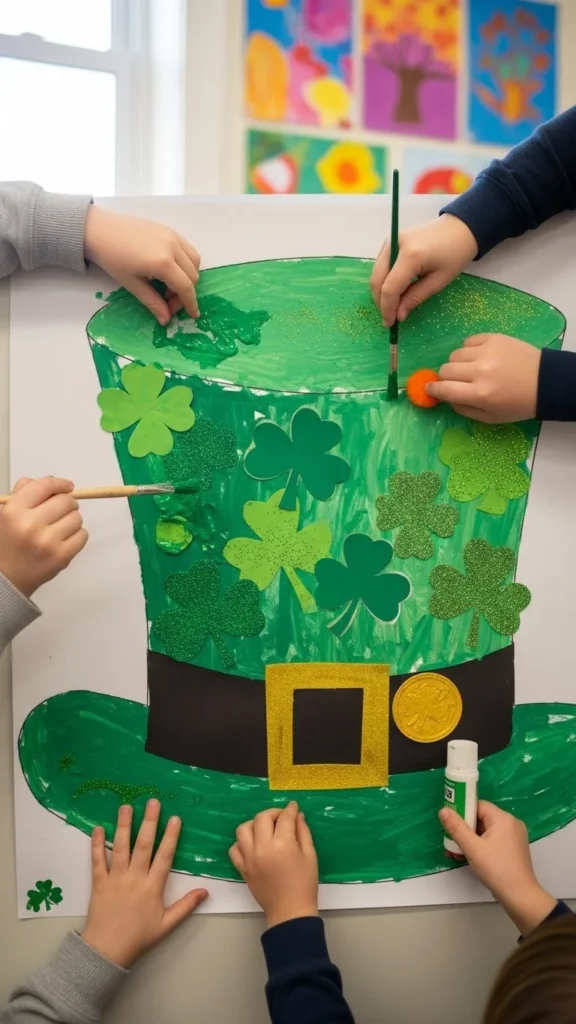
Create one large hat as a group. Each child adds a part.
This builds teamwork. It also fills wall space.
Use butcher paper. Share supplies to save money.
Conclusion
Leprechaun hat crafts give kids a hands-on way to create, decorate, and play using simple supplies. These ideas fit many ages and work at home or in group settings. Most use recycled or low-cost materials, which keeps prep easy. Try one idea or mix several into a full craft day. Save your favorites and reuse what you can for the next creative session.

Leave a Reply