

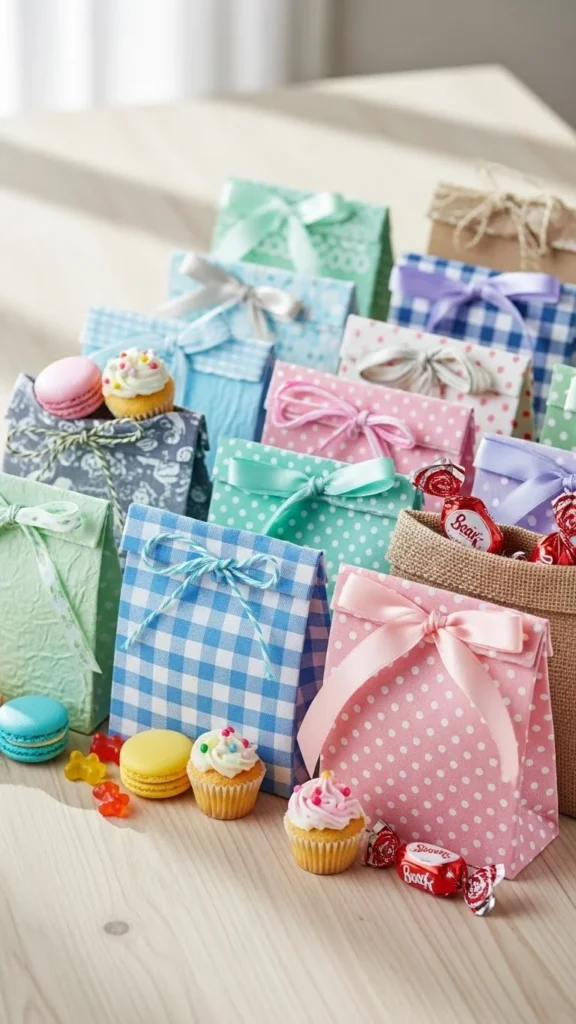
Gift-giving feels more personal when the packaging carries as much charm as what’s inside. Treat bags turn small gestures into memorable moments. They work for parties, holidays, school events, or simple thank-you gifts. The best part is how easy they are to make without spending much. From paper folds to fabric scraps, these ideas focus on simple steps, low-cost supplies, and results that feel thoughtful. If you enjoy hands-on projects that feel warm and practical, these treat bag styles will give you plenty of ideas to try at home.
1. Paper Bunny Treat Bags
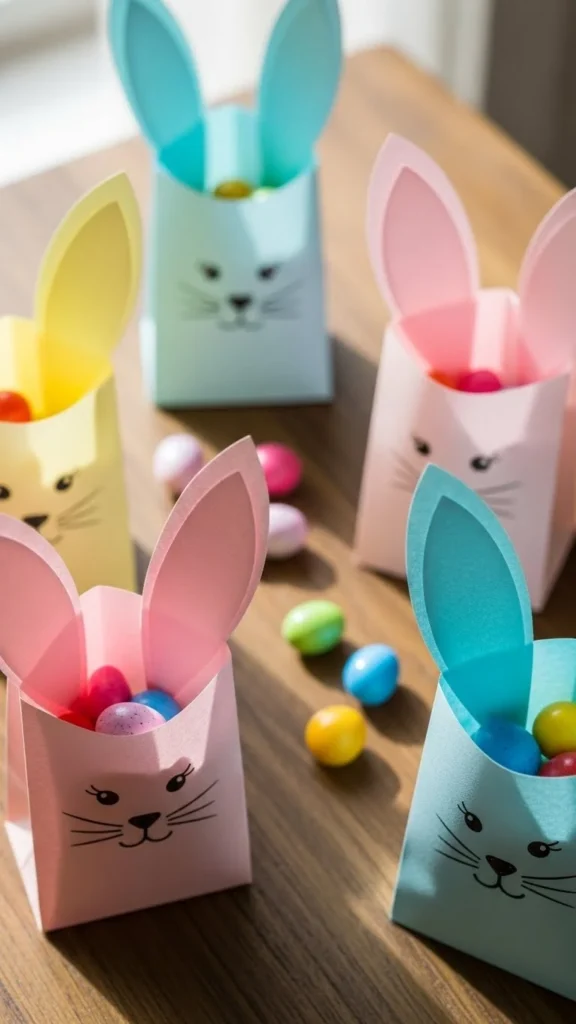
Paper bunny treat bags feel playful and light. They work well for spring events or kids’ parties. You only need cardstock, scissors, and glue. Fold the paper into a pouch. Cut long ears from the top edge. Draw simple faces with a marker or attach tiny paper dots for eyes.
Budget tip: Use leftover scrapbook paper or plain printer paper colored with crayons. Small treats fit well inside. Wrap candies in parchment to keep the bag tidy.
These bags assemble fast. You can make several in one sitting. Kids can help fold and decorate, which makes the activity part of the gift. Add a small ribbon around the neck area for extra detail without extra cost. The shape alone carries the charm.
2. Mini Fabric Drawstring Bags
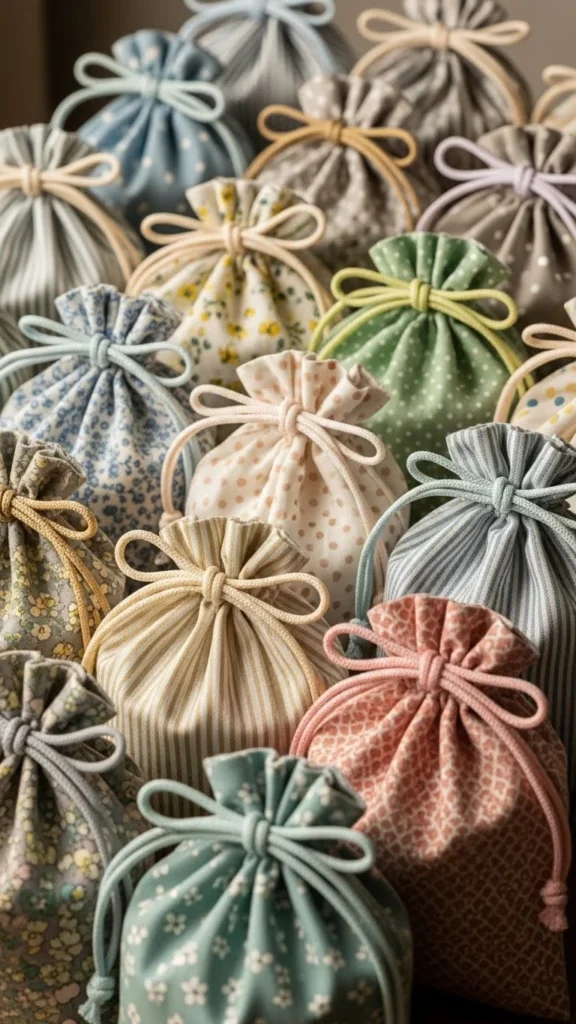
Fabric drawstring bags feel cozy and reusable. They work for any season. Use cotton scraps or old shirts. Cut two rectangles. Sew or glue the sides, leaving space for the string.
Budget tip: Use yarn or twine instead of store-bought cord. Repurpose fabric from worn clothes.
These bags last longer than paper. Recipients can reuse them for storage. Keep the size small so they don’t take long to make. Simple patterns look nice without extra work. Stick to straight lines and basic shapes. Even beginners can finish one quickly. They feel thoughtful without being complicated.
3. Envelope-Style Treat Pouches
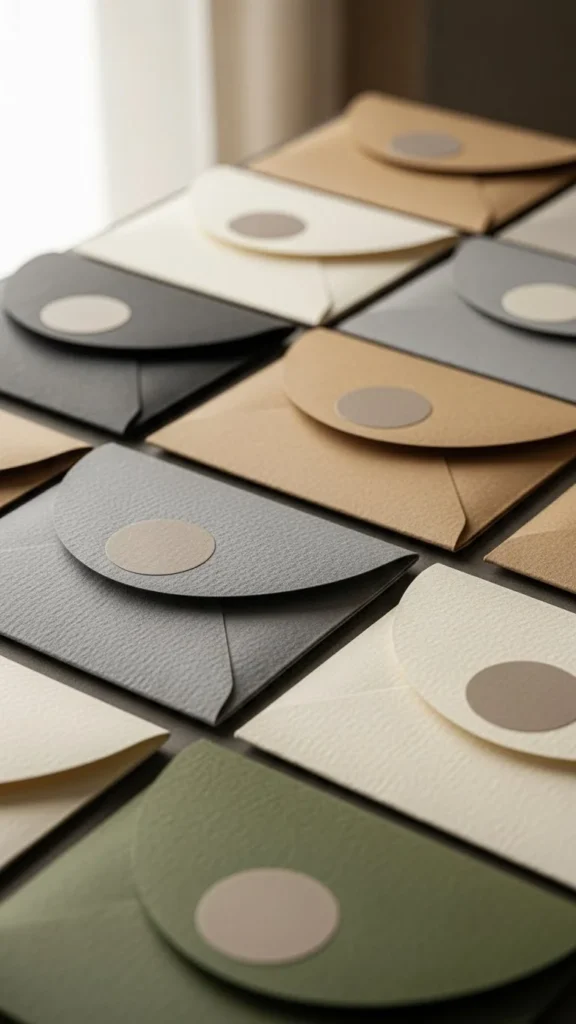
Envelope-style pouches look clean and tidy. They suit thank-you gifts or classroom exchanges. Use paper cut into squares. Fold like an envelope. Seal with tape or a sticker.
Budget tip: Old magazines or kraft paper work well. Use scraps for sealing.
The flat shape stores easily and stacks well. Add treats before sealing so nothing spills. Keep decorations minimal. A simple sticker or drawn heart is enough. These pouches also fit gift cards or notes. They feel neat and intentional without extra effort.
4. Clear Cellophane Cone Bags
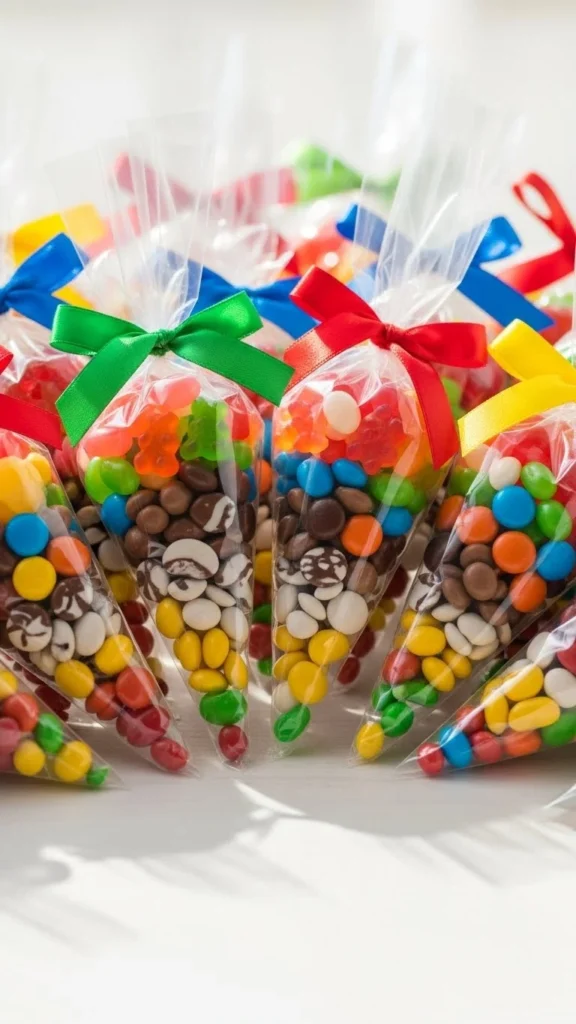
Cone bags show what’s inside, which adds excitement. Roll clear wrap into a cone. Tape the edge. Fill with treats. Tie the top.
Budget tip: Use baking parchment if cellophane costs too much. Tie with string instead of ribbon.
These bags work well for party favors. Stand them upright in jars or cups. The cone shape feels festive without decoration. Keep portions small. That saves money and time. They come together fast, making them great for large groups.
5. Brown Paper Lunch Bag Makeovers
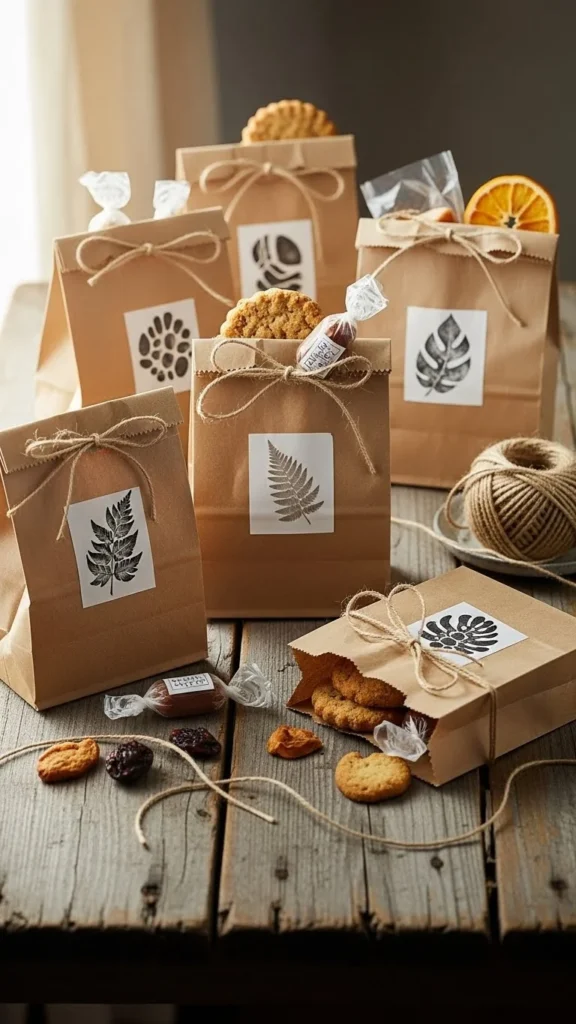
Lunch bags turn into charming treat holders with a few changes. Fold the top down. Stamp or draw patterns. Tie with twine.
Budget tip: Lunch bags are inexpensive and easy to find. Use markers instead of stamps.
They suit casual gatherings and school events. The sturdy paper holds heavier items. Personalize each bag with a name or doodle. Even simple designs look warm. This style proves that basic supplies can still feel special.
6. Felt Pocket Treat Bags
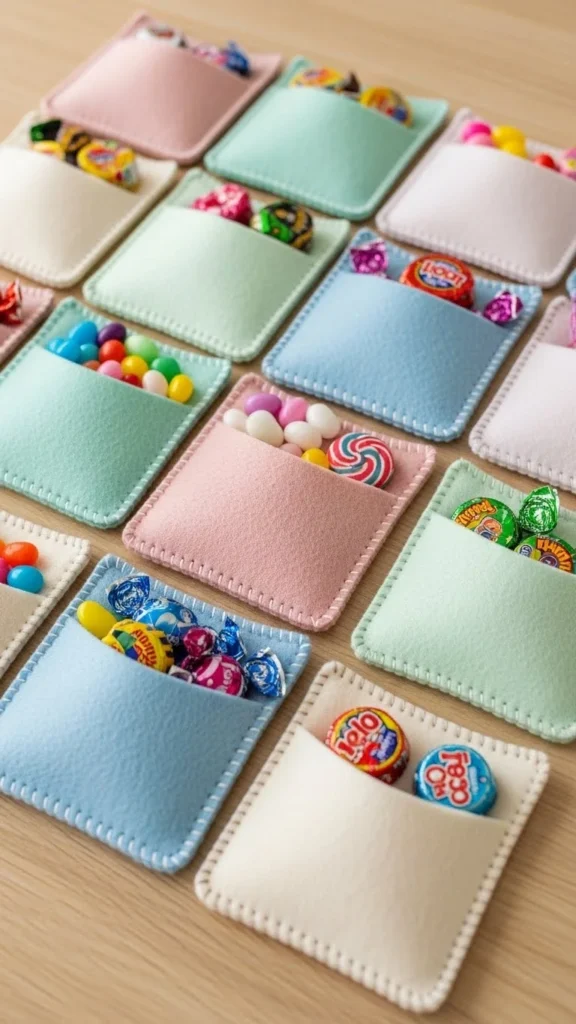
Felt pockets feel soft and handmade. Cut two felt shapes and stitch or glue the edges. Leave the top open.
Budget tip: Craft felt sheets cost little and go far. Use simple shapes to save time.
These bags hold small items securely. Felt hides glue lines and uneven edges. Add a small felt heart or star for detail. They work well for reusable gifting and keep their shape nicely.
7. Mason Jar Treat Wraps
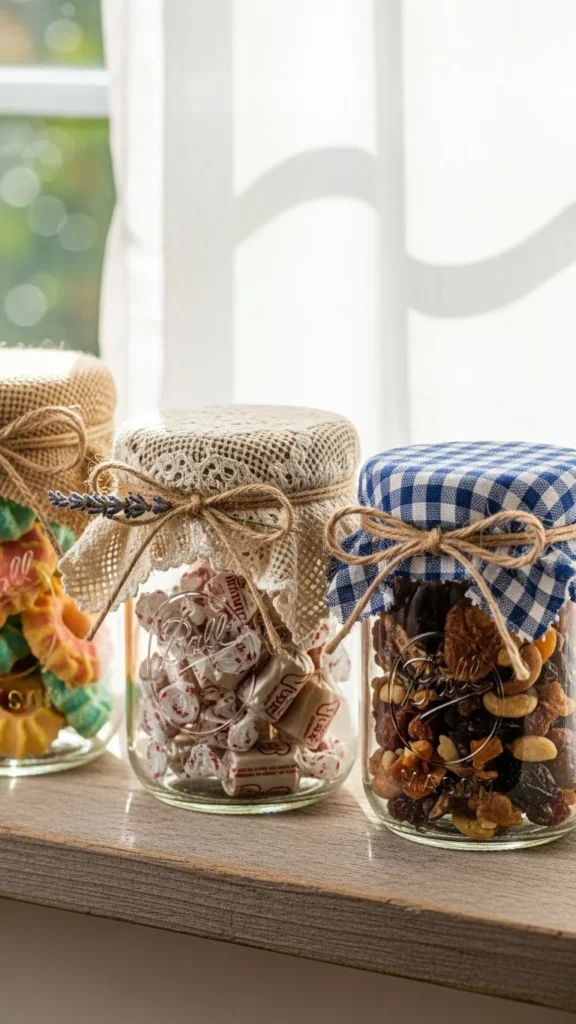
Mason jars double as containers and gifts. Fill with treats. Cover the lid with fabric. Tie with twine.
Budget tip: Reuse jars from the kitchen. Fabric scraps work well.
The jar adds weight and value without extra work. Recipients can reuse it later. Keep the fabric simple. The clear glass shows the contents nicely. This option feels sturdy and practical.
8. Origami Treat Boxes
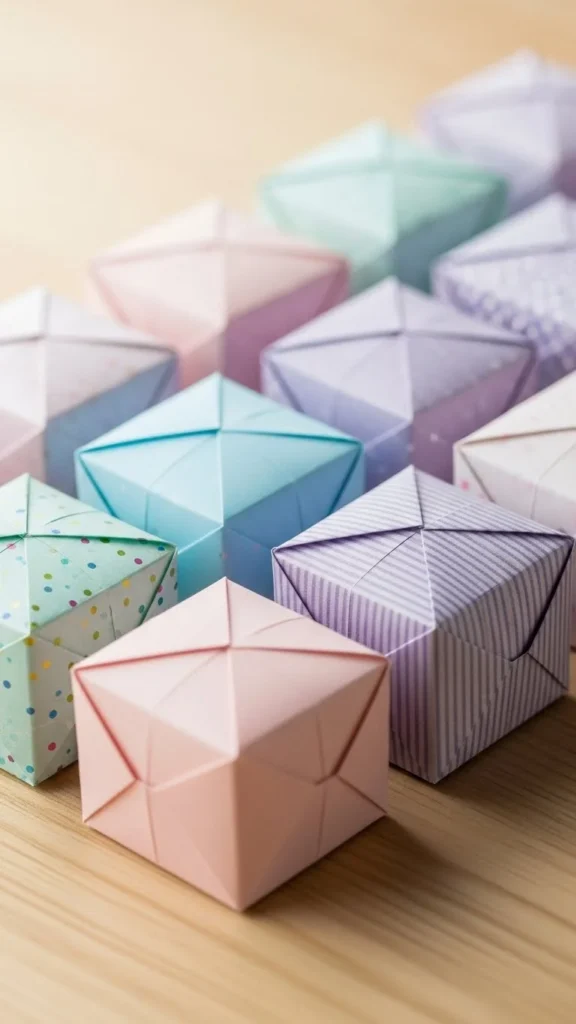
Origami boxes feel thoughtful and neat. Use square paper and basic folds. No glue needed.
Budget tip: Use plain paper and color it yourself.
These boxes look impressive but use simple steps. Keep designs basic to save time. They suit small treats best. The folded shape keeps items secure. It’s a quiet way to show effort without spending much.
9. Paper Cup Treat Holders
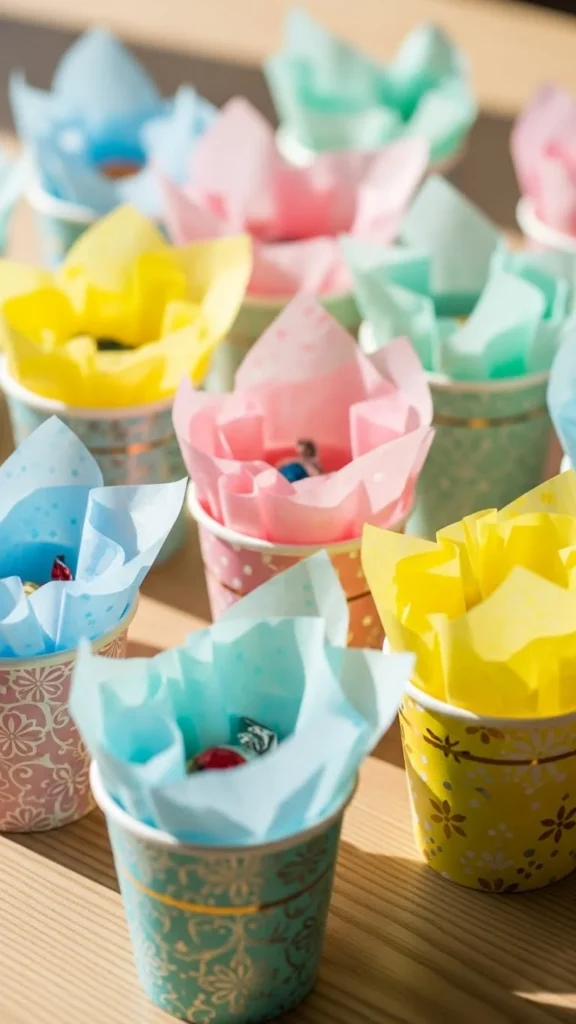
Paper cups turn into quick treat holders. Fill with treats. Add tissue paper. Fold or tie.
Budget tip: Use leftover cups from events.
They work well for group settings. Add a small tag or sticker for detail. The upright shape prevents spills. This option saves time and keeps things organized.
10. Heart-Shaped Paper Pouches
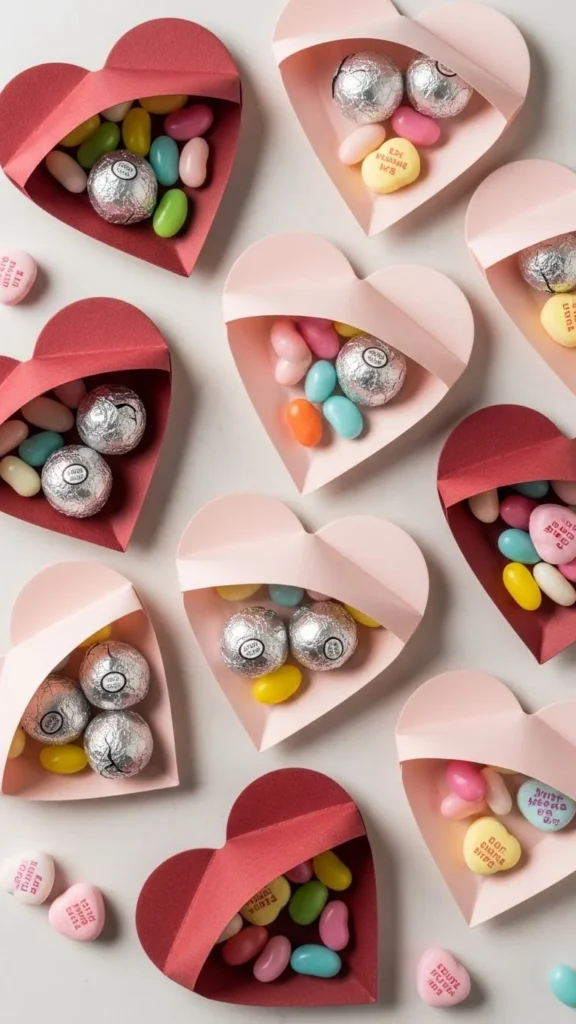
Heart pouches feel sweet and personal. Cut heart shapes. Glue edges, leaving an opening.
Budget tip: Use construction paper scraps.
These pouches suit appreciation gifts. Keep treats light. The shape itself carries meaning. Simple folds keep it easy for beginners.
11. Clothespin Paper Bags
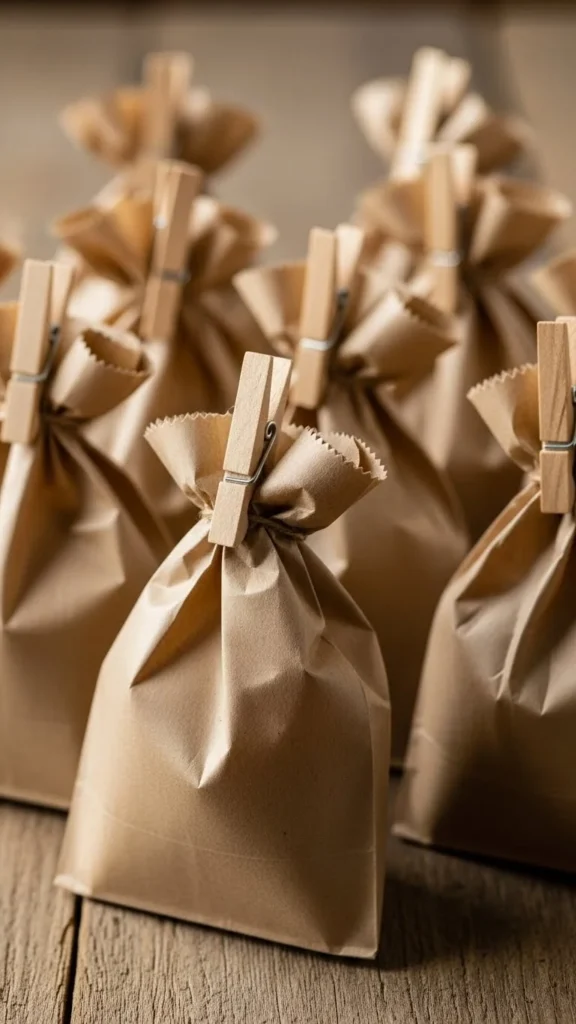
Fold small paper bags and clip with clothespins. Add a small tag.
Budget tip: Plain clothespins cost little and can be reused.
This style assembles fast. It suits casual gifting. The clip adds charm without effort. Swap tags for different events.
12. Cupcake Liner Treat Wraps
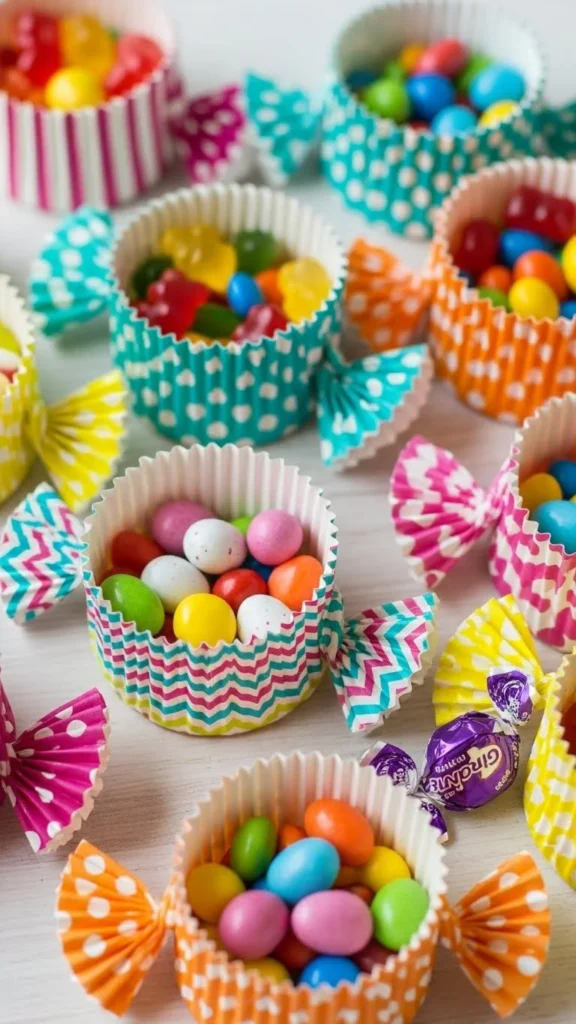
Cupcake liners fold into tiny pouches. Place treats inside and fold edges.
Budget tip: Liners are inexpensive and colorful.
They suit small sweets. The texture adds detail without work. Secure with tape or a sticker. This is a quick fix for last-minute gifts.
13. Small Kraft Box Bags

Kraft boxes feel sturdy and neat. Assemble flat boxes and fill.
Budget tip: Buy in bulk to save money.
They stack easily and protect treats. Add simple string or a stamp. The plain look keeps things calm and organized.
14. Tissue Paper Bundle Bags
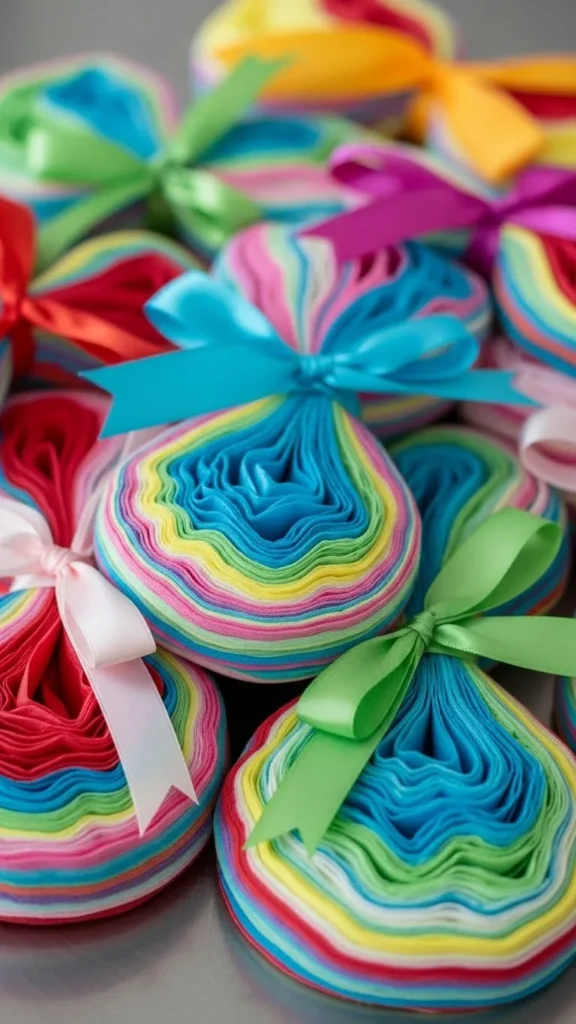
Wrap treats in tissue paper and tie the top. Layer colors for depth.
Budget tip: Tissue paper sheets go a long way.
This style feels playful and light. It works for any theme. Keep layers simple to save time.
15. Sock Treat Bags
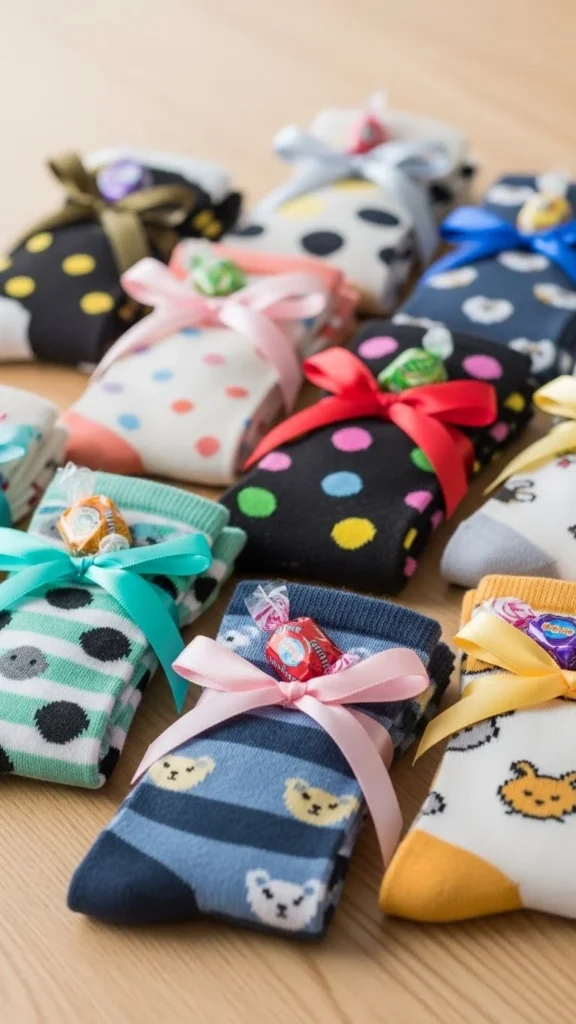
New socks double as bags and gifts. Fill the foot area and tie.
Budget tip: Buy multi-packs for savings.
This idea feels fun and practical. Choose simple patterns. It works well for small items and feels different from paper options.
16. Small Paper Box Cartons

Carton-style boxes fold from templates. They hold treats securely.
Budget tip: Print templates on plain paper.
They stand upright and look tidy. Keep decorations light. The shape alone stands out.
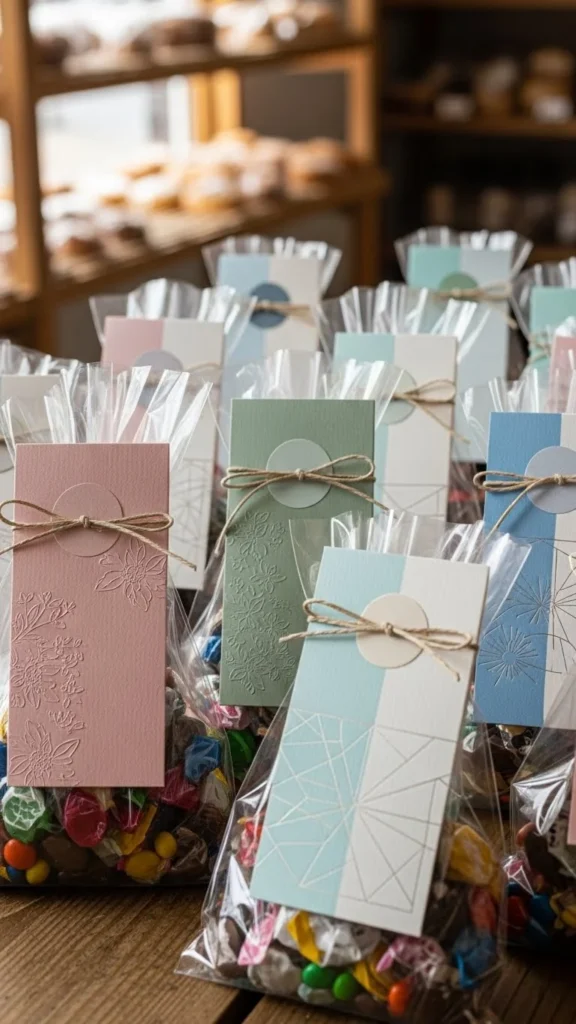
17. Ribbon-Tied Glassine Bags
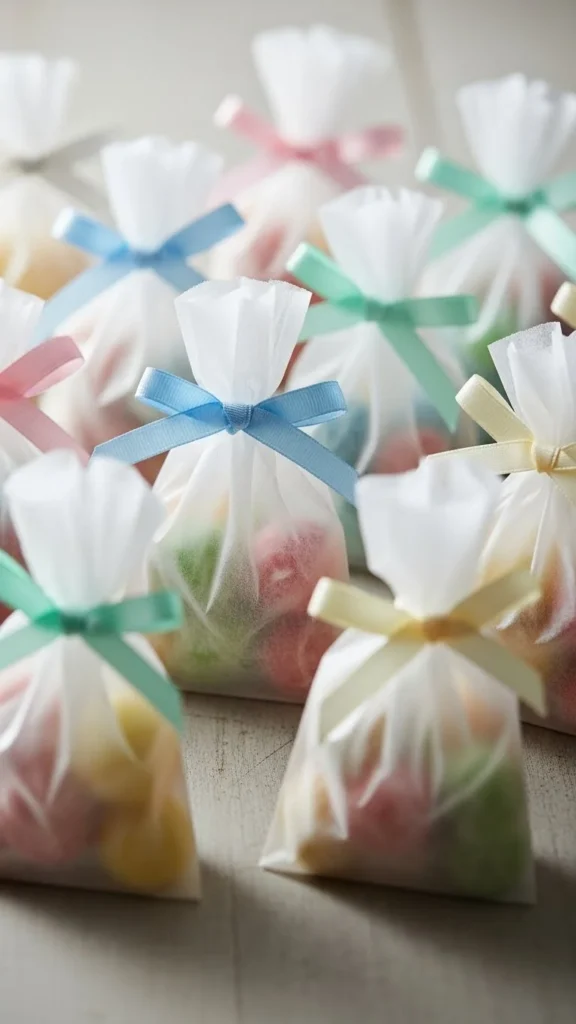
Glassine bags feel clean and simple. Fill and tie with ribbon.
Budget tip: Use twine instead of ribbon.
They suit baked treats and candies. The semi-clear look shows contents without fuss.
18. Painted Paper Cone Bags
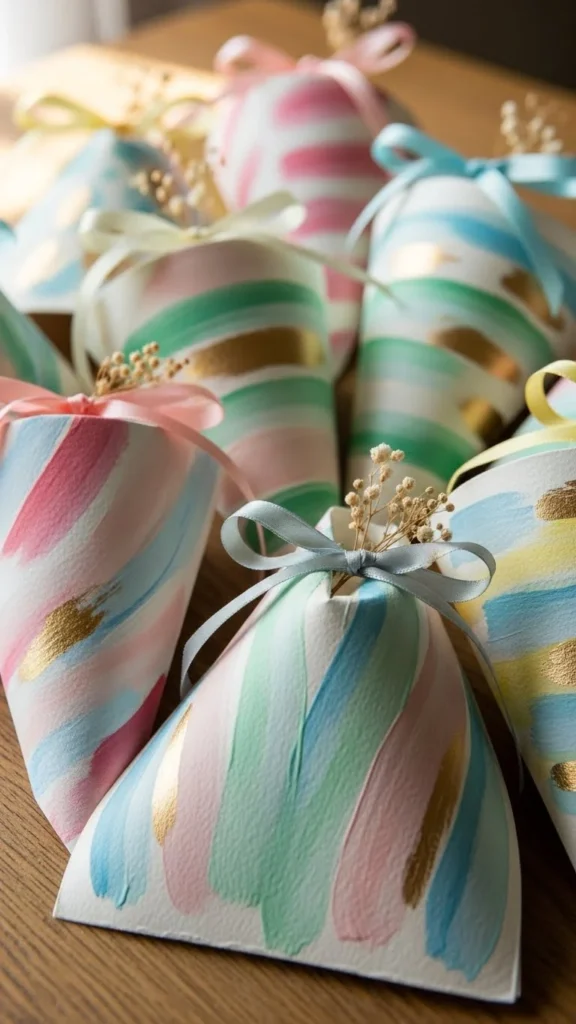
Paint simple patterns on paper cones. Let dry. Fill and tie.
Budget tip: Use watercolors you already own.
These bags feel handmade and relaxed. Keep designs loose. No perfection needed.
19. Mini Tote Treat Bags
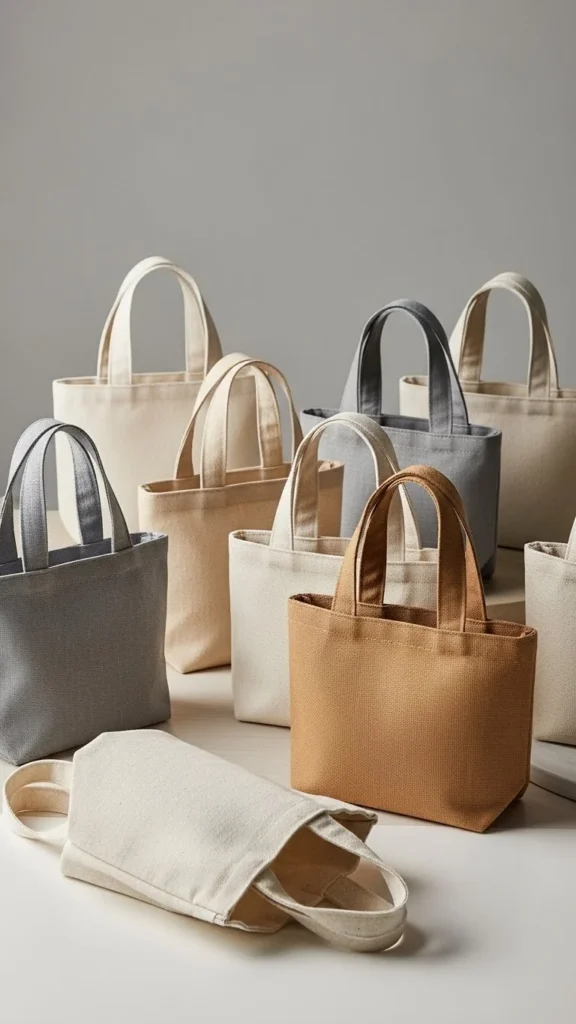
Mini totes hold more than candy. Sew or glue handles.
Budget tip: Use felt or sturdy fabric scraps.
They feel reusable and thoughtful. Keep shapes simple for quick assembly.
20. Folded Newspaper Treat Bags
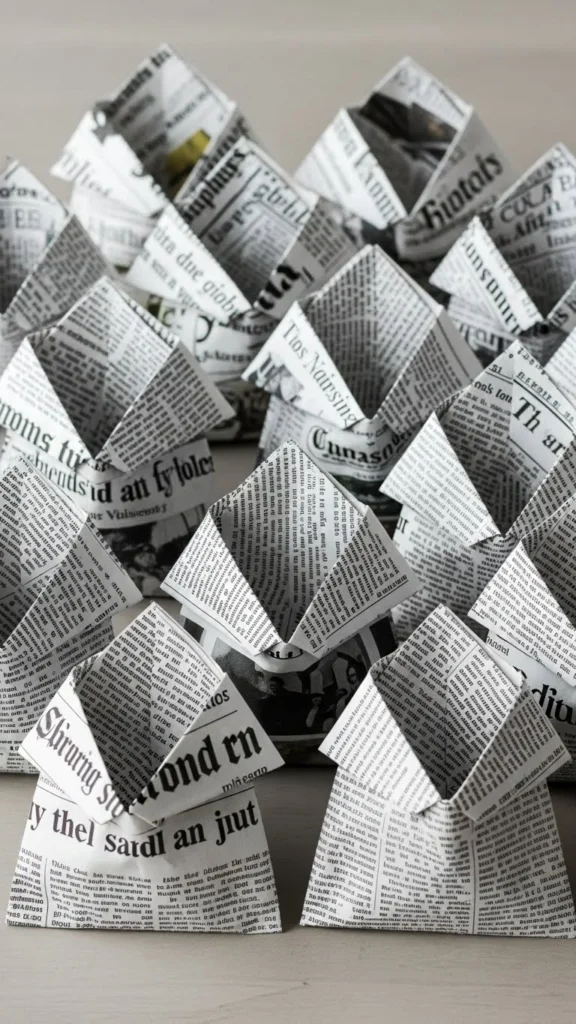
Newspaper folds into bags easily. Add a string tie.
Budget tip: Use old papers at home.
The print adds interest without decoration. This option costs nothing and assembles fast.
21. Button-Closure Paper Bags
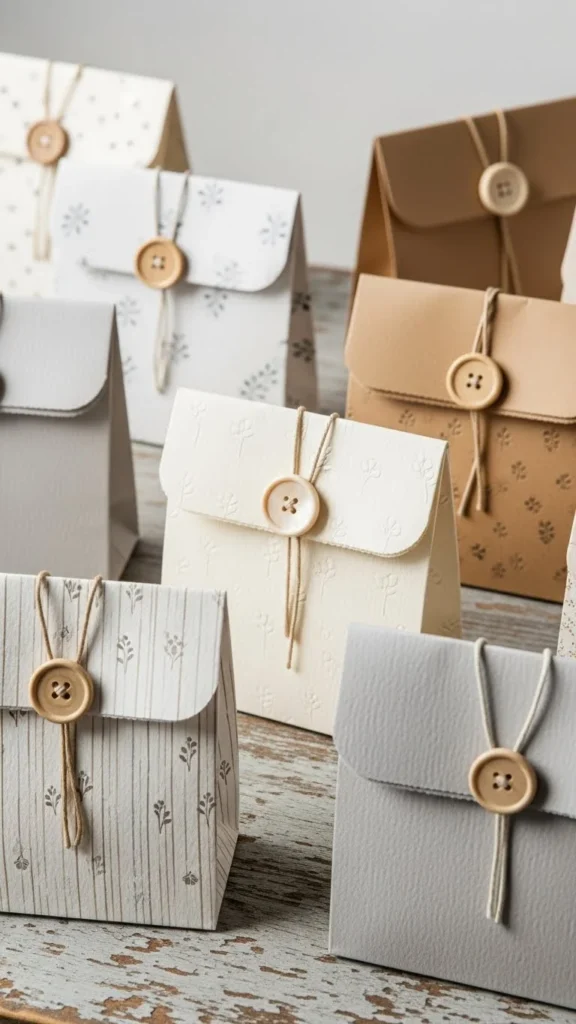
Attach a button and loop string to close bags.
Budget tip: Use spare buttons from sewing kits.
The closure adds charm and function. It works for flat bags and envelopes.
22. Paper Doily Treat Wraps
Wrap treats in doilies and tie with string.
Budget tip: Buy doilies in bulk.
The lace pattern adds detail instantly. Keep filling light to avoid tearing.
23. Small Bucket Treat Bags

Buckets hold treats securely. Add tissue paper.
Budget tip: Paper buckets cost less than metal.
They suit parties and group gifting. The container feels sturdy and reusable.
24. Folded Napkin Treat Pouches
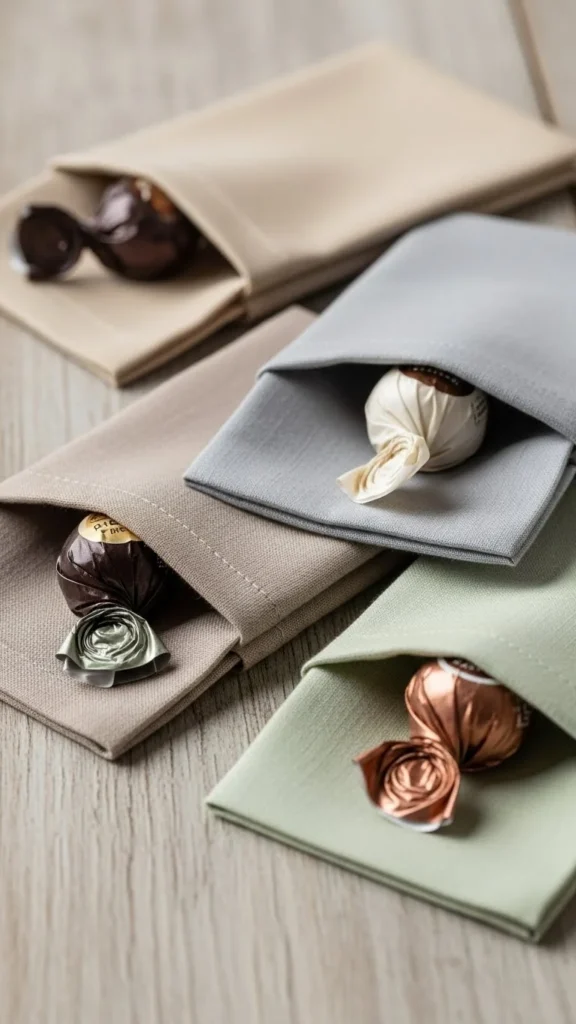
Fold cloth napkins into pockets. Place treats inside.
Budget tip: Use napkins you already own.
This option works for dinner settings. The napkin becomes part of the gift.
25. Tiny Box Drawer Bags

Drawer boxes slide open smoothly. Fill with small items.
Budget tip: Print templates at home.
They feel neat and organized. Keep assembly simple to save time.
26. Paper Sleeve Treat Holders
Paper sleeves wrap around simple bags. Secure with tape.
Budget tip: Use scrap paper for sleeves.
This style adds detail without extra materials. Change sleeve colors for different events.
Conclusion
Treat bags add warmth and personality to small gifts. They show care without requiring a big budget or advanced skills. With paper, fabric, and everyday items, you can create packaging that feels thoughtful and inviting. Try one style or mix several depending on the occasion. Pick what fits your time and supplies, and enjoy how a simple bag can make giving feel more meaningful.

Leave a Reply