

Birthday parties are all about the little details—and custom sticker labels are one of those small touches that make a big impact. They turn simple party favors into keepsakes, make your theme feel intentional, and give guests something cute to smile about. The best part? You don’t need fancy equipment or design skills to create them.

Whether you’re planning a kids’ party, a milestone birthday, or a cozy backyard celebration, this guide walks you through creating birthday sticker labels step by step—simple, affordable, and totally doable at home.
Step 1: Decide the Purpose and Size of Your Stickers
Before opening any design tools, take a minute to think about how your stickers will be used. This helps you choose the right size and shape from the start.
Common uses include:
- Sealing favor bags or boxes
- Labeling treat jars or cups
- Decorating candles, bubbles, or mini toys
- Adding flair to thank-you tags
Typical sticker sizes:
- 1.5–2 inches round for bags and seals
- 2×3 inches rectangle for jars or bottles
- Square stickers for clean, modern themes
Keeping sizes consistent makes printing easier and gives everything a polished look.
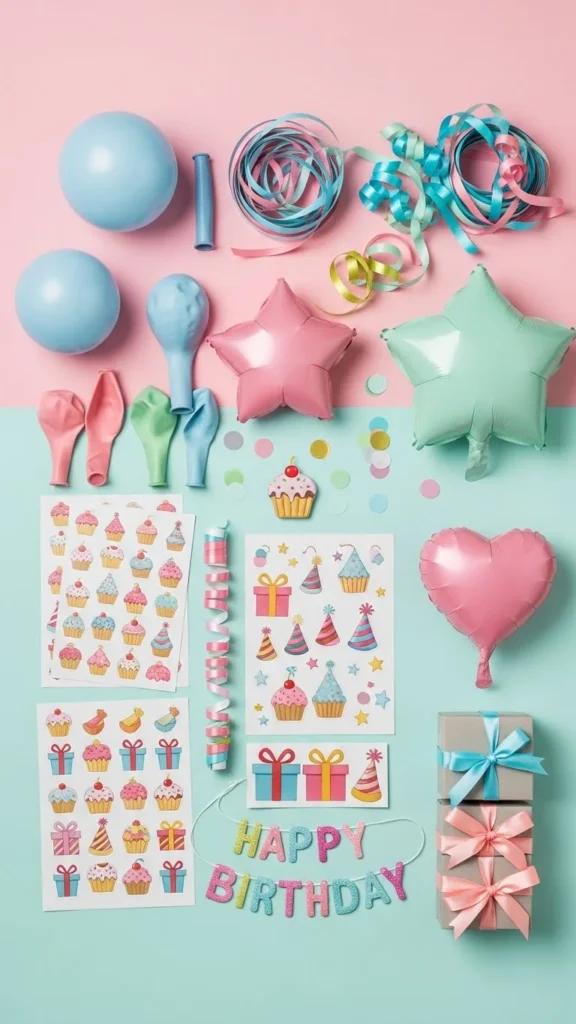
Step 2: Choose a Theme That Matches the Party
Your sticker design should feel like it belongs at the party—not like an afterthought. Pull inspiration from your overall theme.
Ideas to guide your style:
- Colors from the balloons or tableware
- Party themes like dinosaurs, rainbows, space, or florals
- The birthday person’s age or favorite things
Simple works best. One main color palette, one or two fonts, and a clear focal point keep your labels from feeling cluttered.
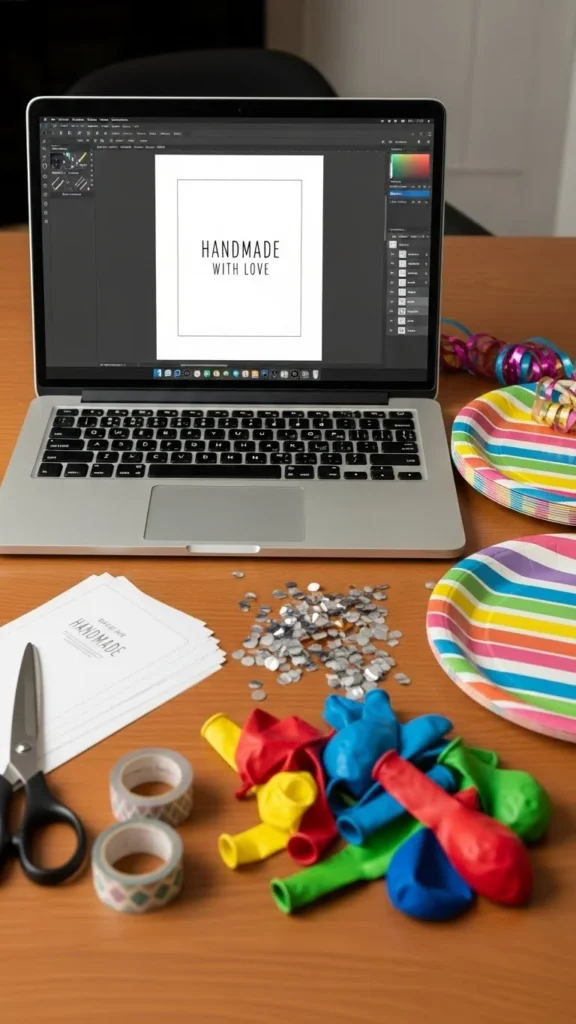
Step 3: Design Your Sticker Labels (No Stress Required)
You don’t need professional design software to make great stickers. Beginner-friendly tools make it easy.
When designing:
- Leave space around the edges (stickers can trim slightly)
- Use bold shapes and clear graphics
- Keep text minimal or skip text entirely
Popular design elements:
- Confetti dots
- Stars or hearts
- Simple icons like candles, cupcakes, or smiley faces
If you do include text, short phrases work best:
- “Thank You for Celebrating”
- “Birthday Fun”
- “Made with Love”
Step 4: Pick the Right Sticker Paper
Your sticker paper choice affects both the look and durability of your labels.
Common options:
- Matte sticker paper – soft finish, great for favor bags
- Glossy sticker paper – bright colors, eye-catching shine
- Water-resistant sticker paper – ideal for bottles or jars
If the favors will be handled a lot, thicker paper holds up better. Always print one test page before committing to a full sheet.
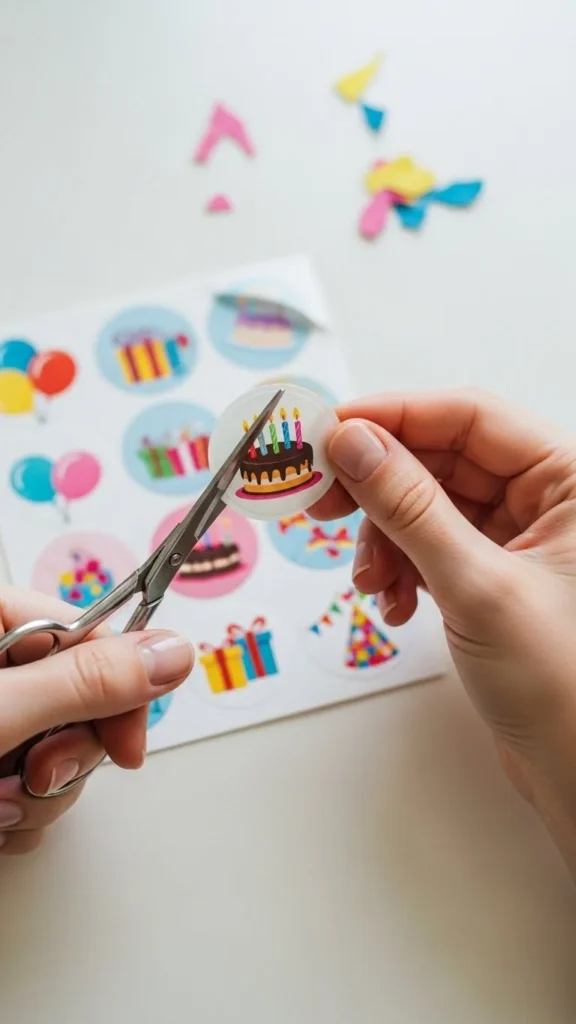
Step 5: Print and Cut Like a Pro
Once your design is ready, it’s time to bring it to life.
Printing tips:
- Use the highest quality print setting
- Print one sheet at a time for best results
- Let ink dry fully before cutting
Cutting options:
- Scissors for small batches
- Craft knife and ruler for clean edges
- Electronic cutting machines if you already have one
Take your time here—neat edges instantly make stickers feel store-bought.
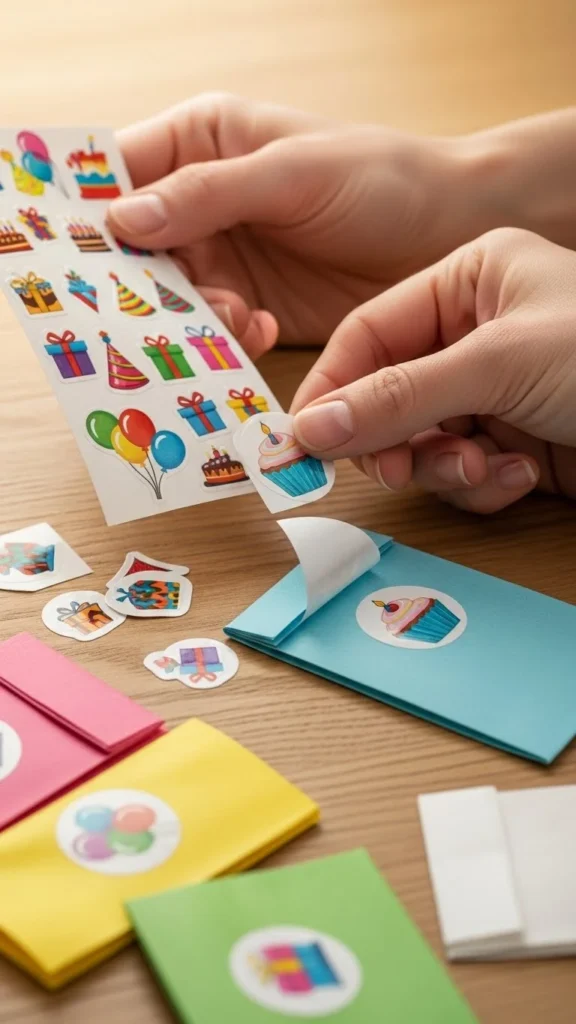
Step 6: Apply Stickers to Party Favors
Now comes the fun part—putting everything together.
For best results:
- Apply stickers to clean, dry surfaces
- Press from the center outward to avoid bubbles
- Line up designs before sticking to keep them straight
Great favor ideas for stickers:
- Paper bags filled with treats
- Small boxes or jars
- Mini notebooks or crayons
Step 7: Make Extras (They’ll Get Used!)
Always print a few extra stickers. They’re perfect for:
- Last-minute favors
- Sealing envelopes
- Decorating party signs
- Adding detail to leftover packaging
Extras also give you flexibility if something smudges or tears.
Final Thoughts: Small Stickers, Big Impact
Birthday sticker labels may be small, but they do a lot of heavy lifting. They pull your party theme together, elevate simple favors, and show guests you cared about the details. Best of all, they’re easy to make—even if you’re short on time or crafting experience.
Once you try them, you’ll want to use custom stickers for every celebration.
Save this guide for later and start designing your next party detail today!

Leave a Reply