

There’s something truly special about receiving a handmade birthday card. It feels personal, thoughtful, and full of love in a way store-bought cards simply can’t match. The best part? You don’t need to be an artist to create something beautiful. With a few basic supplies and a little creativity, you can design a birthday card that looks adorable, meaningful, and totally unique.
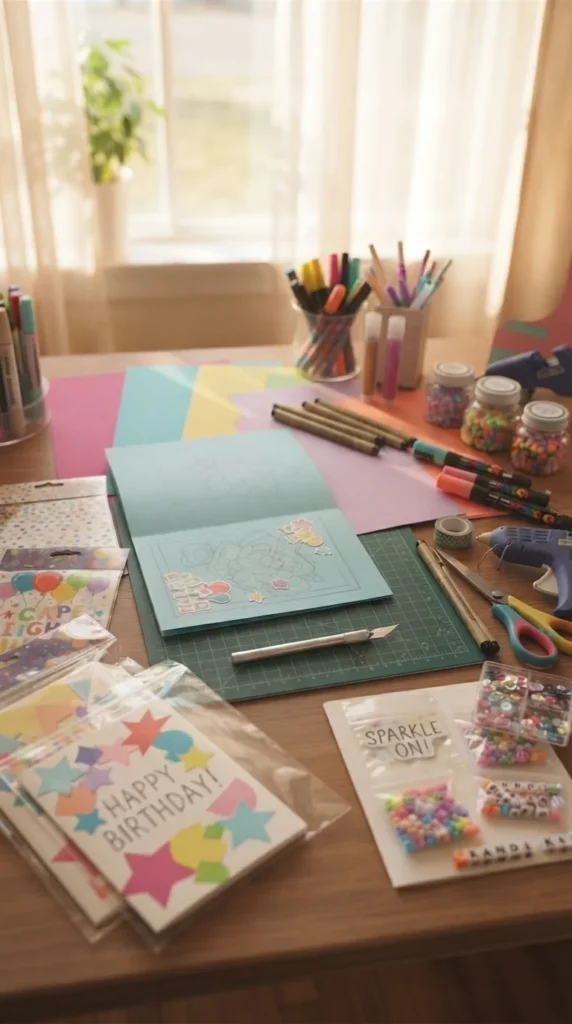
Whether you’re making a card for a friend, sibling, or parent, this beginner-friendly guide will walk you through simple steps to create a stunning handmade birthday card from scratch.
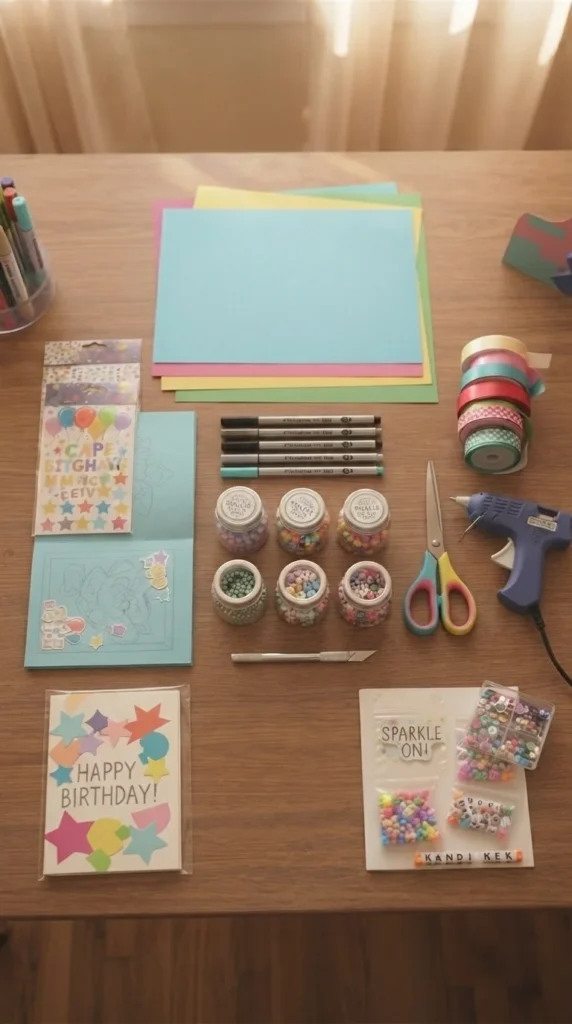
🎨 Materials You’ll Need to Get Started
Before you begin, gather all your crafting essentials. Having everything ready makes the process smooth and fun.
- Colored cardstock or thick paper (for the card base)
- Scissors
- Glue stick or craft glue
- Colored markers or pens
- Stickers, washi tape, or decorative paper
- Glitter (optional but fun!)
- Pencil and eraser
- Ruler for neat folding
These simple materials are enough to create endless creative designs. You don’t need expensive tools—just imagination!
✂️ Step 1: Plan Your Card Design
Before cutting or gluing anything, take a moment to plan your design. Think about the person you’re making the card for. What do they like? Favorite colors? Fun themes?
You can choose a style like:
- Cute and colorful (hearts, stars, smiley faces)
- Minimal and elegant (soft tones, simple message)
- Fun and playful (cartoon-style drawings, bright patterns)
Lightly sketch your idea on paper first. This helps you avoid mistakes and gives you a clear direction.
Tip: Beginners should start with simple shapes and clean layouts. Less is often more!
📄 Step 2: Create the Base of Your Card
Now it’s time to build the foundation.
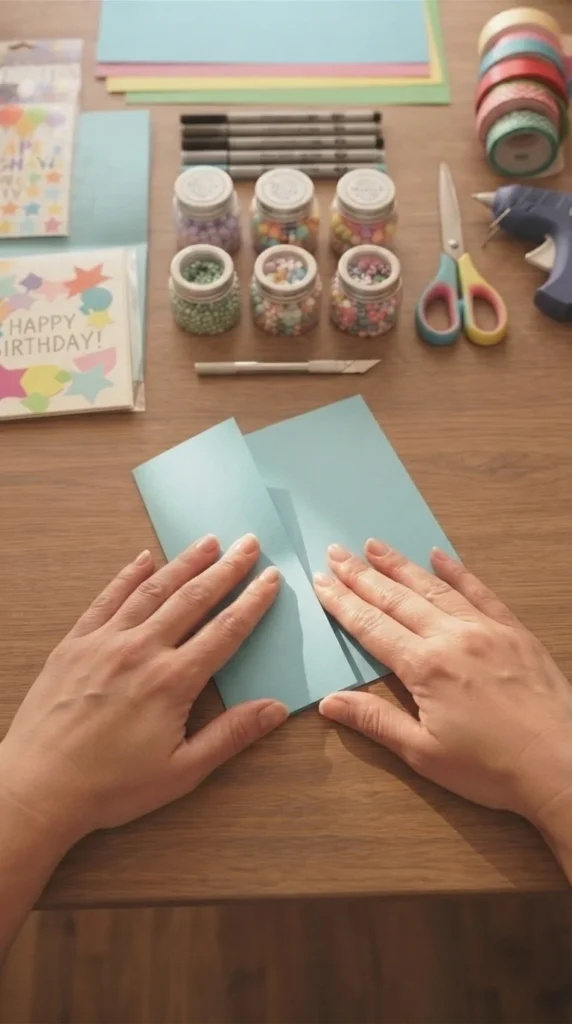
- Take a sheet of cardstock and fold it in half neatly.
- Use a ruler to press the fold for a sharp, clean edge.
- Choose your base color based on your theme (pastel pinks, blues, or classic white all work beautifully).
This simple folded paper becomes your canvas. Keep it neat because a clean base makes your design look more professional.
🌟 Step 3: Decorate with Creative Layers
This is where your card truly comes to life!
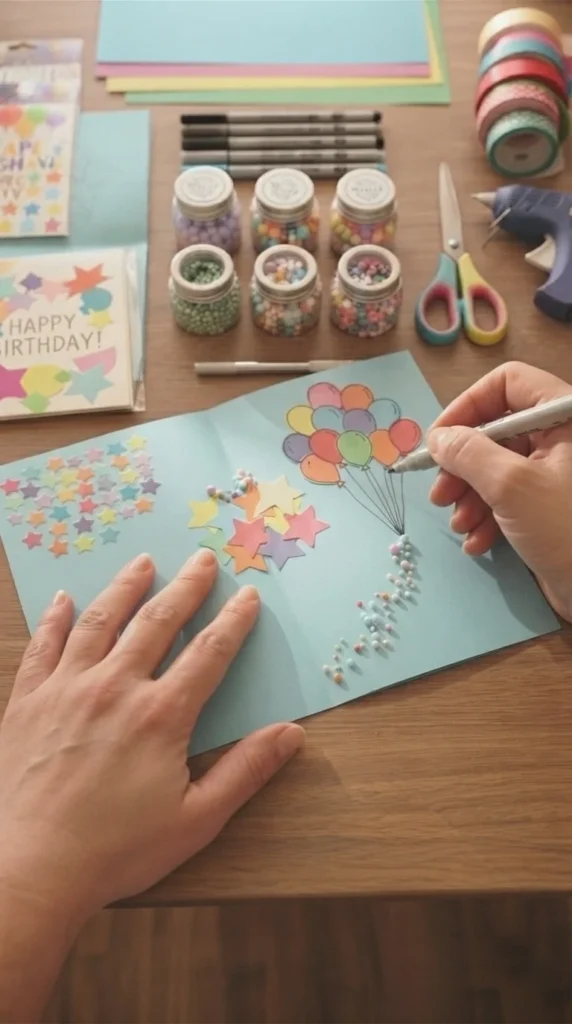
Start layering decorations step by step:
- Add a background pattern using colored paper strips or washi tape
- Draw simple shapes like hearts, balloons, or flowers
- Use stickers to fill empty spaces creatively
- Add a light touch of glitter for sparkle (don’t overdo it!)
Try mixing textures—paper cutouts + drawings + stickers create a rich handmade feel.
If you want a theme idea, try:
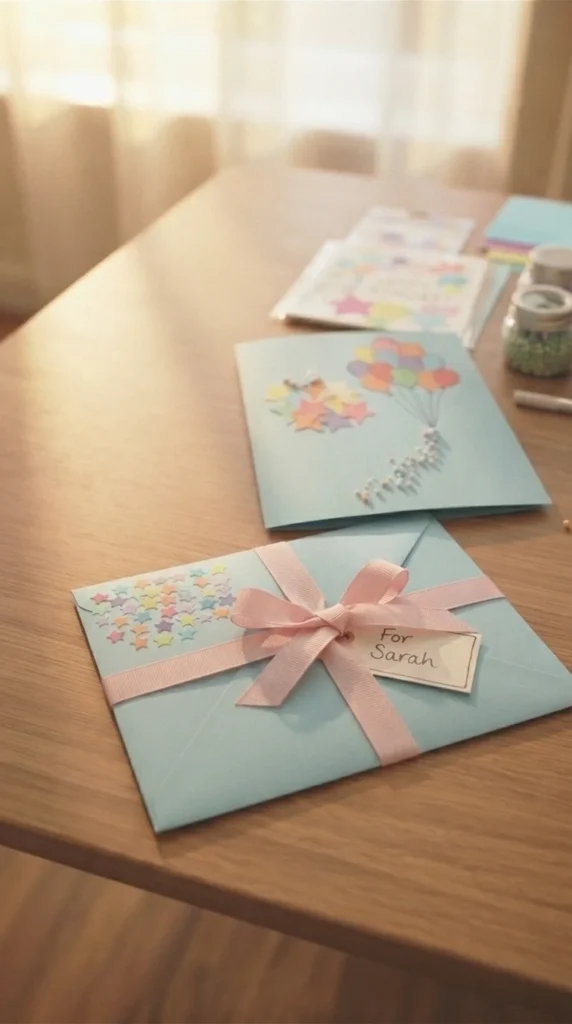
- Birthday balloons floating across the card
- A cute cupcake illustration in the center
- A “confetti explosion” design using tiny paper dots
✍️ Step 4: Write a Heartfelt Message
A birthday card is not complete without a meaningful message. Keep it simple, warm, and personal.
Here are some ideas:
- “Wishing you a day filled with happiness and laughter!”
- “Hope your birthday is as amazing as you are!”
- “So grateful to celebrate you today!”
You can also add a personal touch by writing a short memory or inside joke. Use colorful pens or calligraphy-style writing to make it stand out.
Tip: Always leave space for your message while designing so it doesn’t feel crowded.
🎁 Step 5: Final Touches & Presentation
Now that your design is complete, take a step back and review your card.
- Check if everything is glued properly
- Erase any pencil marks
- Add final sparkles or small details if needed
- Let the glue dry completely before closing the card
You can even add a matching envelope or decorate the envelope to match your card design.
🌈 Conclusion: Your Creativity Makes It Special
Making handmade birthday cards is not about perfection—it’s about effort, creativity, and love. Even the simplest design becomes meaningful when it’s made by hand. Once you try it, you’ll realize how fun and relaxing the process can be.
So grab your supplies, pick your colors, and start crafting your own beautiful birthday card today. Don’t be afraid to experiment—every card you make will be better than the last.
Save this idea for your next birthday surprise and start creating something unforgettable!
Leave a Reply