

There’s something magical about décor that sparkles softly under your Christmas lights—especially when it’s handmade. DIY Christmas bead trees are a perfect way to bring elegance, shimmer, and a personal touch to your holiday styling. They’re simple to make, surprisingly budget-friendly, and incredibly eye-catching. Whether you prefer modern minimalism or classic holiday glam, these trees instantly elevate shelves, mantels, and table displays.
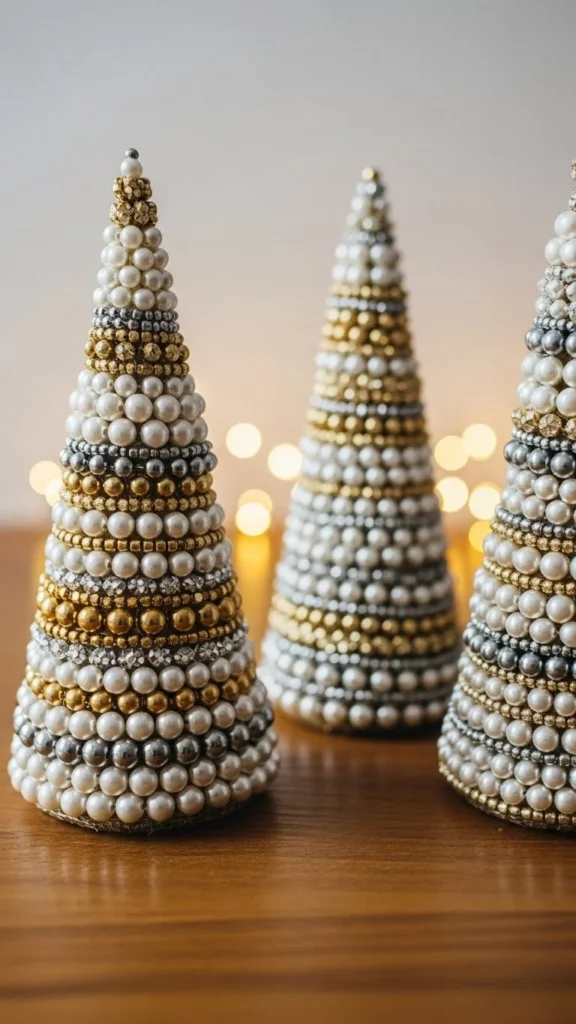
If you’re in the mood for a relaxing craft that turns into stunning décor, bead trees might become your new favorite holiday project.
Gather Your Materials
Before you get started, take a moment to collect everything you need. This craft is flexible—use whatever bead colors or textures match your home’s Christmas palette.
- Foam cones in various sizes
- Assorted beads (pearl, glass, wooden, sparkly, or matte)
- Straight pins or a hot glue gun
- Ribbon or twine for topping
- Scissors
- Optional: mini star toppers
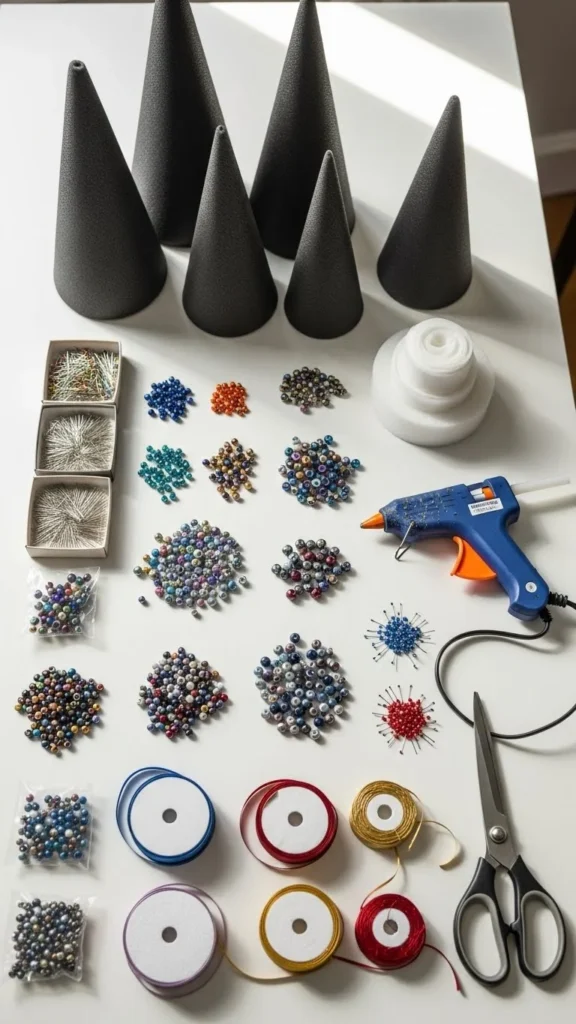
Having your supplies ready makes the process smoother and more enjoyable.
Step 1: Prepare the Cone Base
Start by choosing the size of cone you want to work with. Mixing large, medium, and small cones makes your final display look intentional and balanced.
If you’re using straight pins, your beads will be individually attached; if using glue, they’ll be secured faster but permanently.
- Wipe down the cone to remove dust.
- Decide whether you want a full coverage look or a spaced-out bead pattern.
- Sort your beads by color or size to save time later.
This prep step might seem small, but it sets the tone for a polished final result.
Step 2: Attach the Beads
This is where the fun (and sparkle!) begins. You can create patterns with beads, mix them randomly, or keep things uniform—there’s no wrong way to design your tree.
If using pins:
- Insert each bead with a straight pin directly into the foam.
- Work from the bottom upward so the layers overlap neatly.
If using glue:
- Dab a tiny amount of glue onto the back of each bead.
- Press it firmly onto the cone and hold for a second to secure.
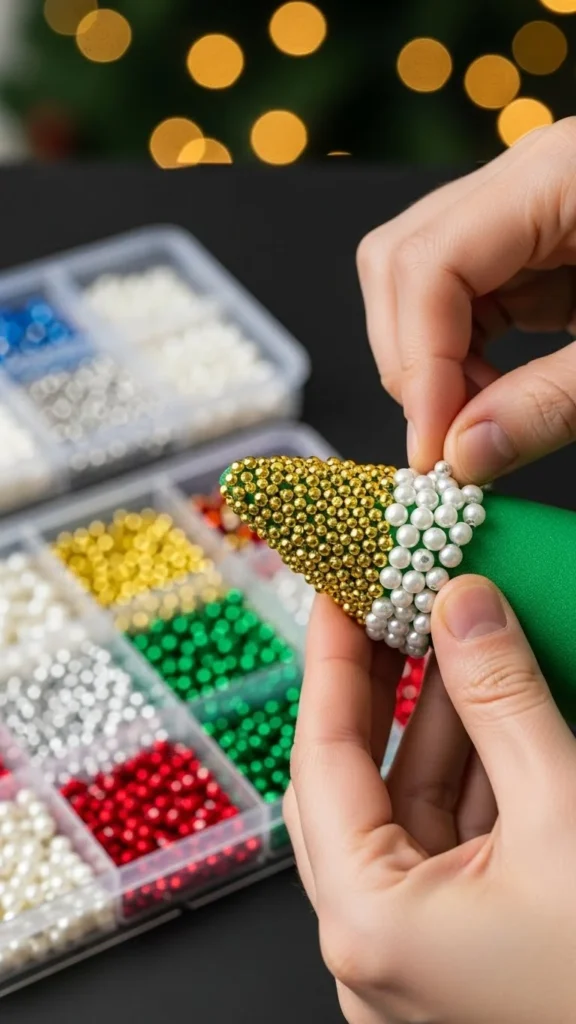
Tip: To avoid visible gaps, rotate the cone often and check from different angles.
Step 3: Add Details and Finishing Touches
Once your cone is fully beaded, it’s time to give it personality. Small details elevate the look instantly.
Try finishing touches like:
- A simple ribbon bow at the top
- A tiny glittered star
- Metallic twine spiraled around the tree
- A contrasting bead line for dimension
You can even create different “themes” for your bead trees—metallic luxe, pearl elegance, rustic wooden bead style, or colorful festive designs.

These little touches make your décor feel curated rather than thrown together.
Step 4: Style Your Bead Trees Around Your Home
Now comes the most exciting part—finding the perfect place to showcase your creations.
Bead trees look stunning in many spots:
- On a mantel alongside greenery
- As a centerpiece grouped on a tray
- On bookshelves for a pop of holiday shimmer
- Beside candles or fairy lights for added glow
- On entryway tables to welcome guests

Arrange them in odd-numbered groups (three or five) to create a more natural, visually pleasing cluster.
Tips for Customizing Your Bead Trees
If you want your bead trees to stand out even more, try these simple ideas:
- Stick to one color palette, like icy blues and silvers or warm gold and champagne tones.
- Mix textures: matte beads + glossy beads + glitter beads create depth.
- Use oversized beads for a bold look or micro-beads for delicate detail.
- Add a base or small wooden stand to make them appear taller and more polished.
- Create a “set” of themed trees for various rooms—kitchen, bedroom, hallway, or office.
These tips help you craft trees that match any décor style flawlessly.
Final Thoughts
DIY Christmas bead trees are elegant, relaxing to make, and endlessly customizable. They bring warmth, shine, and artisanal charm into your holiday décor—without requiring hours of complicated crafting.
So turn on a cozy playlist, gather your beads, and let your creativity sparkle this season.
Save this idea for later and create a full collection of bead trees for your holiday home!

Leave a Reply