

Creating Christmas magic doesn’t have to be complicated. One of the easiest ways to bring cozy enchantment into your home is by crafting your own DIY Christmas shadow lanterns—glowing little scenes that dance across your walls when the lights dim. These lanterns look charming, feel whimsical, and are surprisingly simple to make.
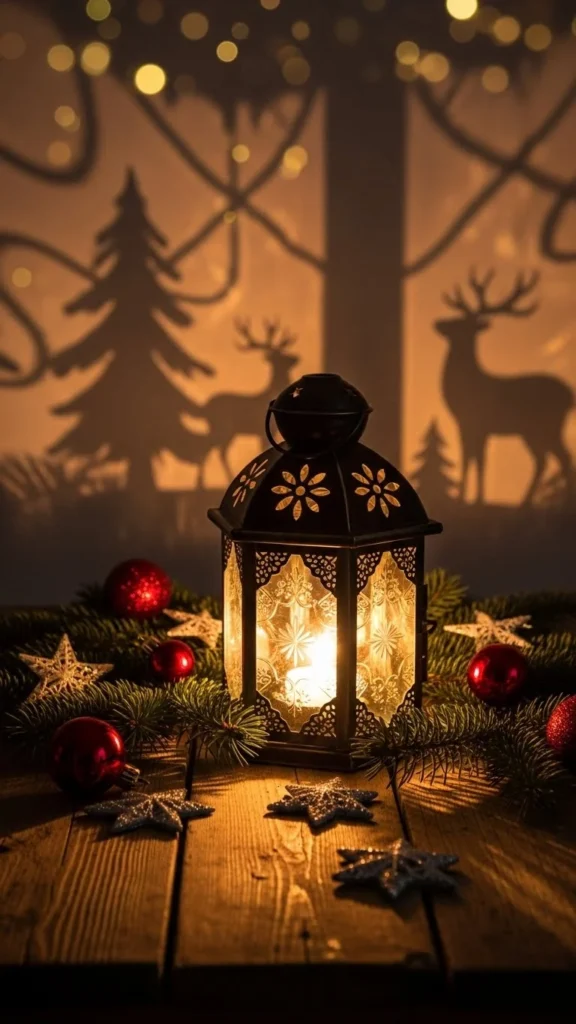
Whether you want a serene woodland view, a snowy village, or a classic Christmas night sky, shadow lanterns give your home an instant glow-up—without spending much at all.
Gather the Supplies You Need
Before you start crafting, gather a few basic materials. Most of them are budget-friendly and easy to find.
- Glass jar, cylinder vase, or clear lantern frame
- Battery tea lights or LED candles
- Black cardstock or thick black paper
- Scissors or a craft knife
- Double-sided tape or strong glue
- Optional: faux snow, ribbon, mini bells, glitter, twine, dried orange slices
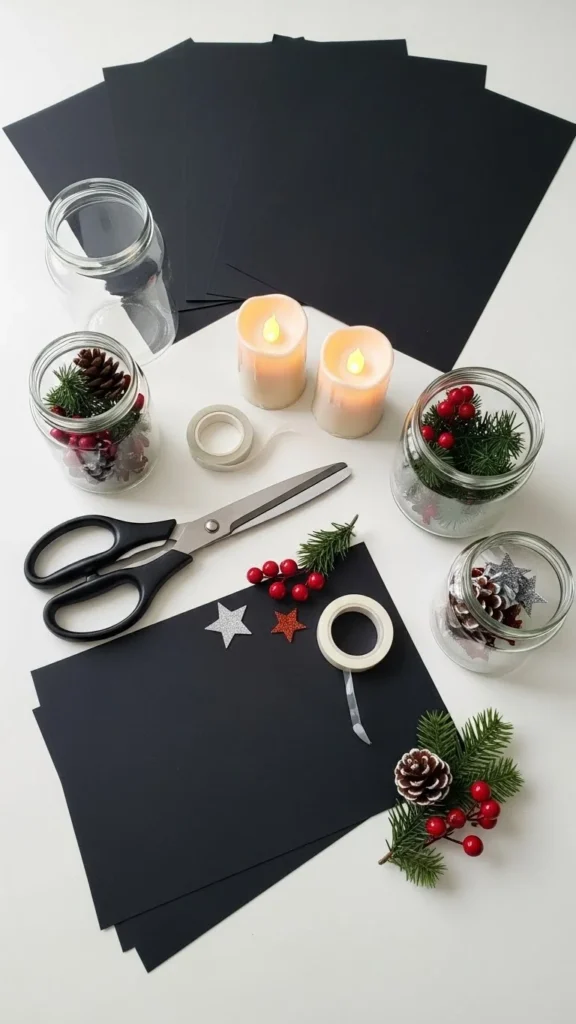
Using LED candles is important—they stay cool and safe inside any enclosed lantern design.
Create Your Christmas Shadow Designs
This is where the magic begins. The shadows come from the silhouettes lining the inside of your lantern.
Start by choosing a theme:
- A winter forest with pine trees
- A serene nativity scene
- Santa and his sleigh
- A snowy cottage hillside
- Simple stars and moon shapes
Cut out your chosen silhouettes from the black cardstock. Thicker designs cast cleaner, sharper shadows.

To get crisp results:
- Keep your shapes bold and blocky.
- Avoid very thin or fragile lines.
- Test the shapes against the jar before taping them in place.
Assemble the Lantern Structure
Now it’s time to bring the shadow lantern together.
- Wrap your paper silhouettes along the inner wall of the glass jar or vase.
- Secure them with tape or glue so they sit flush against the surface.
- Place the LED candle in the center of the jar.
- Turn off your room lights and watch your shadow scene appear like magic.
If the shadows look faint, move the LED candle slightly upward using a small riser—like a jar lid or a stack of wood slices.
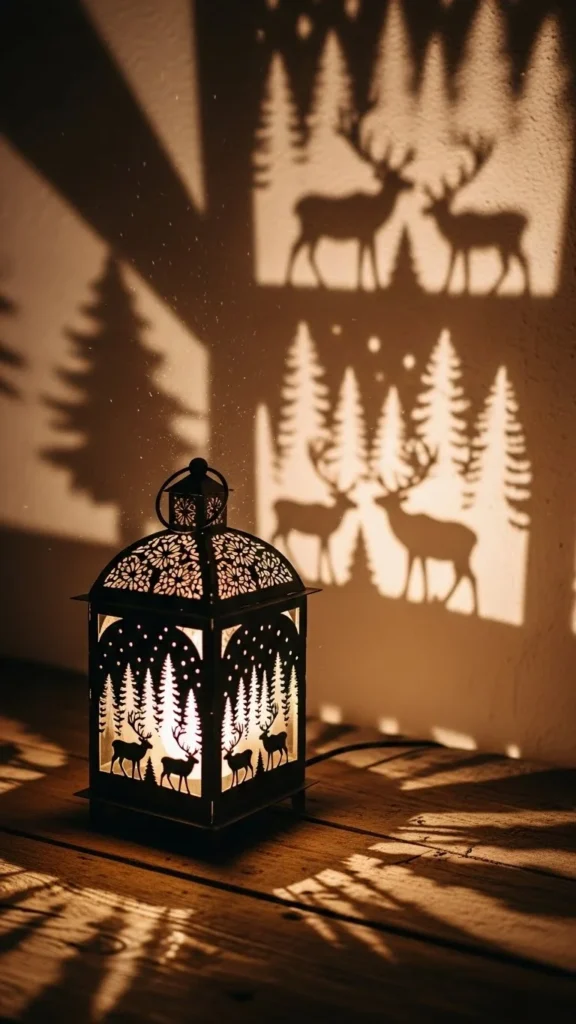
You’ll immediately see how the height of the candle affects the clarity and scale of the shadows.
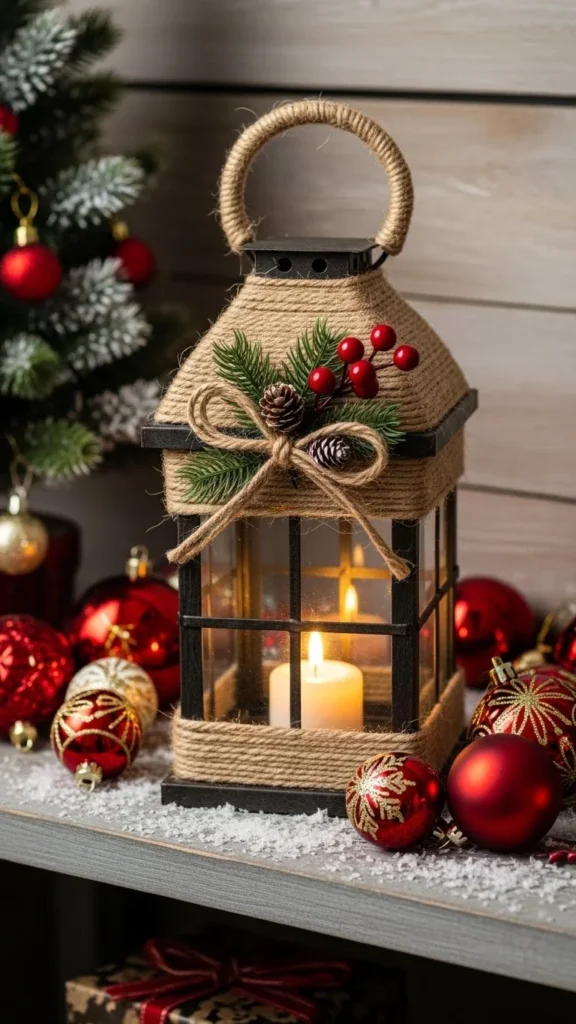
Add Festive Decorative Touches
Once your lantern is shining beautifully, dress it up to match your holiday theme.
Try these easy ideas:
- Wrap twine, ribbon, or lace around the rim.
- Add a sprinkle of faux snow inside the base.
- Tuck tiny pine branches or cinnamon sticks around the outside.
- Tie a small bell or dried orange slice to the front.
These little details make your lantern look store-bought while still feeling handmade and personal.
Creative Variations to Try
Want to make your lantern even more unique? Here are fun options to experiment with:
⭐ Frosted-Glass Look
Coat the jar lightly with frosted spray or brush on diluted white paint. This softens the glow and makes the shadows feel dreamier.
⭐ Multilayer Silhouette Scenes
Use two or three layers of cardstock silhouettes staggered around the inside to create depth—like trees up front and houses in the distance.
⭐ Hanging Lanterns
Attach twine or ribbon handles and hang them along your porch, mantel, or hallway for a magical floating-shadow effect.
⭐ Mini Gift-Friendly Lanterns
Use small jars or baby food containers to create adorable gift-sized lanterns perfect for teachers, neighbors, or party favors.
Tips for Brighter, Cleaner Shadows
To make your shadow lanterns look professional, keep these simple tips in mind:
- Use LED candles with a bright, warm glow.
- Avoid placing the lantern near busy backgrounds that distract from the shadows.
- Keep your silhouettes simple for the strongest visual impact.
- Test your design in a dark room before adding decorations—you can adjust the shapes more easily early on.
Light Up Your Home With Handmade Christmas Magic
DIY Christmas shadow lanterns add instant charm to any space. They’re cozy, customizable, affordable, and so much fun to make. Whether you set them on your fireplace mantel, dining table, windowsill, or entryway, they bring a soft, enchanting glow that feels straight out of a holiday storybook.
Save this idea for later and start crafting your own glowing Christmas moments today!

Leave a Reply