

Balloon walls have a way of turning an ordinary room into a celebration zone in minutes. They add color, texture, and instant impact without requiring expensive rentals or professional skills. Whether you’re planning a birthday, baby shower, graduation, or backyard party, a balloon wall can become the centerpiece everyone remembers.
The best part? You don’t need to be crafty or spend a fortune. With a little planning and a few simple techniques, you can create a balloon wall that looks polished and photo-ready.
Start With the Right Balloon Wall Plan
Before inflating a single balloon, decide how your wall will be used. This shapes every choice after.
Ask yourself:
- Is it a photo backdrop or a full accent wall?
- Will it sit behind a dessert table, gift area, or entryway?
- Is the space indoors or outdoors?
For beginners, a half-wall or arch-style wall is easier than covering a full wall from floor to ceiling. Measure the width and height so you know roughly how many balloons you’ll need.
Quick tip: It’s better to make the wall slightly larger than you think. Balloon walls look best when they feel full and intentional.
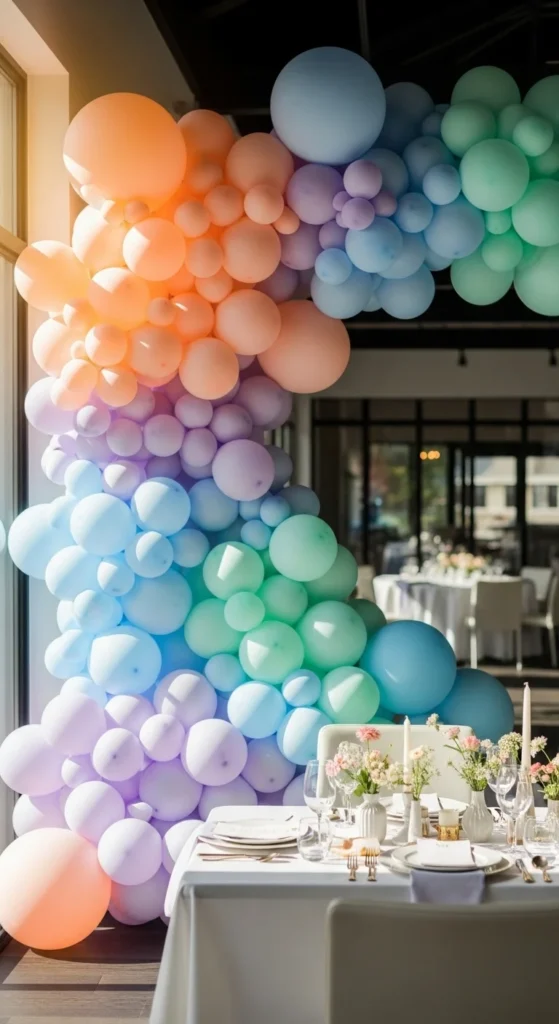
Choose a Color Palette That Sets the Mood
A strong color palette makes the wall feel styled instead of random. Stick to 2–4 main colors plus one neutral.
Popular combinations:
- Soft neutrals + one bold accent
- Two shades of the same color for depth
- Seasonal tones (pastels for spring, deeper tones for fall)
Avoid using every color available. A limited palette feels more elevated and photographs better.
Helpful trick:
- Use different balloon sizes in the same colors to add texture without adding more colors.
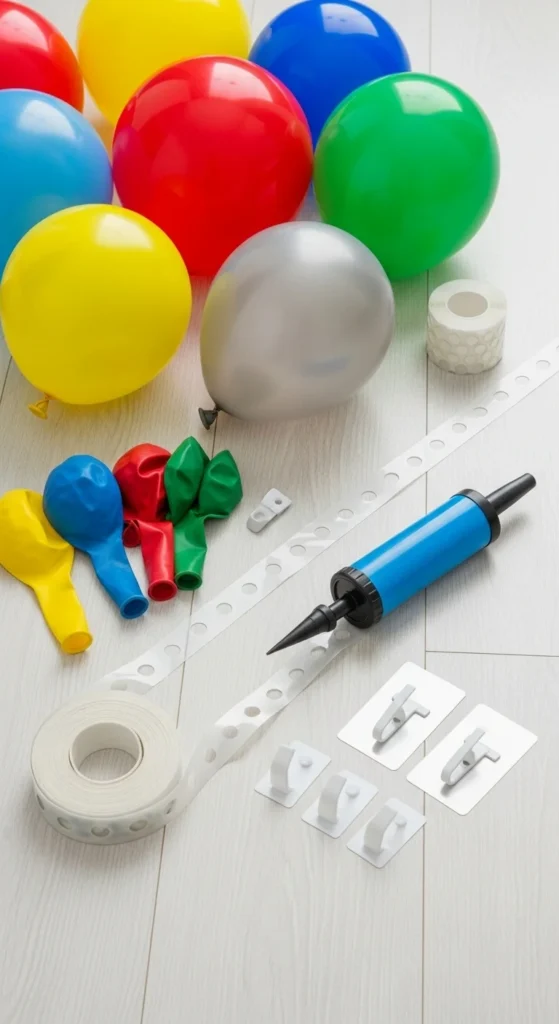
Gather Simple Supplies (No Fancy Tools Needed)
You don’t need a professional kit. Most balloon walls use a few basic items.
Essentials:
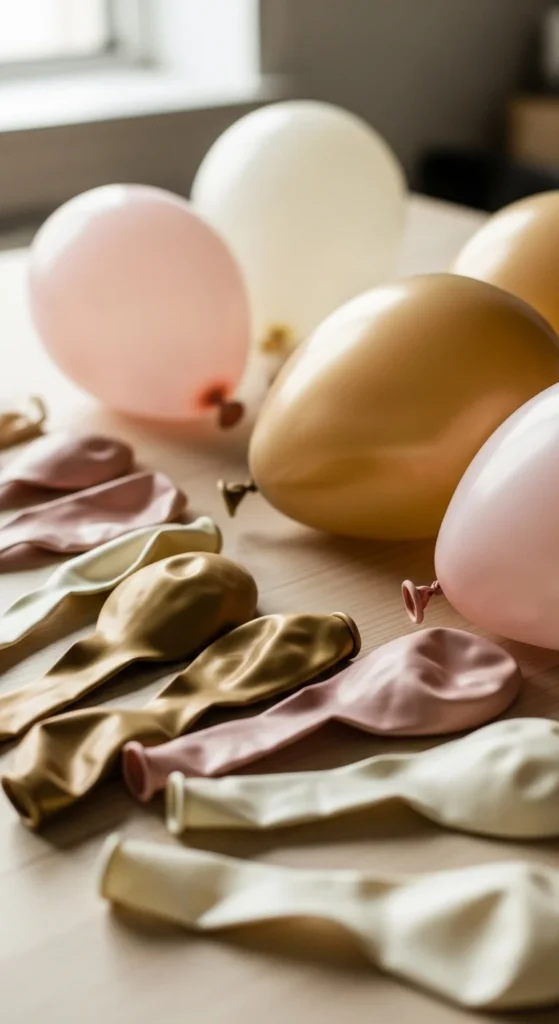
- Latex balloons in multiple sizes
- Balloon tape strip or fishing line
- Hand pump or electric balloon pump
- Glue dots or low-tack adhesive hooks
Optional extras:
- Greenery strands
- Faux flowers
- Metallic or clear balloons for contrast
Budget tip: Buy balloons in bulk packs. You’ll save money and have extras for filling gaps later.
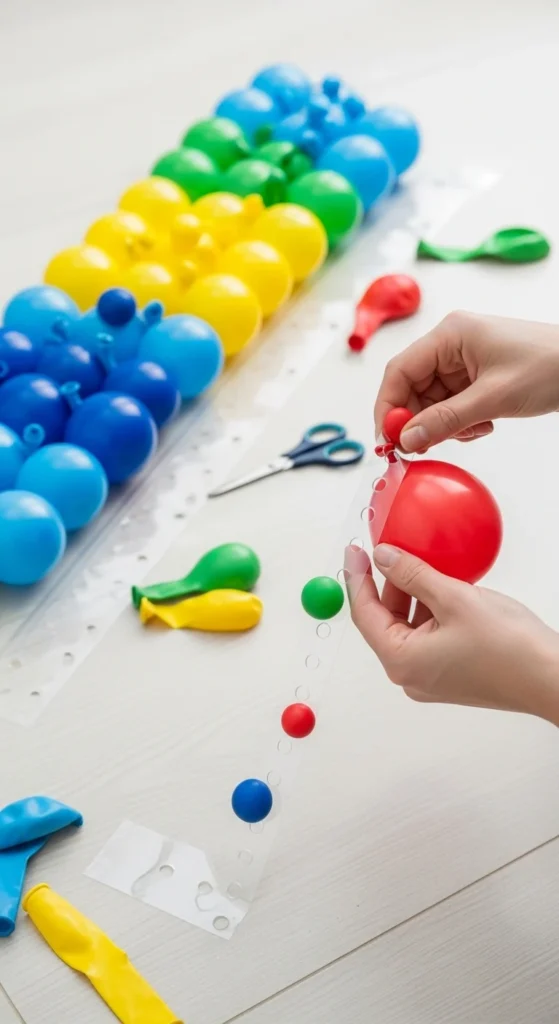
Build the Balloon Wall Step by Step
This is where it comes together, and it’s easier than it looks.
Follow this simple process:
- Inflate balloons in different sizes (don’t overinflate).
- Attach balloons to the tape strip or fishing line, alternating sizes and colors.
- Start with the largest balloons first as the base.
- Fill in gaps with smaller balloons using glue dots.
Work in sections on the floor or a table, then hang each section on the wall.
Take breaks and step back often. This helps you spot empty spaces or color clumps early.
Add Texture With Simple Styling Touches
What separates a basic balloon wall from a standout one is texture.
Easy upgrades:
- Tuck in faux greenery for a soft, organic look
- Mix matte and slightly shiny balloons
- Add clear balloons to lighten heavy color areas
Less is more here. A few accents go a long way without overwhelming the design.
Pro tip:
- Add decorative elements last so they don’t get buried while adjusting balloons.
Secure the Wall for a Clean, Stress-Free Setup
A balloon wall should stay put for the entire event.
Reliable mounting options:
- Removable adhesive hooks
- Command-style strips
- Tension rods for doorways
- Lightweight backdrop stands
Avoid using strong adhesives directly on painted walls unless they’re renter-safe.

If outdoors, assemble as close to event time as possible and place the wall away from direct wind.
Make It Photo-Ready
Balloon walls are magnets for photos, so plan for that.
Photo-friendly tips:
- Keep the center area slightly more open
- Avoid harsh overhead lighting
- Position it near natural light if possible
A small stool or sign nearby encourages guests to stop and take pictures.
Final Takeaway
Balloon walls don’t require special skills or big budgets to make a big impact. With a clear plan, a thoughtful color palette, and a relaxed DIY approach, you can create a backdrop that transforms any party space into something memorable.
Save this idea for your next celebration and let your walls do the decorating for you.

Leave a Reply