

Dessert tables are the heart of a celebration. And nothing pulls the whole setup together like a well-built cupcake stand. The right stand adds height, keeps treats easy to grab, and makes even simple cupcakes feel intentional. The best part? You don’t need specialty tools or expensive supplies to make one that looks polished and party-ready.
Below is a practical, beginner-friendly guide to building cupcake stands that actually elevate your table—visually and functionally.
Why Cupcake Stands Matter on Dessert Tables
Flat dessert tables can look crowded fast. Cupcake stands solve that problem instantly.
They:
- Create visual height without clutter
- Make desserts easier to see and grab
- Help organize flavors or themes
- Add a styled, intentional feel
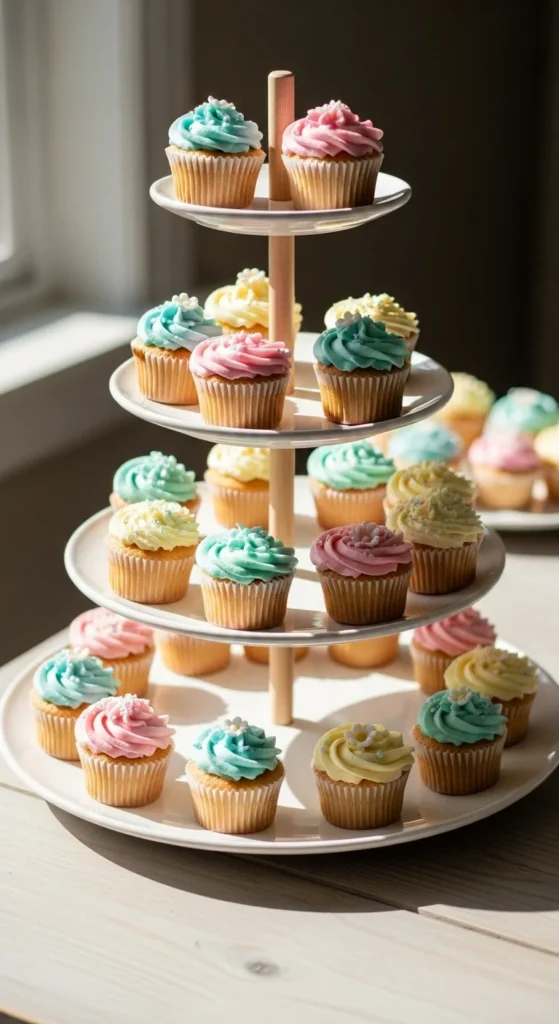
Even a simple three-tier stand can transform a table from basic to balanced. And when you build it yourself, you control the size, color, and style.
Choosing the Right Style for Your Event
Before grabbing supplies, decide what kind of stand fits your setup.
Popular DIY styles include:
- Classic tiered (plates or boards stacked vertically)
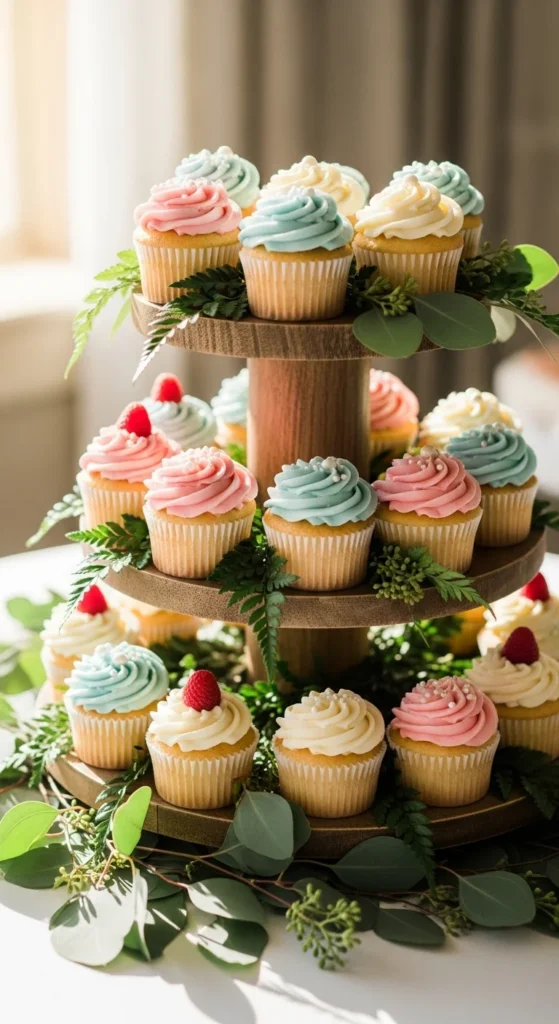
- Rustic (wood rounds, dowels, natural finishes)
- Minimal (clean lines, neutral colors)
- Whimsical (painted edges, scalloped shapes)
Think about:
- Table size
- Number of cupcakes
- Overall theme or color palette
Smaller tables usually look best with vertical tiers, while larger tables can handle wider, spread-out stands.
Materials That Work (and Look Good)
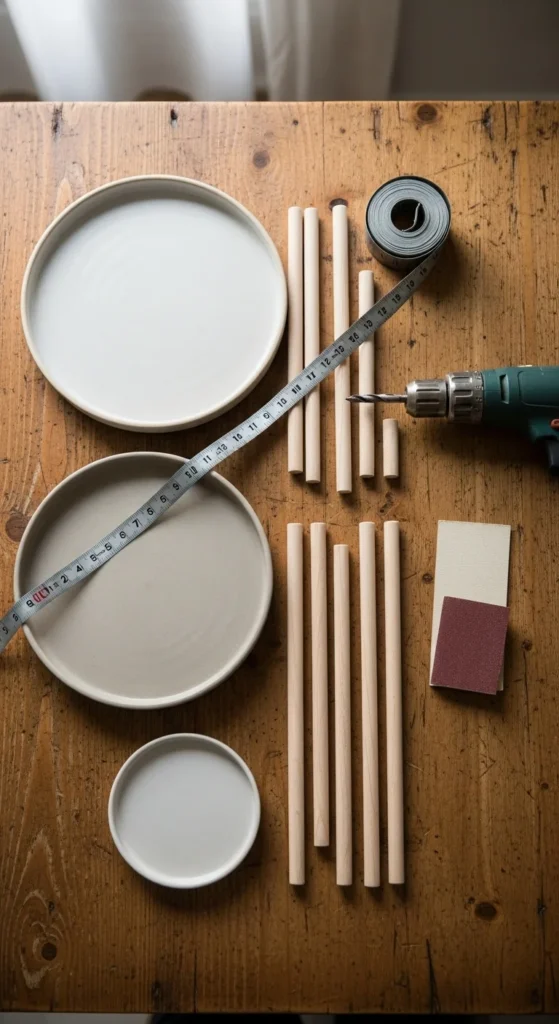
You don’t need specialty supplies. Many great stands start with items you already have.
Common materials:
- Plates, trays, or wood rounds
- Wooden dowels, candlesticks, or furniture legs
- Strong adhesive or screws
- Drill (optional but helpful)
- Sandpaper and paint (optional)
Budget tip: Thrift stores are perfect for mismatched plates that become charming once stacked.
How to Build a Simple Tiered Cupcake Stand
This method works for beginners and looks clean on any dessert table.
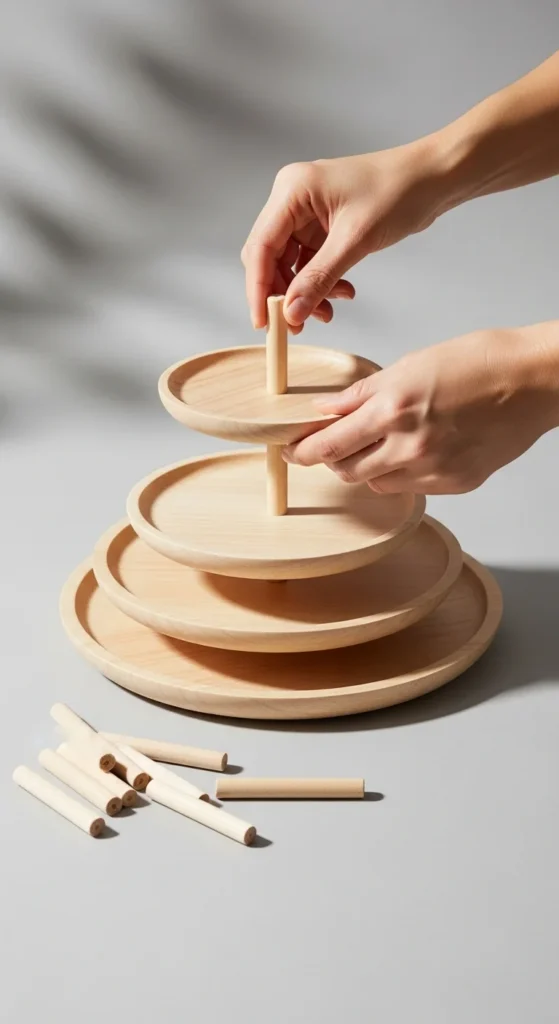
Step-by-step:
- Plan your spacing
Lay plates flat and decide the distance between tiers. - Attach the supports
Secure dowels or legs to the center of each plate. - Stack carefully
Align each tier before tightening or gluing. - Stabilize fully
Let everything cure or set before adding cupcakes.
Important: Always test stability by gently shaking the stand before using it.
Making Your Stand Look Store-Bought
Small details make a big difference.
Easy upgrades:
- Light sanding for smooth edges
- Matte paint or spray finish
- Thin trim around plate edges
- Neutral colors for versatility
Less is more. A clean finish photographs better and works for more occasions.
Decorating Without Overdoing It
Cupcakes should stay the star.
Use subtle accents like:
- Simple liners in coordinating colors
- Small greenery sprigs near the base
- Neutral table linens underneath
Avoid heavy decorations on the stand itself. The shape and height already do the work.
Sizing Your Stand for the Right Amount
Overcrowding is the most common mistake.
General guide:
- Top tier: 6–8 cupcakes
- Middle tier: 10–14 cupcakes
- Bottom tier: 18–24 cupcakes
If you need more, build two smaller stands instead of one oversized one. It looks intentional and keeps the table balanced.
Storage and Reuse Tips
A good DIY stand should last beyond one event.
Smart ideas:
- Use removable supports for flat storage
- Choose neutral finishes for reuse
- Store plates separately with padding
Reusable stands save money and simplify future setups.
Final Thoughts
Cupcake stands don’t have to be complicated or expensive to look beautiful. With simple materials, thoughtful spacing, and a clean finish, you can create a stand that elevates your dessert table and makes your cupcakes feel special.
Save this guide for your next celebration—and once you build one, you’ll want to use it again and again.

Leave a Reply