

If you want your mantel garland to look polished, full, and extra festive, the secret is simple: adorable garland ties. These small additions can transform even the most basic greenery into a styled holiday moment. Whether you prefer cozy ribbons, rustic textures, or a whimsical touch, making your own garland ties is fast, fun, and super customizable.
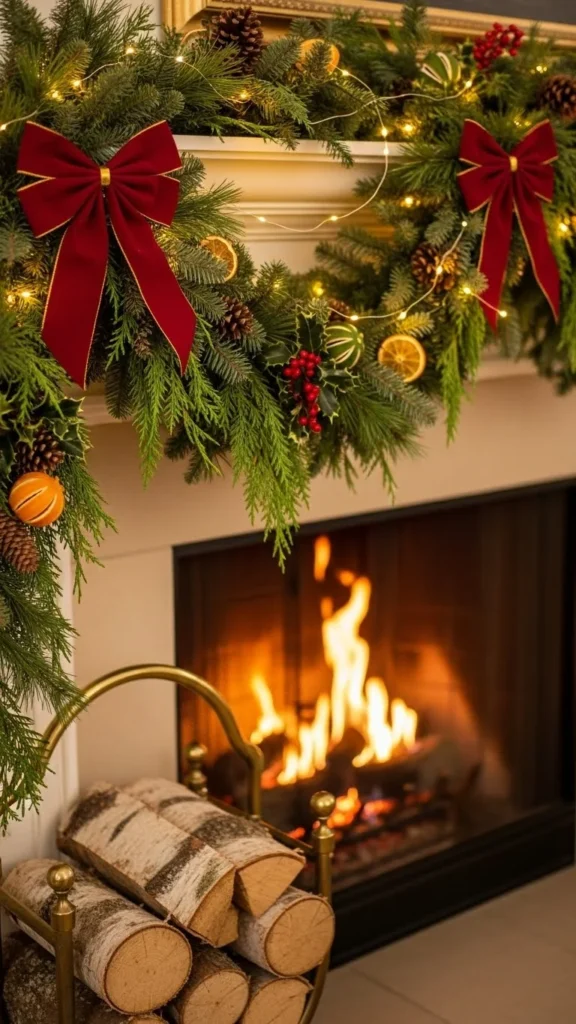
In this guide, you’ll learn how to make cute DIY garland ties using affordable materials you likely already have at home. Let’s start decorating!
Why Make Your Own Garland Ties?
Store-bought garland accessories can be pricey, and they don’t always match the vibe you want. DIY garland ties give you:
- Complete control over size, color, and style
- Budget-friendly options using scraps, leftover craft supplies, or thrifted ribbon
- A custom, layered look that pairs beautifully with stockings and mantel displays
- Flexibility—swap them out each season for new colors or themes
DIY garland ties are also great for renters who want to add style without heavy hooks or nails. The ties themselves help hold garland in place!
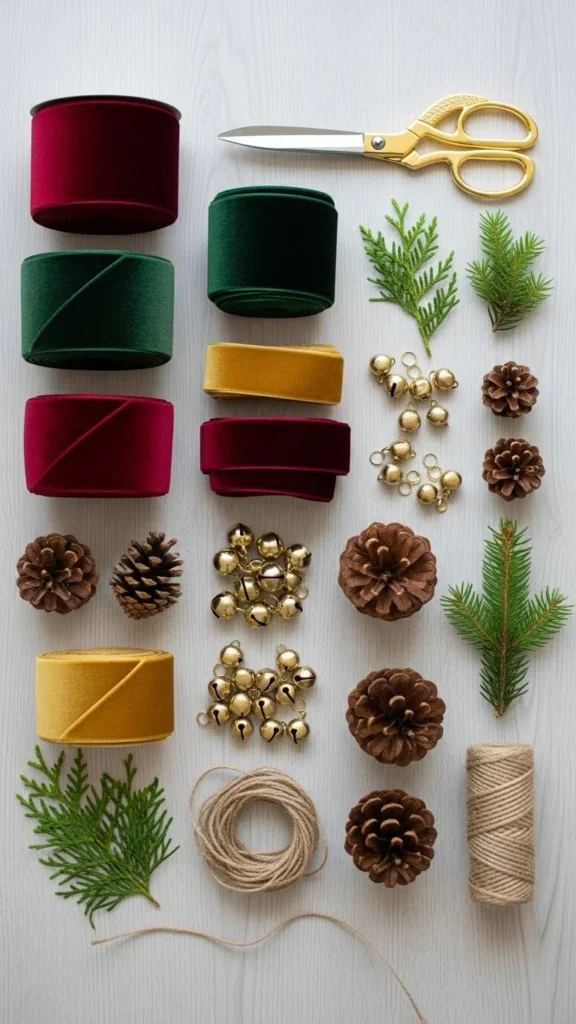
Materials You Might Use
Before you begin, gather a small selection of crafting basics. You don’t need all of these—just choose the materials that fit your look:
- Ribbon (velvet, satin, linen, burlap, plaid, sheer)
- Twine or jute string
- Faux greenery sprigs
- Small ornaments
- Floral wire
- Hot glue (optional)
- Scissors
- Mini bells, dried orange slices, pinecones, or wood beads
Step 1: Choose Your Garland Tie Style
Your chosen style sets the tone. Here are a few popular options:
1. Classic Velvet Bow
Soft, rich velvet adds a traditional holiday feel.
2. Rustic Twine Wraps
Perfect for farmhouse or woodland décor.
3. Mini Ornament Clusters
Adds sparkle using small ornaments or bells.
4. Greenery Bundles
Elegant and natural, using faux or real sprigs.
To keep a cohesive look, choose one or two styles and repeat them along your mantel.
Step 2: Cut and Prepare the Ribbon or Twine
Cut your ribbon to 18–24 inches depending on how long you want the loops or tails.
Tip: Use wired ribbon if you want more shape and lift.
For twine ties, cut 12–16 inches. Twine knots are small, so shorter lengths usually work well.
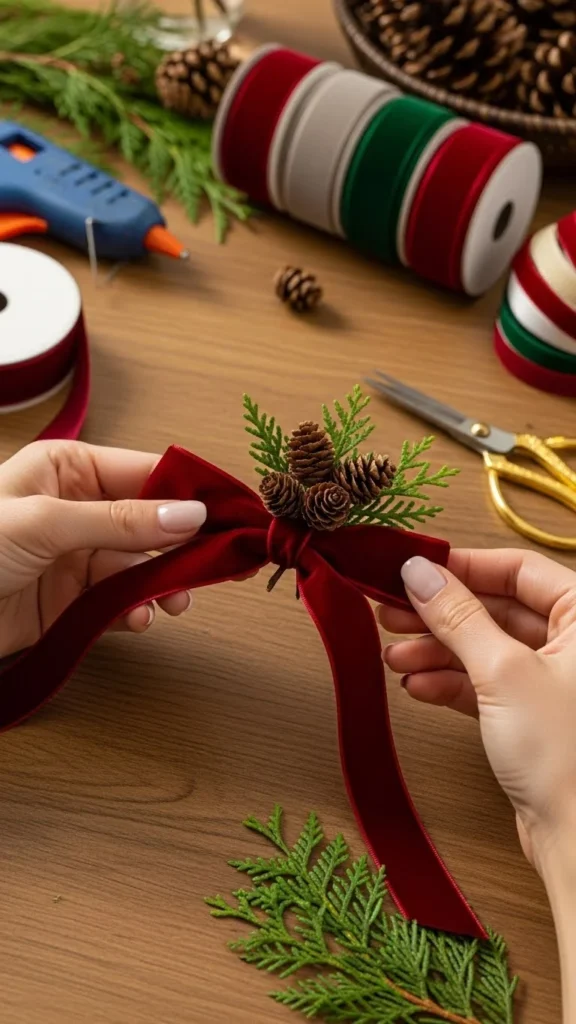
Step 3: Add Decorative Accents
This is where your creativity shines.
- Tie in tiny bells for a cheerful touch
- Use mini pinecones hot-glued near the bow knot
- Layer in eucalyptus, cedar, or holly sprigs
- Add wood beads for a natural Scandinavian look
- Attach small ornaments for a sparkly, festive style
Keep accents lightweight so they don’t pull the garland down.
Step 4: Secure Your Ties to the Garland
Now it’s time to attach your finished ties.
Using Wire
If you want extra hold, wrap floral wire around the tie and twist it around the garland branch.
Using Ribbon Alone
For lighter accents, tie your bow directly onto the garland and pull it tight to secure.
Spacing
A popular spacing method:
- Every 12–18 inches for a full, decorative look
- Every 24 inches for a minimal, elegant layout
Adjust placement based on how thick your garland is and how bold you want the ties to appear.
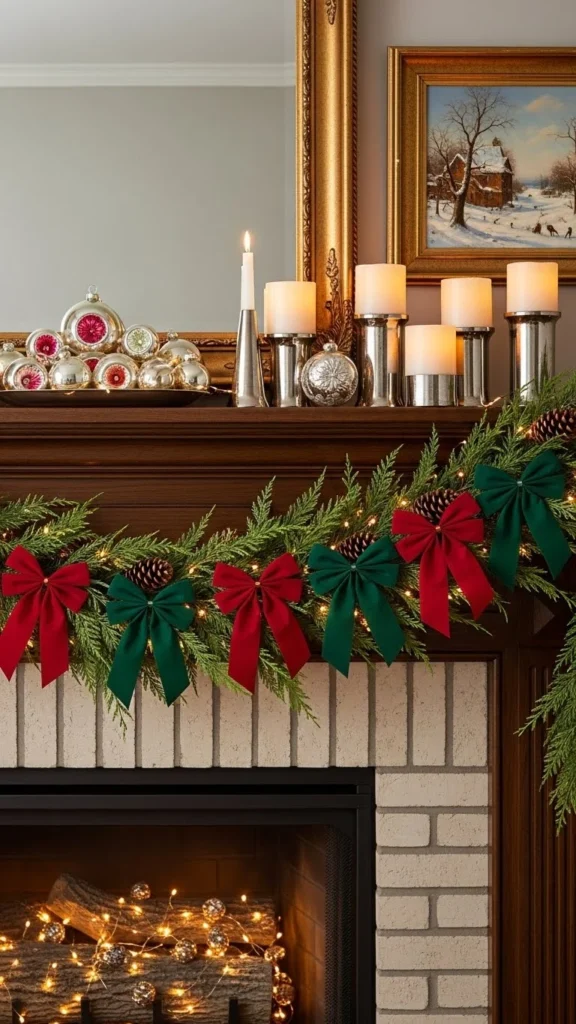
Step 5: Fluff and Shape for a Polished Look
Once the ties are attached, fluff the loops, straighten the tails, and adjust the greenery or accents.
- Bend wired ribbon gently to create soft curves
- Angle sprigs outward slightly for dimension
- Tuck any visible knots or wires behind foliage
This light sculpting step is what gives your mantel a professional finish.
Extra Ideas to Customize Your Garland Ties
1. Create a Color Story
Match your garland ties to your overall Christmas palette. Try:
- Gold + cream
- Red + tartan
- Forest green + natural linen
- Blush pink + champagne tones (if your décor skews soft and modern)
2. Layer Multiple Ribbons
Use two or three ribbon widths to create a lush, dimensional bow.
3. Add Handmade Elements
- Dried orange slices
- Felt stars
- Mini wooden tags
- Crochet snowflakes
These handmade touches give your mantel a warm, collected look.
4. Match Your Stockings
Use ribbon that coordinates with your stockings so the entire mantel display feels cohesive.
How Many Garland Ties Should You Make?
It depends on the length of your mantel and the fullness of your garland.
General guide:
- A 5–6 ft mantel → 4–6 ties
- A 7–8 ft mantel → 6–8 ties
- A larger display → 8–10 ties or more
If your garland is thinner, adding more ties makes it appear fuller and more intentional.
Final Styling Tips
- Add fairy lights before attaching your ties so the cords are hidden.
- Make a few larger statement bows for the corners or center.
- Mix textures—velvet, twine, greenery—for a designer look.
- Step back often and adjust spacing as needed.
These small tweaks go a long way toward creating a magazine-worthy mantel moment.
Bring Your Mantel to Life
With just a bit of ribbon, greenery, and creativity, you can create charming Christmas garland ties that elevate any mantel display. They’re quick to make, customizable, and surprisingly budget-friendly—perfect for cozy holiday decorating.
Save this guide for later and start crafting your garland ties today!

Leave a Reply