

Throwing a birthday party can be a lot of work, but one of the easiest ways to add a personal touch to your celebration is with a themed tablecloth. Whether you’re planning a whimsical kids’ party or a sophisticated adult celebration, a tablecloth can set the tone for the entire event. Not only will it tie together your party decor, but it’s a fun DIY project that allows you to get creative. In this guide, we’ll walk you through how to make themed tablecloths that suit any age and occasion!
Step 1: Choose Your Theme
The first step in making a themed tablecloth is deciding on your theme. Birthday parties are often centered around a favorite character, color scheme, or activity. Here are some ideas based on age groups:
- For Kids: Think cartoon characters (e.g., Mickey Mouse, Frozen, or Superheroes), animals (unicorns, dinosaurs), or fun shapes (like stars or rainbows).
- For Teens: Go for trendy themes like gaming, music, or a minimalist monochrome vibe.
- For Adults: Try something elegant, such as floral designs, vintage patterns, or a sleek, modern aesthetic with bold colors.
Once you’ve chosen your theme, you can decide on colors, patterns, and specific design elements that best represent the vibe you want to create.
Step 2: Gather Materials
To create your tablecloth, you’ll need some basic materials that can be easily found at most craft or fabric stores:
- Fabric: Choose a fabric that’s durable and easy to work with. Cotton or polyester blends work great for a sturdy yet affordable option. If you’re looking for a shiny or more formal feel, satin or silk is a good choice for adult parties.
- Fabric Paint or Markers: These will help you add details like text, illustrations, or color blocks to your tablecloth.
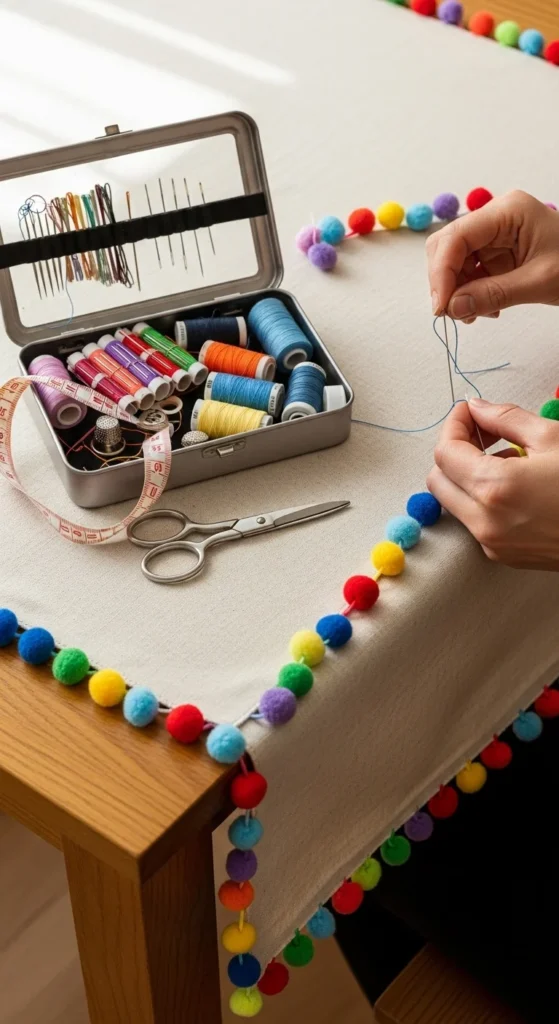
- Ribbons, Pom Poms, or Lace: Adding texture with these materials will give your tablecloth extra flair.
- Scissors, Pins, and Needle & Thread: You’ll need these for cutting, adjusting, and securing your fabric.
Make sure to measure your table first to know exactly how much fabric you’ll need.
Step 3: Design Your Tablecloth
Now comes the fun part—designing your tablecloth! There are different ways you can approach this depending on your theme and the materials you’ve chosen.
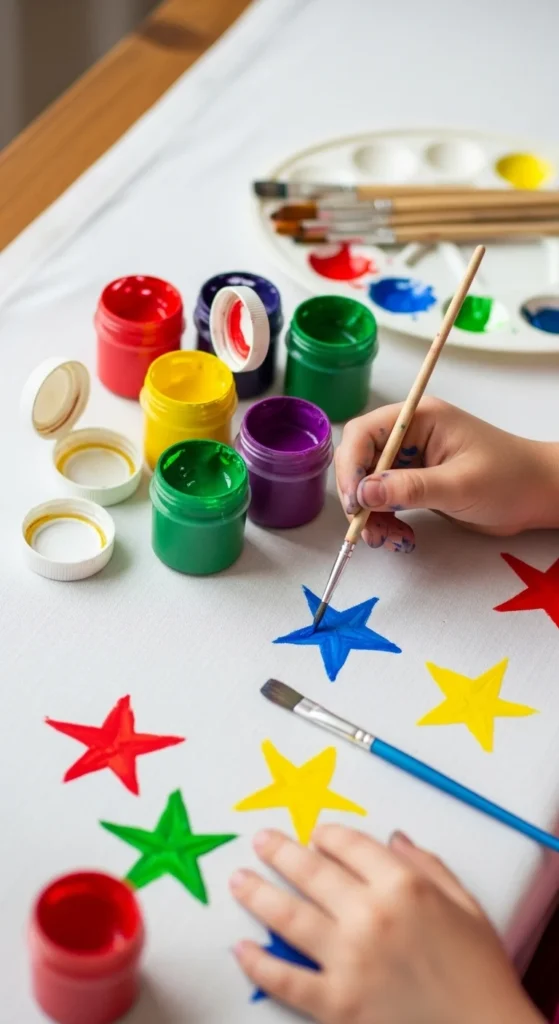
- Hand-Painted Designs: If you’re feeling artistic, hand-painting a design can give your tablecloth a personal touch. Use fabric paints to create shapes, patterns, or characters that match your theme. You can even add your guest’s names or a fun birthday message to the cloth.
- Stenciling: For more precise patterns, consider using stencils. This is a great option for adult parties where you want clean, sharp lines.
- Sewing: If you want to add some texture or layered elements, sewing accessories like lace, ribbon, or pom poms along the edges of the tablecloth can make it pop.
Step 4: Cut and Prepare the Fabric
After you have your design planned out, it’s time to cut and prepare the fabric:
- Measure the Table: Use a tape measure to figure out how much fabric you’ll need, leaving extra on each side for a nice overhang. If you want a floor-length tablecloth, add a few more inches.
- Cut the Fabric: Using sharp fabric scissors, carefully cut your fabric to the desired dimensions. Be sure to trim any frayed edges or uneven cuts for a neat finish.
If you’re working with a pattern or stencil, it’s a good idea to mark out your design lightly with a fabric pencil before you start working with paint or thread.
Step 5: Add the Finishing Touches
Now that your main design is complete, it’s time to add the final details. Consider these finishing touches:
- Ribbons & Edging: If you’ve gone for a bold design in the center, you can add a contrasting border with ribbons or fabric strips for a playful touch.
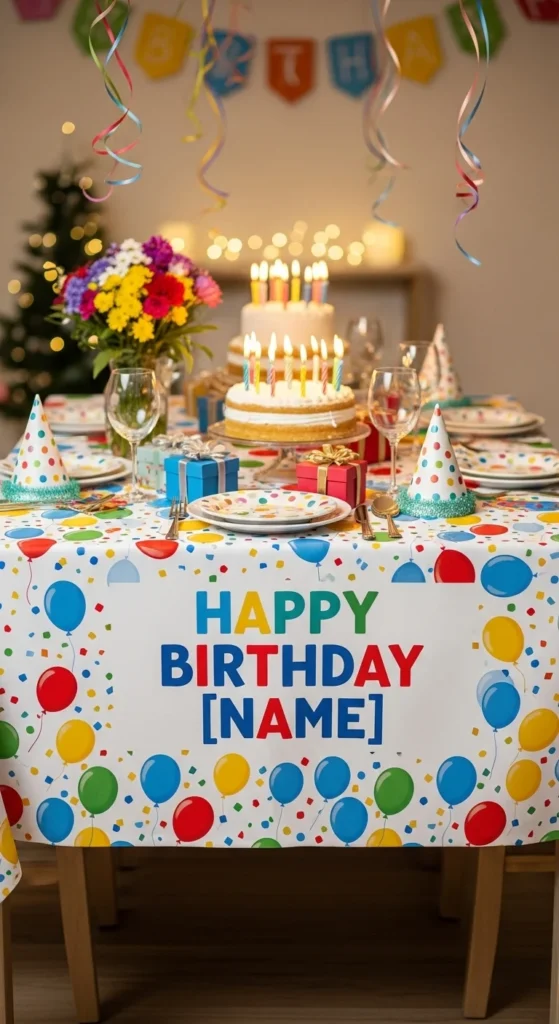
- Personalized Elements: For an extra special feel, add the birthday person’s name or age using fabric markers or applique lettering.
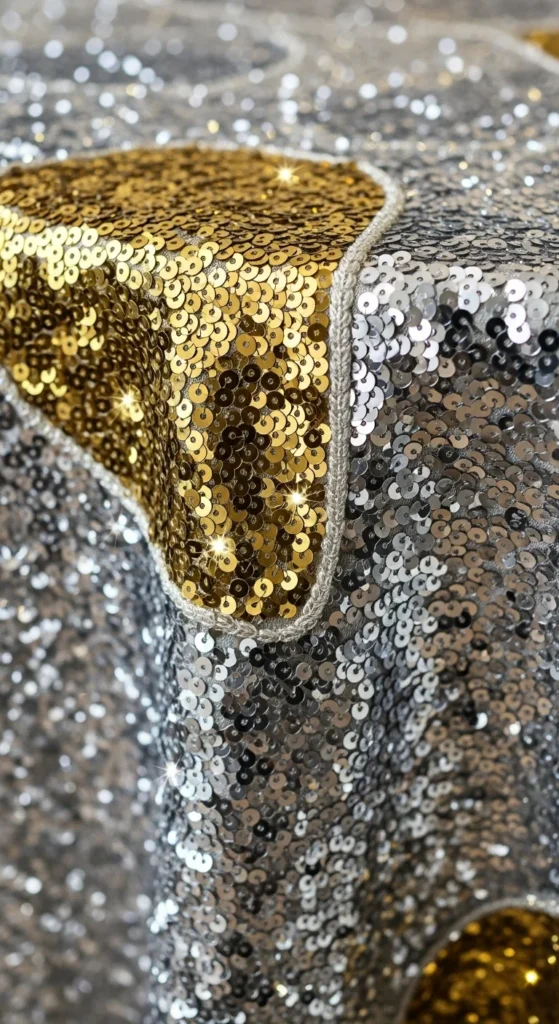
- Glitter or Sequins: For a bit of sparkle, sew or glue some glittery embellishments into the design, making it extra festive for a birthday celebration.
Step 6: Set the Table
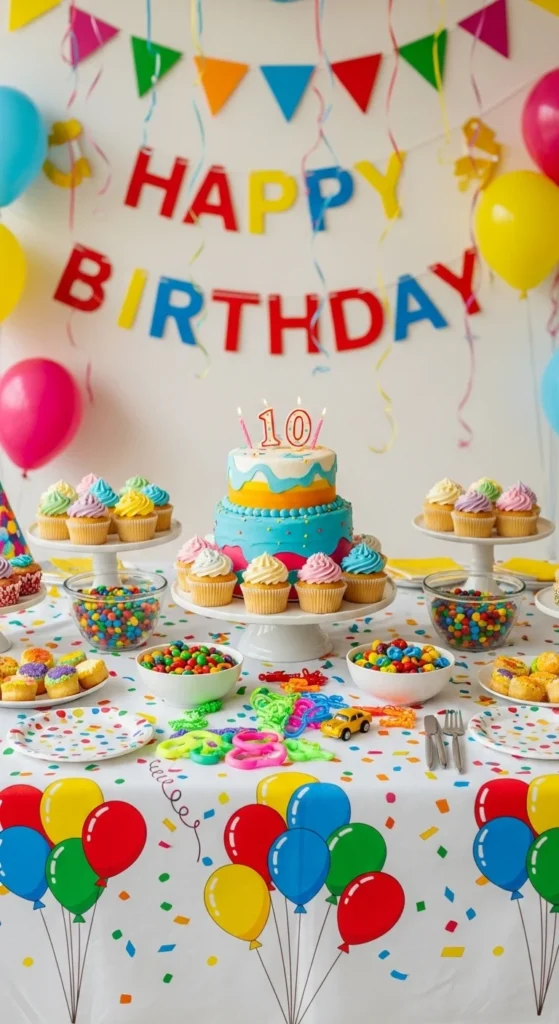
Once your tablecloth is ready, it’s time to set up the party. Lay it flat on your table and arrange your decorations, plates, cups, and utensils to match the theme. For kids’ parties, consider placing themed party favors on the table for a fun and interactive look. For more grown-up gatherings, you can balance the tablecloth’s bright designs with elegant tableware.
Conclusion: Save This DIY for Your Next Birthday!
Making your own themed tablecloth can be a fun and creative way to elevate a birthday party at any age. Whether you’re celebrating a child’s love for superheroes, a teen’s passion for music, or an adult’s sophisticated taste, a themed tablecloth adds a unique personal touch to your event. The best part? It’s a project that’s easy to do and can be customized to fit your style. Save this DIY idea for your next birthday party, and let your creativity run wild!
Now go ahead and get crafting, and let your birthday party shine with a homemade tablecloth that will wow your guests!

Leave a Reply