

If you want to add charm, personality, and a touch of handmade magic to your holiday gatherings, painting your own Christmas plates is the perfect project. These plates are adorable on snack tables, cookie displays, and kids’ parties—and they’re surprisingly easy to make. With just a few simple materials and a little creativity, you can craft festive designs that look stunning on any holiday table.
Let’s walk through how to create your own cute DIY Christmas plates step by step.
Choosing the Right Plates and Paints
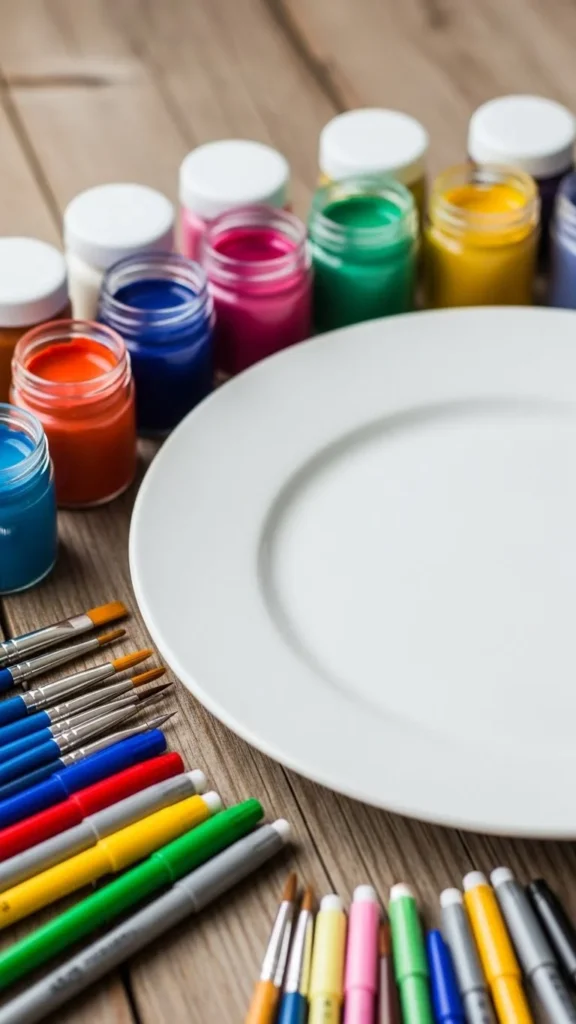
Before you start painting, you’ll want to pick the right base materials. The quality of the plate and the type of paint you use will affect how well your design lasts.
Start with the perfect plate
You can use:
- Plain ceramic plates
- Dollar-store porcelain plates
- Glass plates (paint on the underside)
White plates are the easiest to work with because colors pop beautifully on them.
Use safe, long-lasting paints
Look for:
- Acrylic paint made for ceramics
- Porcelain paint pens
- Food-safe sealers (for plates used to serve food)
If the plates will only be used for display, you don’t need to stress about food-safe coatings—but sealing is still helpful for durability.
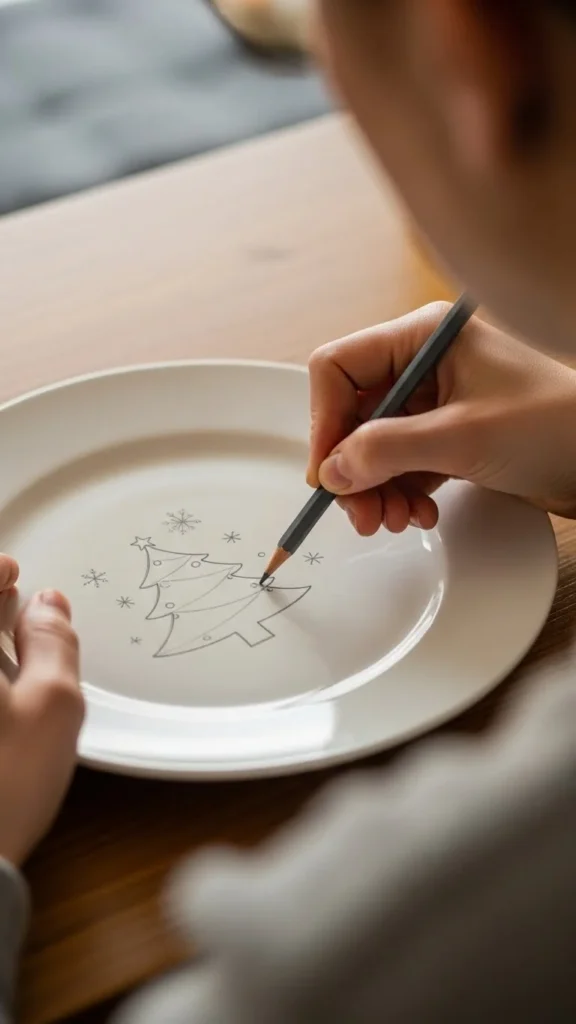
Sketching Cute Holiday Designs
Before you brush on the paint, lightly sketch your idea to get the spacing right. Even simple doodles can turn into adorable designs.
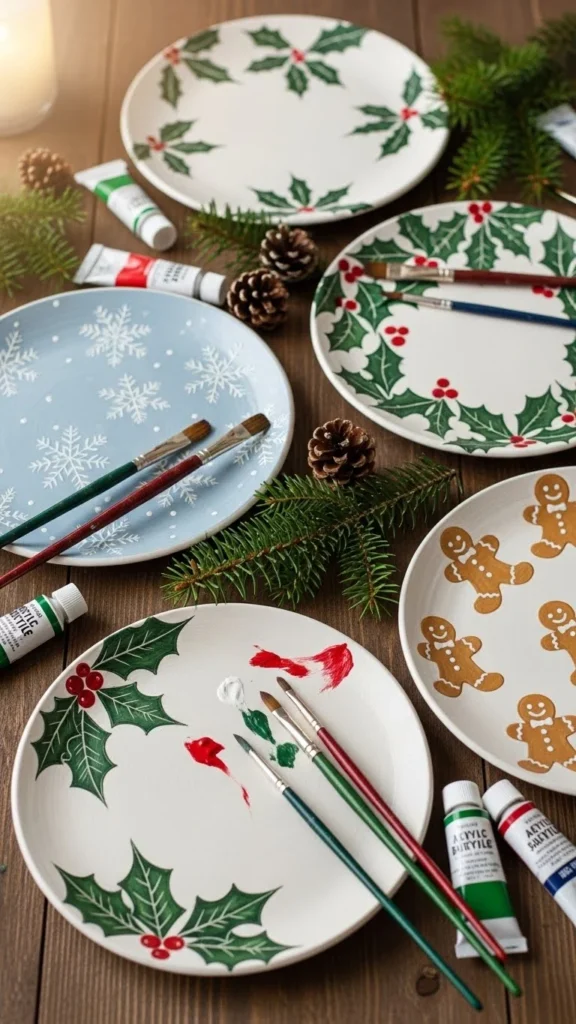
Easy beginner-friendly design ideas
- Snowflakes in different shapes and sizes
- Santa hats and stockings
- Christmas trees with colorful dots as ornaments
- Gingerbread people
- Stars, ornaments, or swirls
Use a pencil or erasable ceramic marker to outline your shapes. Don’t worry about perfection—hand-painted designs look charming when they’re a little whimsical.
Painting Your Christmas Plates Step by Step
Once your sketches are ready, it’s time to bring them to life.
Step 1: Paint your base shapes
Block in the main shapes first using a small or medium brush.
Let each layer fully dry before adding details—this prevents smudging.
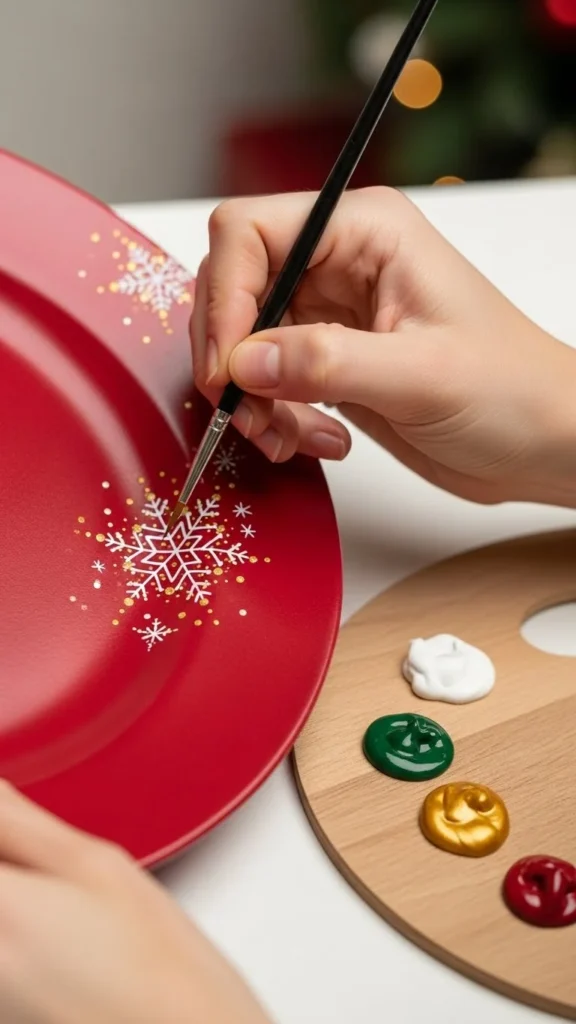
Step 2: Add the cute finishing touches
Use fine brushes or paint pens for:
- Outlining
- Highlights
- Tiny details like eyes, buttons, lights, stars, berries
Keep the strokes light and slow. Adding small dots of gold or silver paint can instantly elevate your design.
Step 3: Build depth with multiple layers
If a color looks uneven, let it dry and add another coat.
Layering paint helps your designs look polished and professional.
Curing and Sealing Your Plates
To make your plates last through parties, storage, and washing, they’ll need to be sealed or cured.
Oven-curing method (for oven-safe plates only)
- Let the paint dry for 24 hours.
- Place plates in a cool oven.
- Heat to 300°F (150°C).
- Bake for 30 minutes.
- Let plates cool completely inside the oven.
This helps the paint harden and stick better.
Sealers for extra protection
If you prefer not to bake your plates, you can brush on a clear sealer. Choose a non-toxic, food-safe sealer if the surface will touch food.
Let the sealer dry fully before stacking or storing the plates.
Decorating Ideas for Different Party Themes
Once you get the hang of it, you can paint plates to match any holiday party style.
For a classic Christmas look
- Red berries and green holly
- Snow-covered houses
- Evergreen trees
For a cute kids’ theme
- Smiling reindeer
- Penguin family plates
- Candy canes and gumdrops
For a modern, minimal style
- Simple gold stars
- Line-art Christmas trees
- Delicate snowflake patterns

Mix and match designs to create a full coordinated set for your next gathering.
Tips for Making the Project Stress-Free
Painting plates is fun and relaxing—but a few simple tips can make it even more enjoyable.
- Test colors on the bottom of the plate first to see how they dry.
- Use painter’s tape to create clean stripes or geometric patterns.
- Don’t overload your brush—thin layers look much better.
- Keep baby wipes nearby for quick cleanup before the paint dries.
- Let kids join in with simple outlines or fingerprint art.
Remember: your plates don’t need to look perfect. The charm is in the handmade touch.
Final Touches and Display Ideas
After your plates are dry and sealed, find fun ways to show them off at your party.
You can:
- Use them as serving plates for cookies and snacks
- Display them on easels around your home
- Create a full set for your holiday table
- Wrap one as a personalized handmade gift
Hand-painted plates feel warm and special, especially during the holiday season.
Create Something Beautiful This Christmas
Painting DIY Christmas plates is a simple way to add heartfelt, handmade charm to your celebrations. Whether you’re hosting a party, decorating your home, or crafting with kids, these plates make everything feel a little more magical.
Save this idea for later and start creating your own festive set!

Leave a Reply