

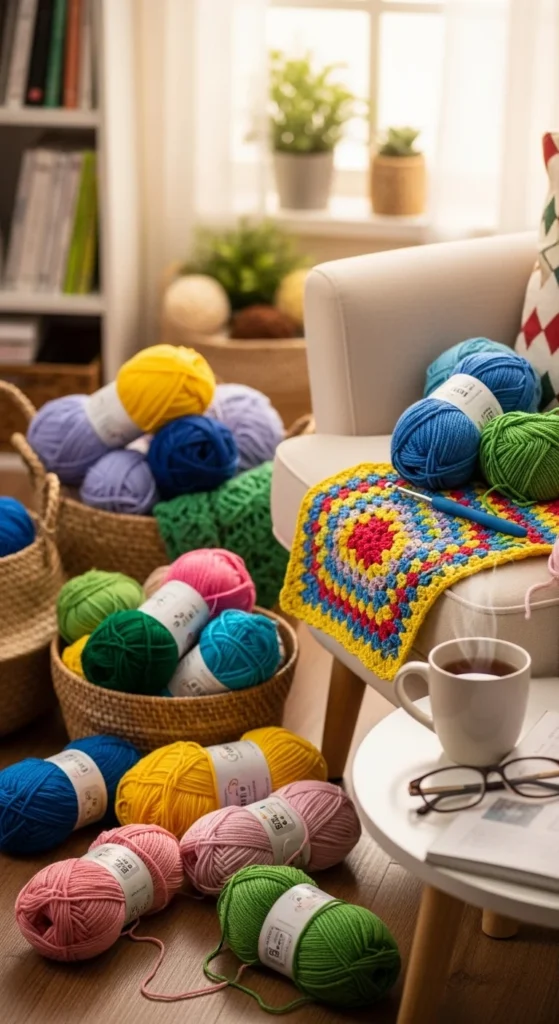
Crocheting a classic granny square is a timeless skill that can add a personal, creative touch to any project. Whether you’re making blankets, shawls, bags, or even clothing, granny squares are versatile and customizable. If you’ve never crocheted one before, don’t worry! This guide will walk you through the process, step by step. By the end, you’ll be able to make a beautiful granny square that can be incorporated into any of your crafting ideas.
Why Granny Squares Are Perfect for Any Project
Granny squares are the ultimate go-to crochet pattern for many reasons. They allow you to explore color combinations, shapes, and textures, making them ideal for personalizing your designs. Since each square is typically worked in the round, it’s easy to create them with just a few basic crochet stitches. Plus, they can be joined together to form larger, more complex pieces, like blankets or bags.
But the best part? They’re easy to customize. You can create granny squares in any color, style, or size that suits your project.
What You’ll Need
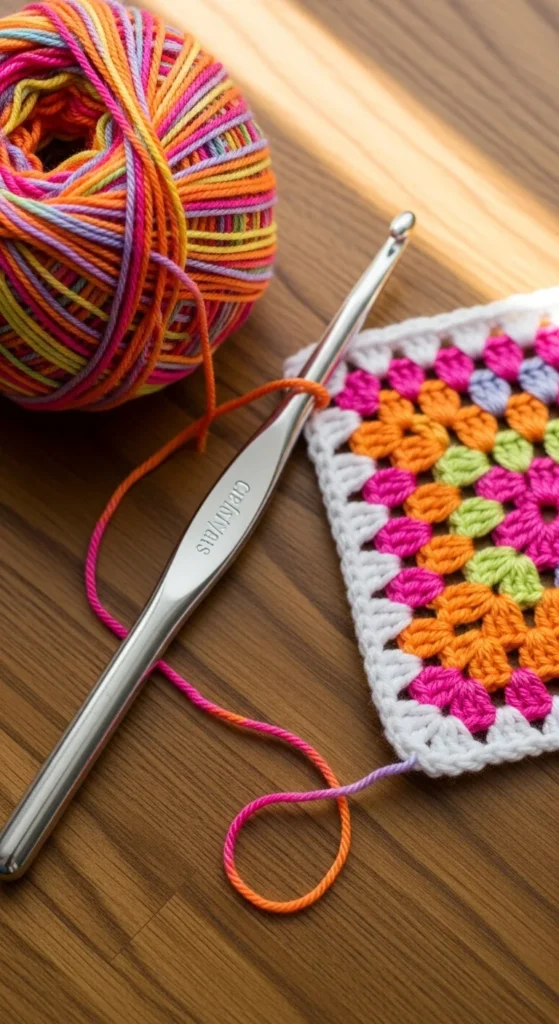
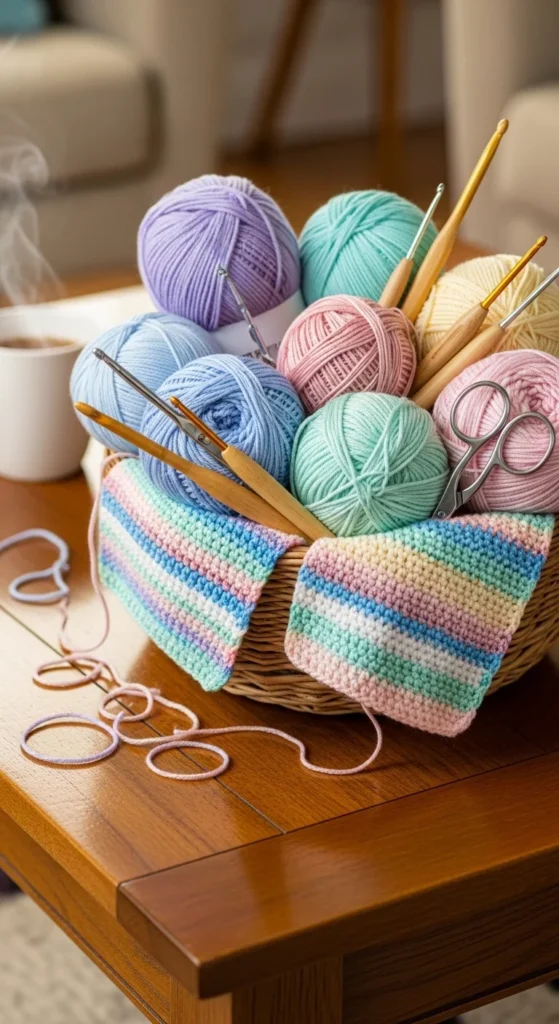
Before you start, gather a few basic supplies:
- Yarn: Choose a yarn that fits your project. For a standard granny square, worsted weight yarn is the most common, but you can experiment with any thickness.
- Crochet Hook: Typically, a 5mm (H-8) hook works well with worsted weight yarn.
- Scissors: For trimming your yarn at the end.
- Tapestry Needle: For weaving in the ends of the yarn when you’re finished.
Step-by-Step Guide to Crocheting Your First Granny Square
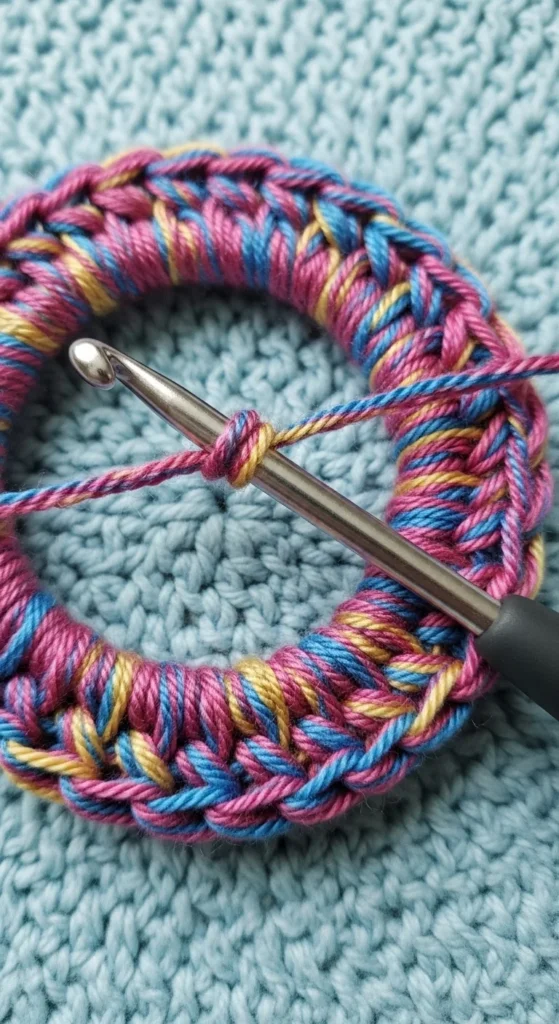
Step 1: Make the Magic Circle
Start by creating a magic circle. This is the foundation of your granny square and allows you to work the first round in the center.
- How to do it: Hold the yarn with your fingers, and wrap it around your finger, leaving a loop. Insert your crochet hook through the loop, yarn over, and pull through to create your first stitch. This is the magic circle!
Step 2: Start the First Round
Now, you’ll begin the first round of your granny square.
- How to do it: Work 3 double crochets (dc) into the magic circle, then chain 2 (ch 2). Repeat this step two more times, so you have three sets of 3 double crochets with chain-2 spaces between them.
Step 3: Close the Circle
To close the magic circle, simply pull on the tail of the yarn to tighten the loop. This will pull all the stitches together in the center.
- How to do it: Join the round by slip-stitching into the top of the first double crochet (dc) you made at the beginning of the round.
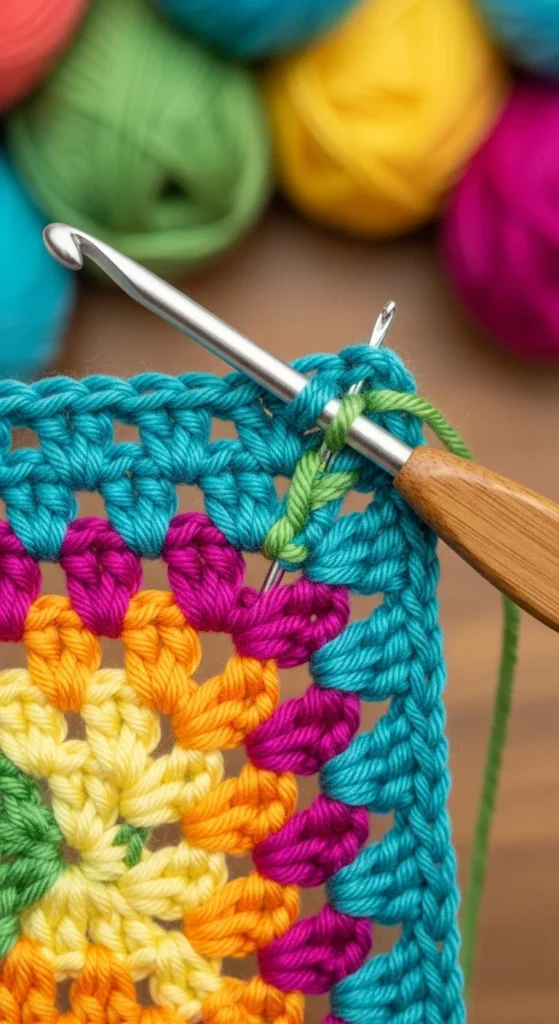
Step 4: Work the Second Round
For the second round, you will build off the first round by adding more double crochets in the chain-2 spaces. This creates the signature square shape.
- How to do it: Start by chaining 3 (this counts as your first double crochet). Then, into the chain-2 space, work 2 double crochets, chain 2, and 3 more double crochets. Repeat for the remaining corners, and slip stitch to join the round.

Step 5: Repeat the Rounds
Now, you’ll continue working additional rounds to make your granny square the size you want.
- How to do it: Repeat the process for each round: chain 3, work double crochets in each chain-2 space, and add chain-2 spaces at the corners. You can keep going until your square is the desired size for your project.
Step 6: Finish Off and Weave in the Ends
Once your granny square is the right size, finish it off by cutting the yarn and pulling it through the last loop on your hook. Then, use a tapestry needle to weave in any loose ends.
Tips for Perfecting Your Granny Squares
- Keep tension even: Make sure your stitches are consistent in tension so that your squares are uniform in size.
- Use stitch markers: If you have trouble keeping track of your rounds, use stitch markers to mark the first stitch of each round.
- Experiment with colors: Play with color combinations to create unique patterns for each square, or use a solid color for a more traditional look.
- Join squares: To join multiple granny squares, use the whipstitch method or a slip stitch method to connect them together.
Final Thoughts
Granny squares are a timeless crochet project that can be adapted for endless crafting possibilities. Whether you’re creating a cozy blanket, a trendy bag, or a stylish shawl, learning how to crochet a classic granny square opens up a world of creative potential.
Don’t forget to share your finished project on social media! Tag your posts with your favorite crochet hashtags so fellow crafters can see your work. Happy crocheting!
Now that you know how to crochet a classic granny square, it’s time to get creative and incorporate them into your next project. Let your imagination run wild with color choices and unique designs, and most importantly, have fun!

Leave a Reply