

Looking for a cozy, quick project to work on this weekend? Crocheting a beanie hat is an easy way to make something functional and stylish. Whether you’re a seasoned crocheter or just starting, this simple beanie will keep your head warm and your hands busy. In just one sitting, you can create a beautiful hat to wear yourself or gift to a loved one.
Materials You’ll Need
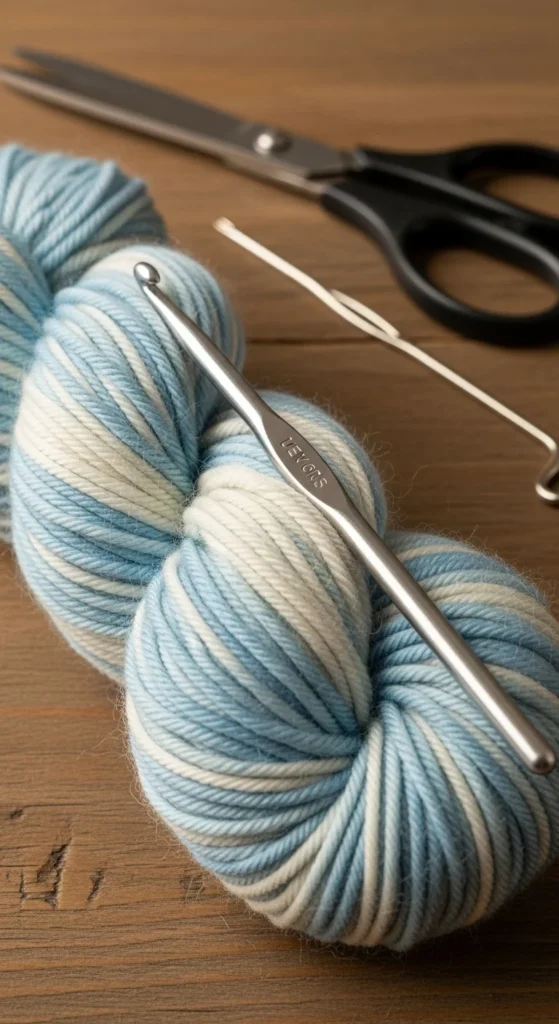
Before you begin, gather all the materials you’ll need for your crochet beanie. This will make the process smooth and enjoyable!
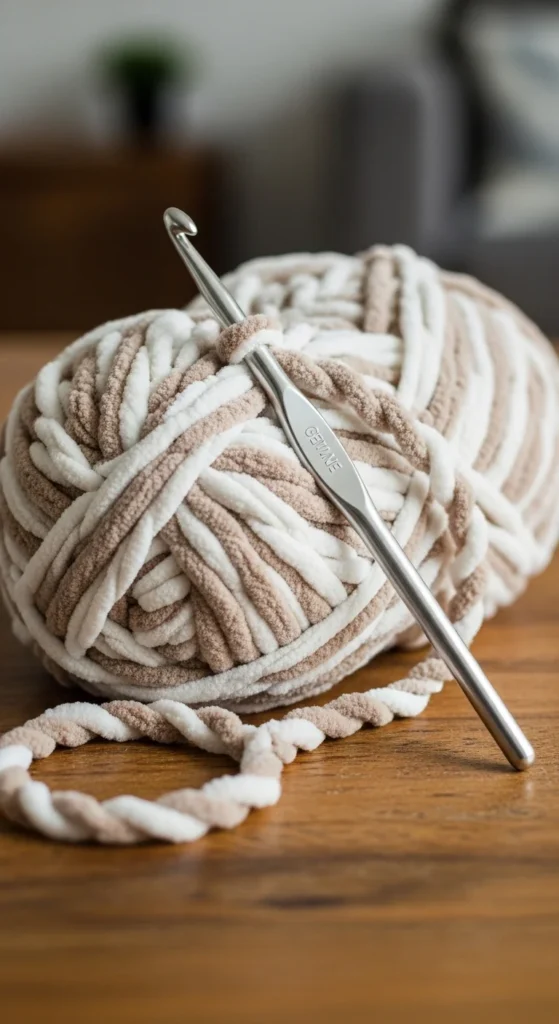
- Yarn: Choose a soft, chunky yarn (around 4-6 weight) in your favorite color. The thicker the yarn, the quicker you’ll complete the beanie.
- Crochet Hook: For chunky yarn, a size H-8 (5mm) or I-9 (5.5mm) hook works best.
- Scissors: To cut your yarn at the end.
- Tapestry Needle: For weaving in the ends once you’re finished.
- Measuring Tape: To ensure the right fit.
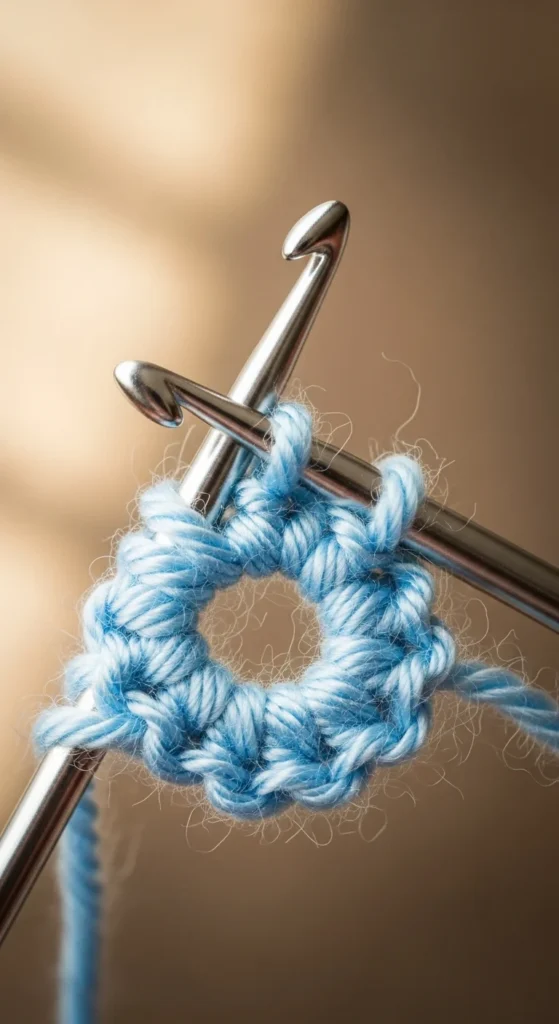
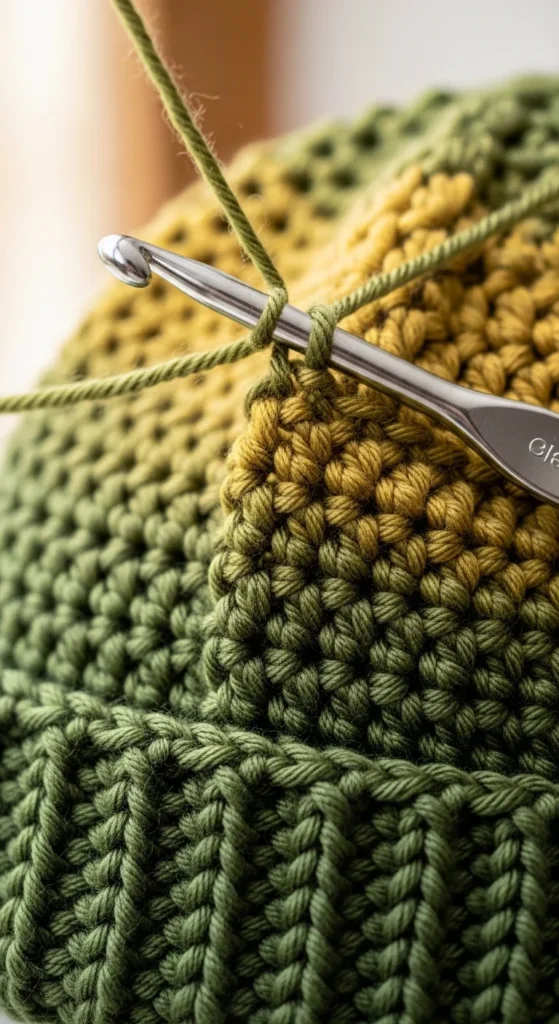
Step 1: Start with a Magic Ring
The magic ring is a great technique for crocheting in the round without leaving a hole in the center. It’s perfect for hats! Here’s how to make it:
- Form the Ring: Wrap the yarn around your fingers to create a loop. Hold the loop with your thumb and middle finger, leaving a short tail.
- Insert the Hook: Insert your crochet hook into the loop and yarn over (wrap the yarn over the hook).
- Pull the Yarn Through: Pull the yarn through the loop to form the first chain stitch.
- Crochet in the Round: Work your stitches into the loop. For the first round, crochet 8 single crochet stitches (sc) into the magic ring.
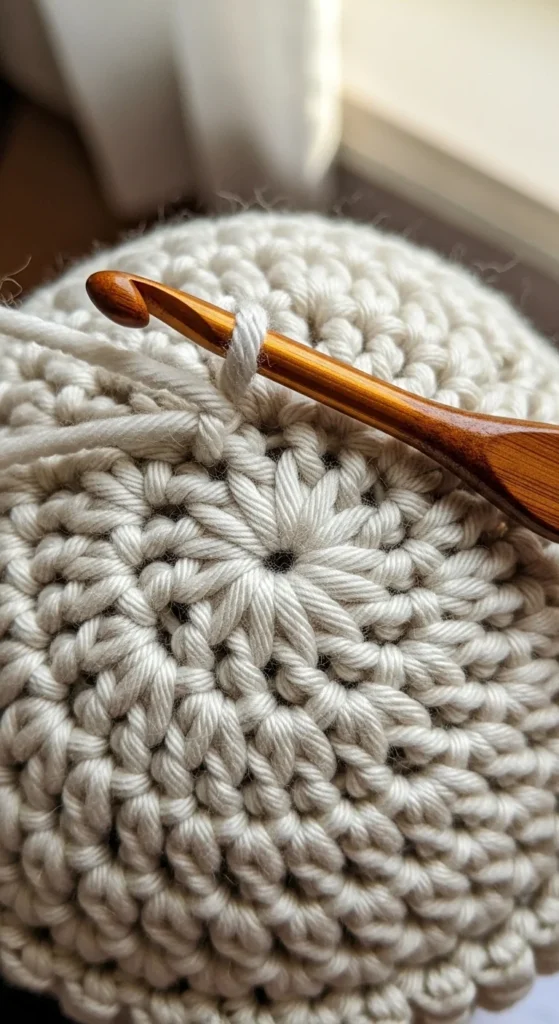
Step 2: Increase to Form the Hat’s Base
Now that you’ve got your first round, it’s time to increase the stitches to form the base of the beanie.
- Work 2 Stitches in Each Stitch: For the next round, crochet 2 single crochet stitches (sc) in each stitch around. This will double the number of stitches and start the beanie’s expansion.
- Continue Rounds with Increases: For the third round, increase every second stitch. For the fourth, increase every third stitch, and so on. Keep doing this until your hat base fits your head or your desired size (typically about 6-8 inches in diameter for most adult heads).
Step 3: Crochet the Sides of the Hat
Once the base is complete, it’s time to work on the sides.
- Crochet Without Increases: Continue crocheting in rounds, but without increasing any stitches. This will create the sides of the hat, making it taller and fitting your head comfortably.
- Check the Fit: Every few rounds, try the hat on to ensure it fits. You want it to be snug but not too tight. The sides should rise above your ears, around 7-8 inches tall.
Step 4: Finish the Top of the Beanie
As you approach the top of the hat, it’s time to start closing it.
- Decrease to Close the Top: Once your hat is the right height, begin decreasing stitches to close the top. To do this, crochet 2 stitches together at regular intervals. For example, in the next round, crochet 2 single crochet stitches together every 5th stitch, then every 4th, and so on.
- Pull the Yarn Through: When you have just a few stitches left, cut the yarn, leaving a 6-inch tail. Thread the tail through a tapestry needle and pull it through the remaining stitches. This will close the top of your hat securely.
Step 5: Weave in the Ends
After closing the hat, it’s time to tidy up!
- Weave in the Yarn Ends: Use the tapestry needle to weave in any loose ends from the starting yarn tail and the end of your yarn. This helps give your beanie a clean, professional look.
- Trim Excess Yarn: Once you’ve woven in the ends, trim any excess yarn with your scissors.
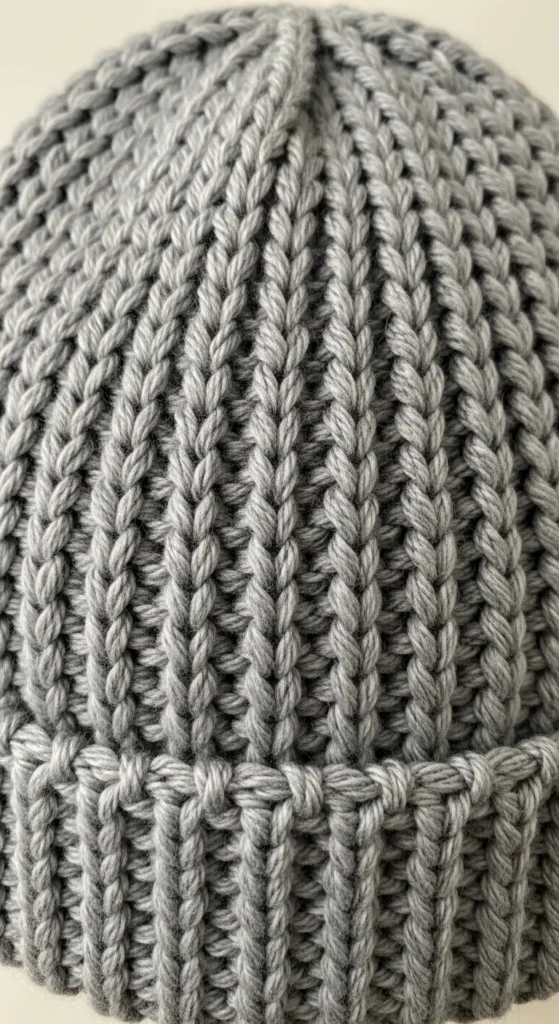
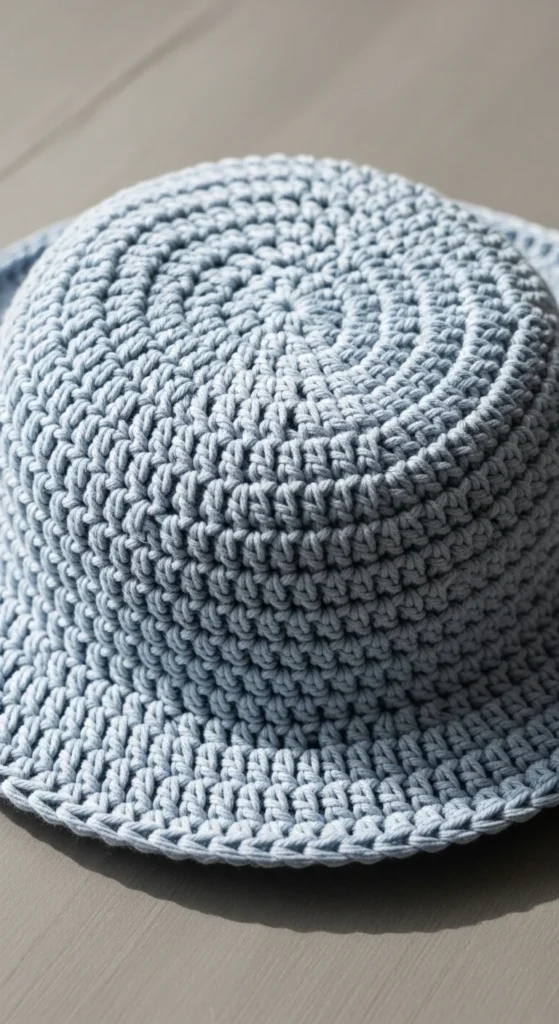
Conclusion
And just like that, you’ve crocheted a warm, cozy beanie hat in one sitting! With a little time, patience, and your favorite yarn, you can have a stylish accessory to wear in the colder months. Crochet projects are not only a creative outlet, but they’re also a wonderful way to relax and unwind.
Tip: For added flair, you can add pom-poms, buttons, or a cute decorative stitch around the brim to personalize your beanie even more!
Save this project for a rainy day or share it with friends and family. It’s the perfect quick and thoughtful gift, and once you’ve mastered the pattern, you’ll be making beanies for everyone!

Leave a Reply