

Crocheting is not just a cozy hobby for winter nights—it’s a year-round activity, and one of the best accessories you can make is a cute crocheted headband. Whether you’re looking to keep your hair in place during a workout, want to add some flair to your fall wardrobe, or need a quick gift, this versatile accessory is perfect for all seasons. Plus, it’s beginner-friendly and customizable, so you can experiment with different colors, textures, and patterns. Let’s get started on crocheting your very own headband!
Materials You’ll Need
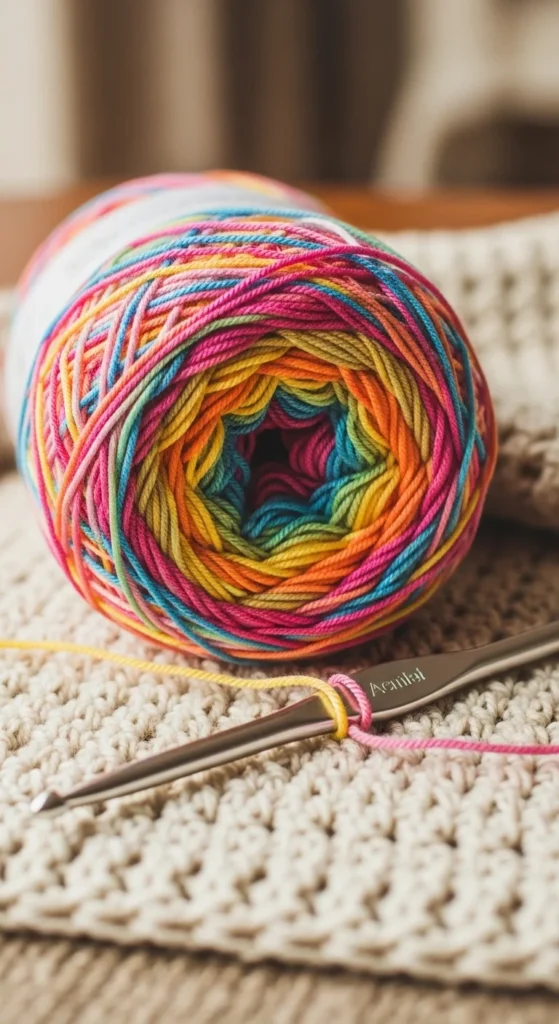
Before diving into the creative process, gather the materials you’ll need. Here’s a simple list to get you started:
- Yarn: Choose a soft and comfortable yarn. Acrylic or cotton yarn is perfect for all seasons. Opt for a medium weight (worsted weight) yarn for a cozy yet breathable headband.
- Crochet Hook: A size H-8 (5mm) hook works well with worsted weight yarn.
- Scissors: For cutting your yarn once you’ve completed your project.
- Measuring Tape: To ensure your headband fits just right.
- Yarn Needle: To weave in loose ends after you finish crocheting.
With everything gathered, you’re ready to begin!
Step 1: Create a Foundation Chain
Start by making a foundation chain that fits around your head. The number of chains you need will depend on your desired headband length and the stretchiness of your yarn. A typical measurement for an average adult headband is 18-20 inches. To begin:
- Make a slip knot and place it on your hook.
- Chain enough stitches to reach the desired length. For a medium-sized headband, try starting with 60-70 chains. You can always adjust this based on your preferences.
- Ensure your chain isn’t too tight, as it needs to stretch comfortably over your head.
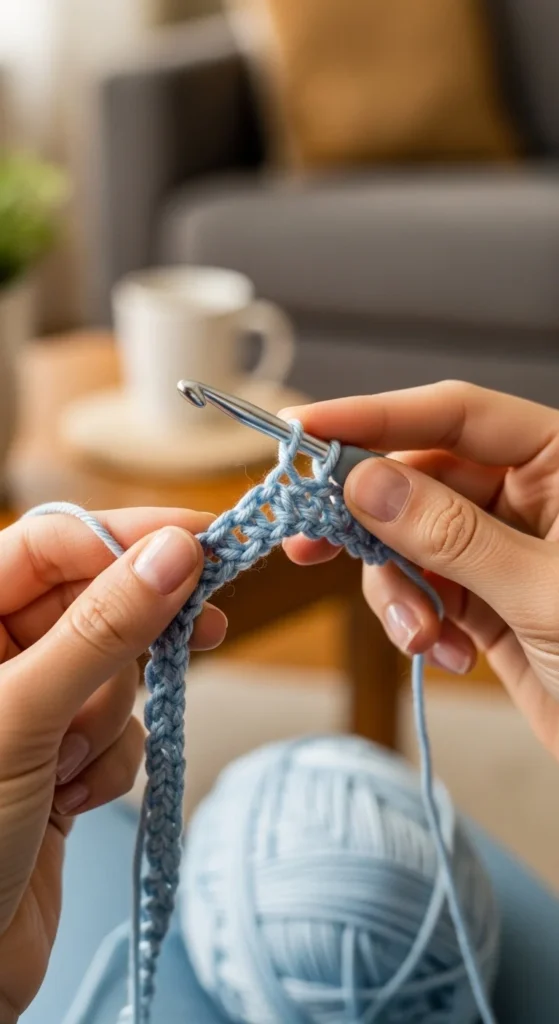
Step 2: Work the First Row
Once your foundation chain is complete, it’s time to start the first row of your headband. For this pattern, we’ll use a simple double crochet stitch, which creates a smooth and stretchy fabric:
- Turn your work so the backside is facing you.
- In the fourth chain from the hook, work a double crochet stitch (dc).
- Continue working double crochet stitches in each chain across the row.
- At the end of the row, you should have a row of double crochet stitches.
This first row forms the base of your headband.
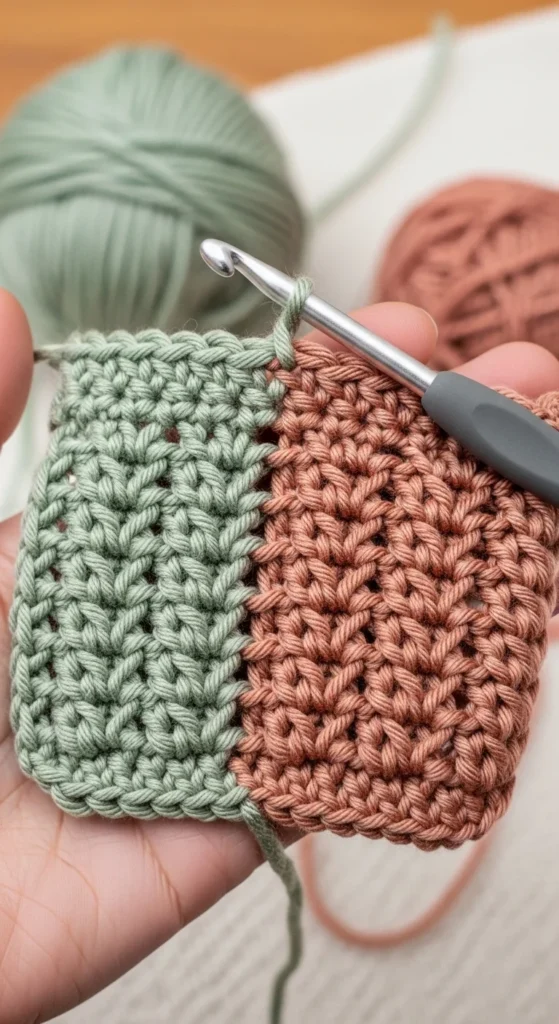
Step 3: Create the Pattern
Now that you’ve finished the first row, you can start creating the pattern for your headband. Here’s a simple and stylish ribbed design that’s easy to follow:
- Turn your work around: To begin the second row, turn your work so the other side is facing you.
- Chain 2: This will count as your first double crochet in the next row.
- Front Post Double Crochet (FPDC): Skip the first stitch, then insert your hook around the post of the next double crochet stitch, and pull the yarn through. Complete a double crochet as usual.
- Back Post Double Crochet (BPDC): For the next stitch, insert your hook from the back of the post and pull through to complete the double crochet.
- Repeat: Continue alternating FPDC and BPDC across the row.
This alternating front and back post technique creates a lovely ribbed effect that adds texture and dimension to your headband. Continue working in this pattern until the piece is long enough to wrap around your head comfortably.
Step 4: Finishing the Headband
Once your headband reaches the desired width, it’s time to finish it up:
- Join the ends: Bring both ends of your crocheted piece together and join them using a slip stitch or whip stitch. This will create a seamless loop.
- Weave in the ends: Use your yarn needle to weave in any loose ends from your starting and ending points. Make sure to trim any extra yarn with your scissors.
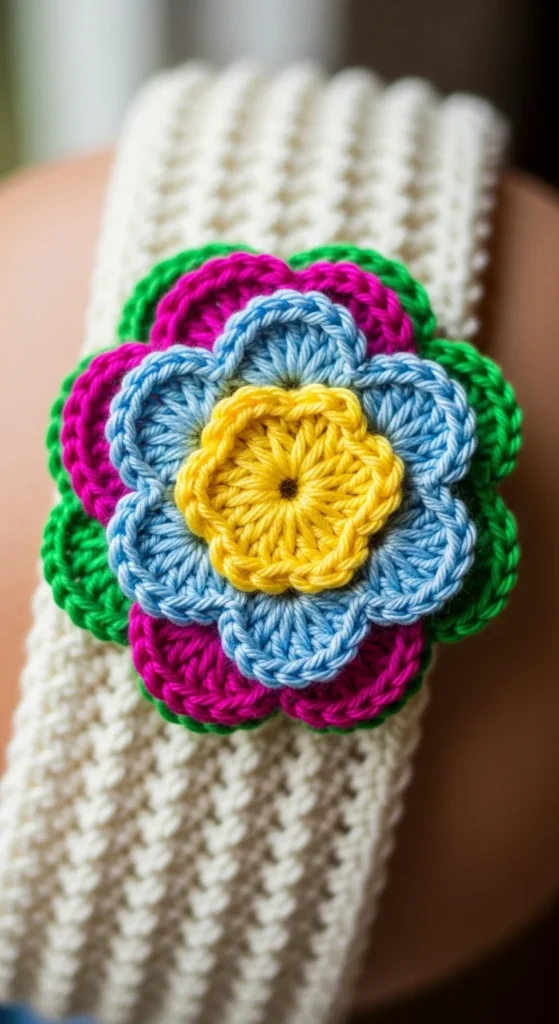
- Optional decorative touch: Add a cute embellishment such as a small crochet flower, pom-pom, or bow to give your headband a personalized flair.
Now your cute headband is ready to wear!
Tips for Customization
- Add Color: Want to make your headband pop? Use different colors for each row or try variegated yarn for a more dynamic look.
- Try a Flower: Crocheting a small flower to attach to your headband adds a lovely, feminine touch.
- Experiment with Stitches: Once you’re comfortable with the basic double crochet, experiment with other stitches like half double crochet (HDC) or single crochet (SC) for a different texture.
Conclusion
Crocheting your own headband is an easy and rewarding project that you can complete in just a few hours. Whether you’re making a soft cotton headband for the summer or a warm woolen one for the colder months, this accessory can be tailored to any season and any style. Plus, with endless customization options, you’ll never run out of ways to make each one unique. Grab your crochet hook, and start crafting your cute headband today!
Save this tutorial for later and share it with your friends who want to try a simple, fun crochet project! Happy crocheting!

Leave a Reply