

Crocheting amigurumi toys is an incredibly fun and rewarding craft that allows you to create adorable, handmade stuffed animals and characters. Whether you’re a beginner or have some experience with crochet, making your own amigurumi creations can be both relaxing and inspiring. In this guide, we’ll walk you through the entire process of making your very first amigurumi toy, step by step.
What You Need to Get Started
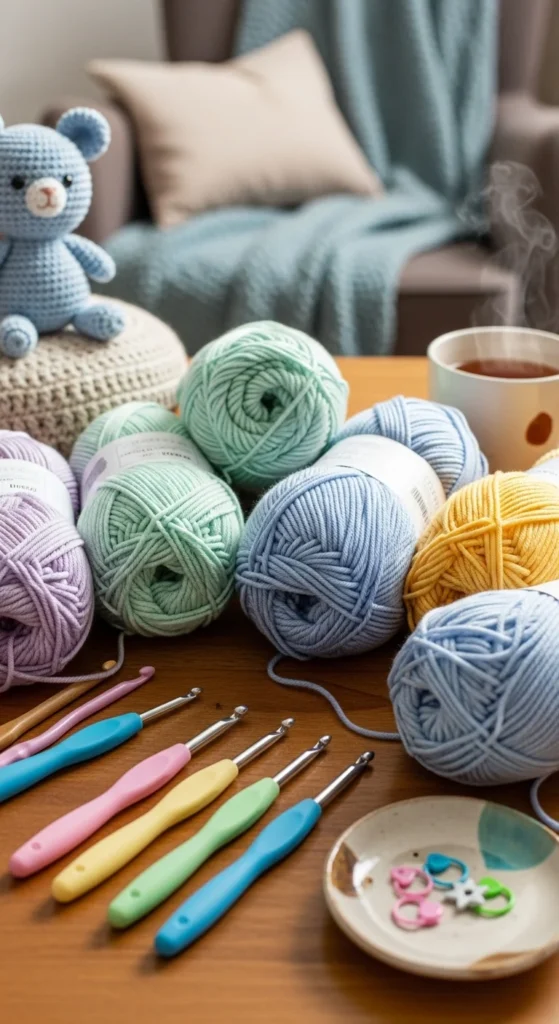
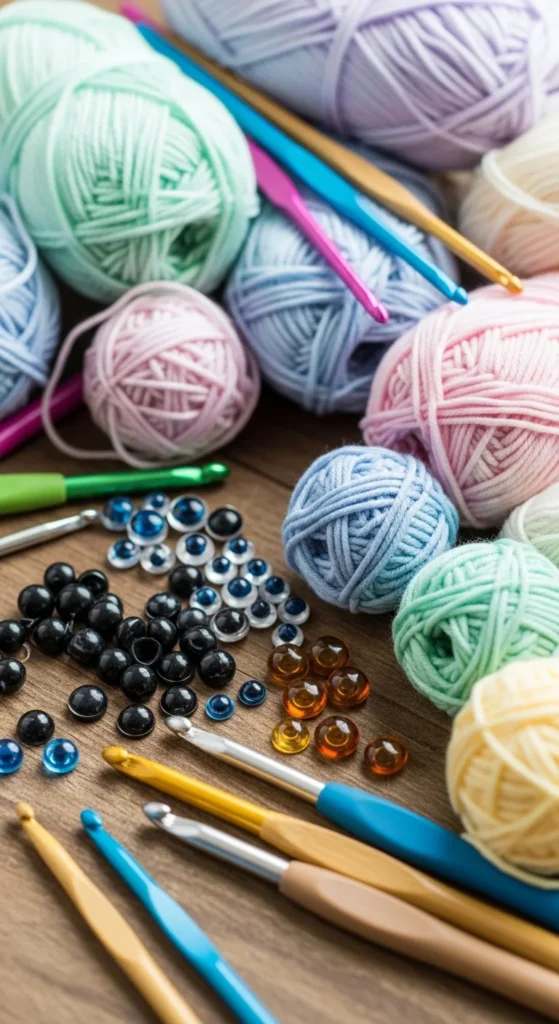
Before you dive into crocheting your amigurumi toys, you’ll need a few basic supplies. Don’t worry — they’re simple to gather!
- Yarn: Choose soft, medium-weight yarn. You can go for any color you like — amigurumi looks amazing in pastel shades, but vibrant colors work just as well!
- Crochet Hook: A 3.5mm to 4mm hook works well for most amigurumi patterns.
- Stuffing: Polyester fiberfill is the go-to choice to fill your toys and make them squishy and huggable.
- Yarn Needle: A yarn needle will help you weave in loose ends and attach parts together.
- Safety Eyes (optional): These are perfect for adding cute eyes to your creations, though you can also embroider eyes if you prefer.
- Stitch Markers: Handy for keeping track of rounds, especially when making a spiral.
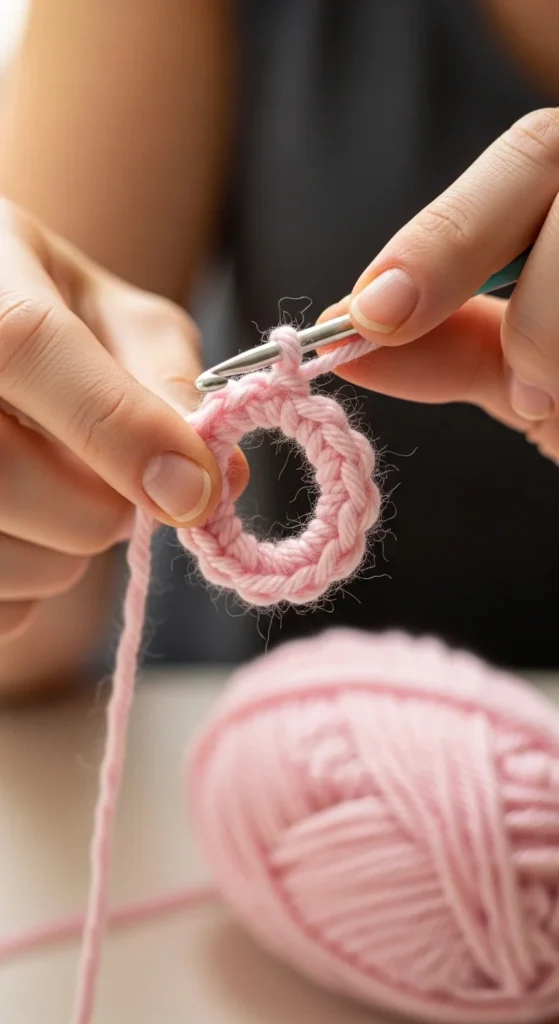
Step 1: Start with a Magic Ring
The first step in making your amigurumi toy is starting with a magic ring (also called a magic circle). This will give you a tightly closed center, which is ideal for creating the rounded shapes of amigurumi toys.
- Create a loop with your yarn and hold it with your fingers.
- Yarn over and pull through the loop with your crochet hook.
- Chain one, and crochet six single crochets (sc) into the ring.
- Pull the yarn end to tighten the loop and secure the first round.
The magic ring ensures that there are no gaps in the center of your toy. If you’re new to this, don’t worry; with a little practice, it becomes second nature.
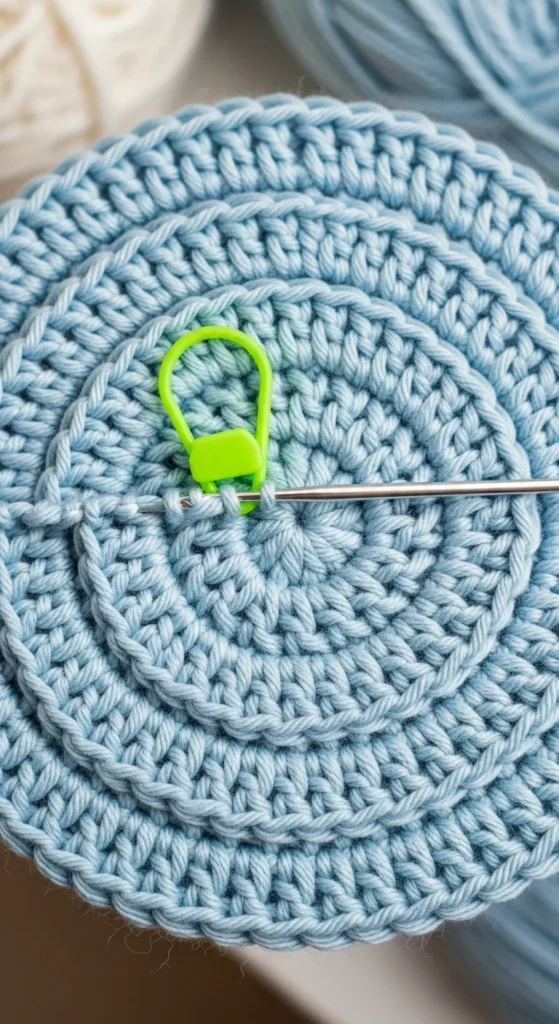
Step 2: Work in Rounds
Amigurumi toys are typically made in spirals without joining each round, which creates a continuous look. Here’s how to move forward:
- For the second round, increase the stitches by making two single crochets into each stitch from the first round.
- Continue increasing as per your pattern, depending on how big you want your toy to be. Each round should be marked with a stitch marker to keep track of where your rounds begin and end.
- Keep crocheting in a spiral until you reach the size required for your toy’s body, head, or any other part.
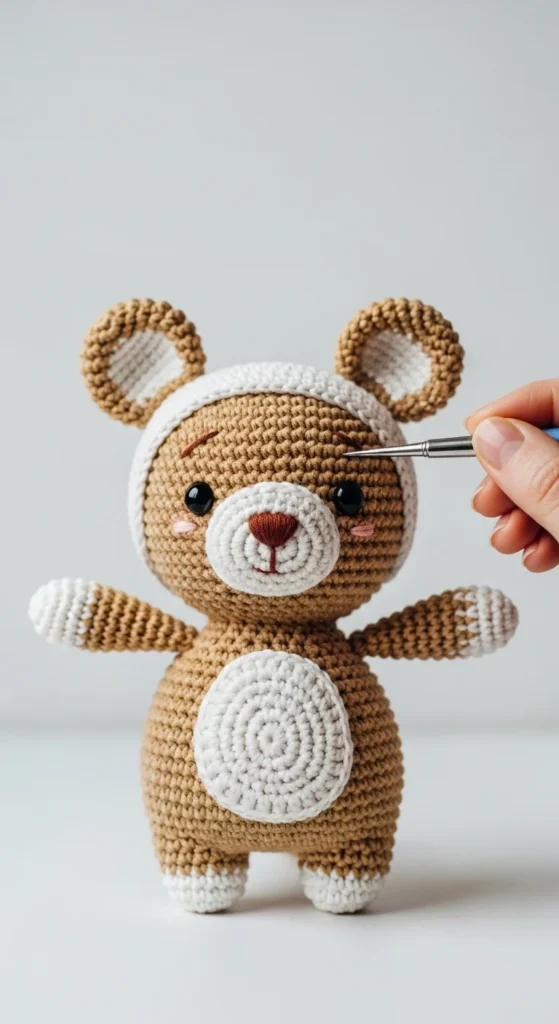
Step 3: Add Shaping and Features
As you crochet, you’ll want to start shaping your toy. Amigurumi toys typically consist of different parts like the head, body, arms, legs, and ears, which are made separately and then sewn together.
- Shaping the Body: Work in increasing rounds until your piece reaches the right size. For example, when making a rounded body, increase evenly for a few rounds, then switch to single crochet without increasing to make the piece more tubular.
- Arms and Legs: These are made in a similar way to the body but with fewer increases to create small, cylindrical shapes. Once you have them, stuff them lightly and leave the top open for sewing onto the body.
- Ears and Features: Small ears, noses, and tails can be created with simple increases and decreases. For features like eyes or a mouth, you can embroider them or use safety eyes.
Step 4: Stuffing Your Toy
Once all your parts are crocheted, it’s time to stuff them! Here are a few tips for stuffing your toy:
- Use small amounts of stuffing at a time, and gently push it into each part. This ensures that your toy has an even and smooth appearance.
- Be sure to stuff the arms, legs, and body tightly enough so that they hold their shape but aren’t overly packed.
- When stuffing the head, make sure to leave room at the top for the final assembly.
Stuffing helps to give your toy the cuddly, huggable feel that makes amigurumi so irresistible!
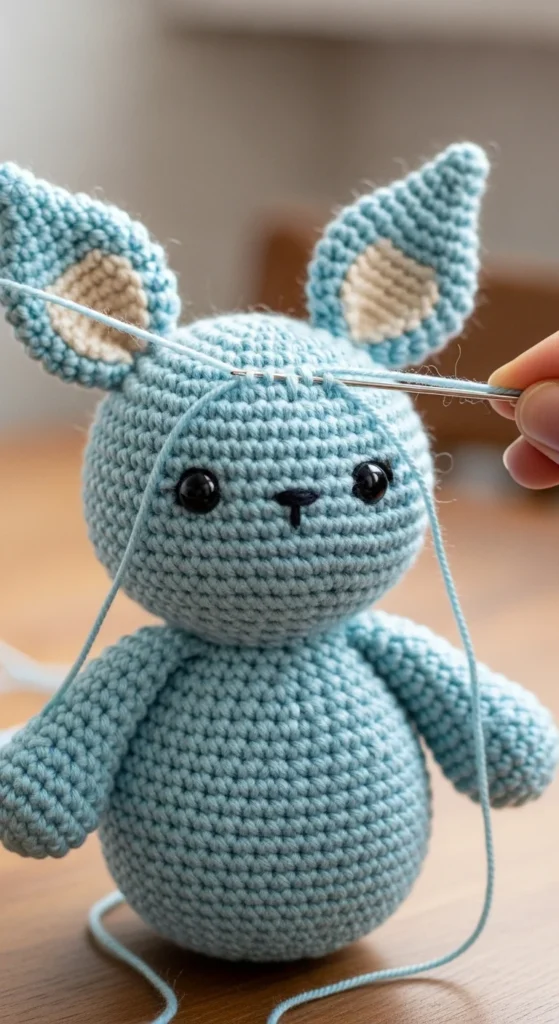
Step 5: Assembling the Pieces
Once everything is crocheted and stuffed, you can assemble your toy. This is where your yarn needle comes in handy!
- Use your yarn needle and some leftover yarn to sew the parts together.
- Start by attaching the body to the head, then add the arms and legs.
- Carefully stitch the features into place, like the eyes and nose, and make sure everything is secure.
The final assembly is where your toy truly comes to life!
Final Tips and Tricks
- Color Changes: If you’re making a toy with multiple colors, be sure to change colors by crocheting over the old yarn and then dropping it when you switch.
- Even Tension: Try to maintain even tension throughout your crochet. This ensures a consistent look for your toy.
- Practice Makes Perfect: Don’t be discouraged if your first few attempts aren’t perfect. Amigurumi requires practice to perfect the techniques!
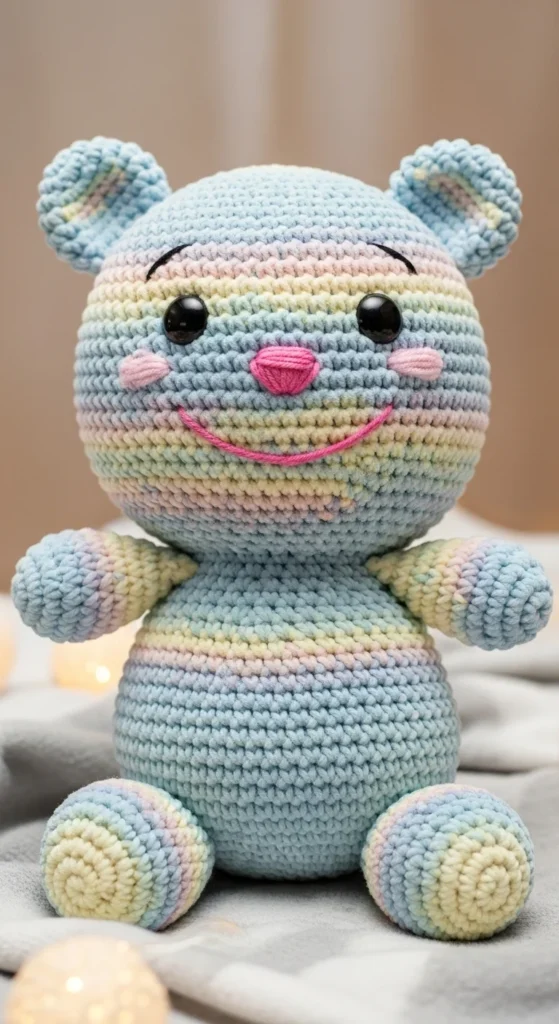
Conclusion: Your Adorable Creation Awaits!
Now that you know how to crochet amigurumi toys, it’s time to start making your own unique creations! With practice, you’ll be able to create a whole menagerie of adorable animals and characters. Don’t forget to experiment with different yarns and colors to make your toys even more special. Happy crocheting!
Save this tutorial for later, and start crafting your very own crochet friends today!

Leave a Reply