

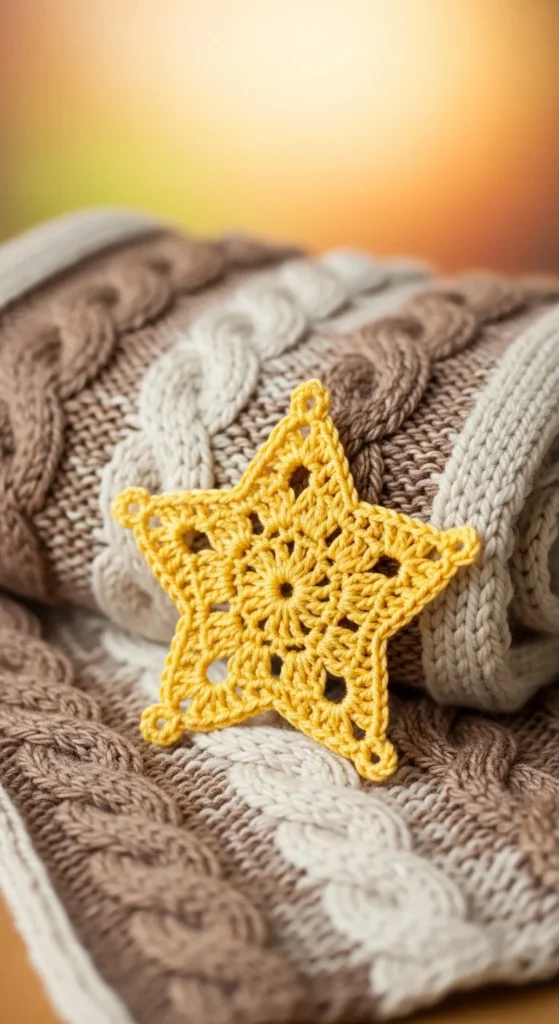
Crocheting a simple star appliqué is a fun and creative way to add a touch of sparkle to your projects. Whether you’re decorating a sweater, bag, or creating a special holiday gift, this star design is versatile and easy to make. In this guide, we’ll walk you through the steps to crochet your very own star appliqué with clear instructions, tips, and a little creative flair.
Materials You’ll Need
Before you get started, make sure you have the following materials:
- Yarn (any color of your choice, though medium-weight yarn is ideal)
- Crochet hook (size G/6 or 4mm)
- Scissors
- Yarn needle (for weaving in ends)
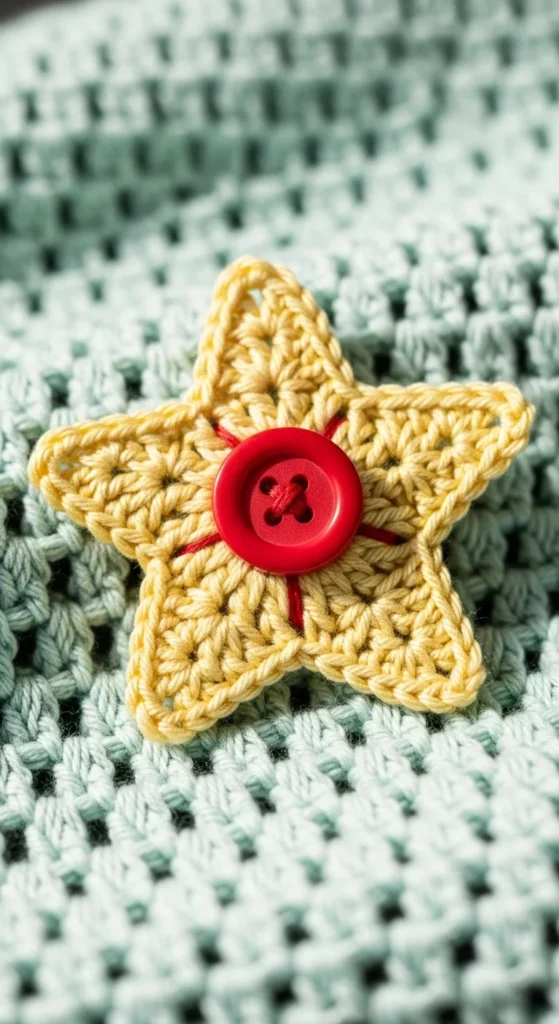
- Optional: Button or embellishment for the center of the star
Having everything ready will make the process smoother and more enjoyable. Now, let’s dive into the steps!
Step 1: Begin with a Magic Ring
A magic ring (or adjustable ring) forms the center of your star. Here’s how you can make it:
- Create the Ring: Hold the yarn in your left hand and wrap it around your fingers twice, forming an “X” shape.
- Insert Hook: Place your hook under both strands of the yarn and pull up a loop.
- Chain 1: This chain will secure the ring.
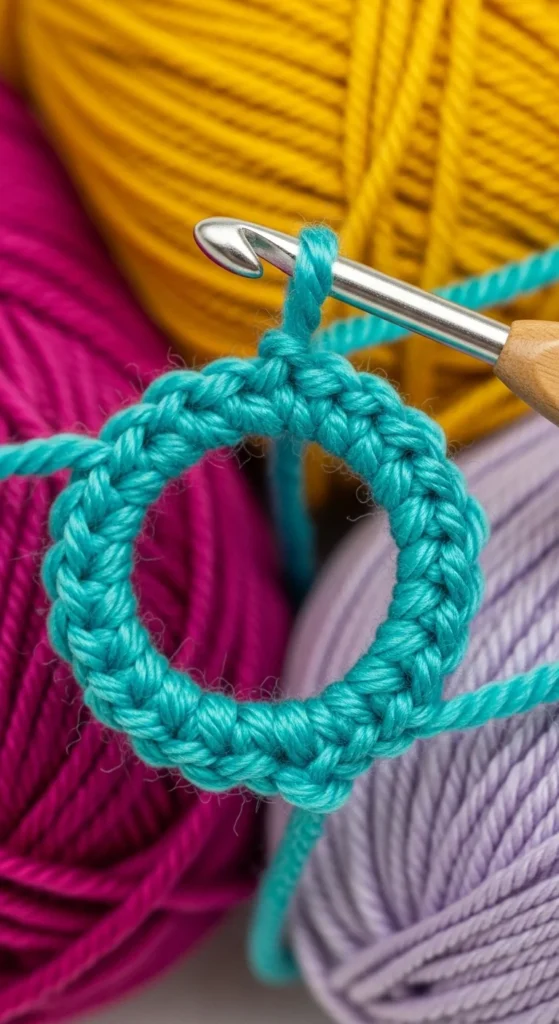
The magic ring technique allows you to pull the yarn tight, securing the center of the star later on.
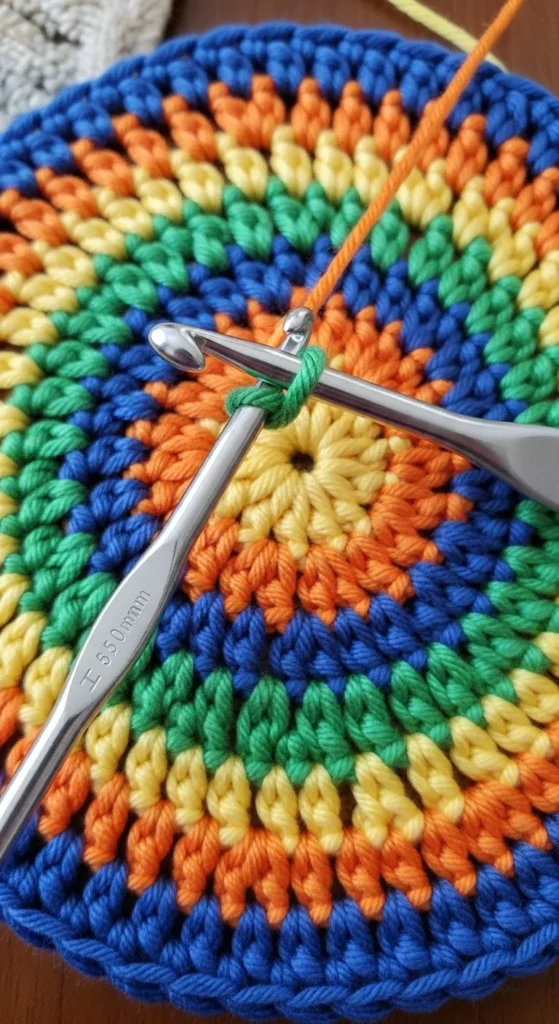
Step 2: Crochet the First Round
Now that you have your magic ring, let’s start working on the first round. This round will form the base of the star’s points.
- Chain 2 (counts as your first double crochet).
- Double crochet into the ring 4 more times, so you have a total of 5 double crochets in the ring.
Once you have the five double crochets, pull the tail of the magic ring tight to close the loop. This creates the center of your star.
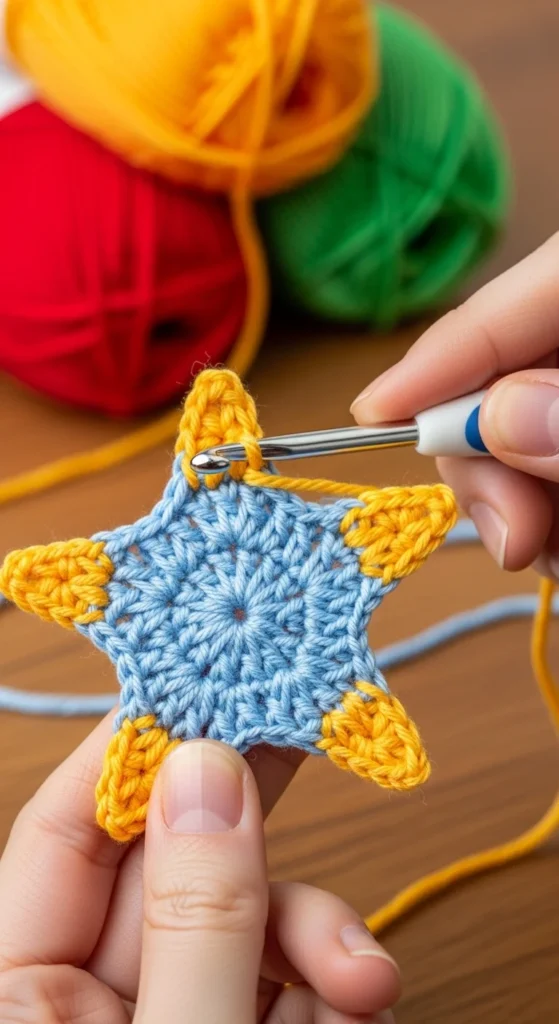
Step 3: Create the Star Points
The star’s distinctive points come from the next round. This round is where the magic happens!
- Chain 2 (this will be your first point).
- Make 2 double crochets in the next stitch.
- Make 1 treble crochet (a taller stitch) in the same stitch.
- Make 2 double crochets in the same stitch again.
- Skip the next stitch and repeat steps 1–4 in the next stitch, working your way around the circle.
Continue until you’ve worked all 5 points of the star. At this point, you should have a star with 5 elegant, triangular points.
Step 4: Finish the Star
Now that the points of your star are complete, it’s time to tidy up the final details:
- Slip stitch into the top of the first double crochet (where you began).
- Cut the yarn, leaving a tail of about 6 inches.
- Use a yarn needle to weave in the ends, securing them tightly so your star doesn’t unravel.
Optionally, you can attach a button or embellishment to the center of the star to add some extra flair.
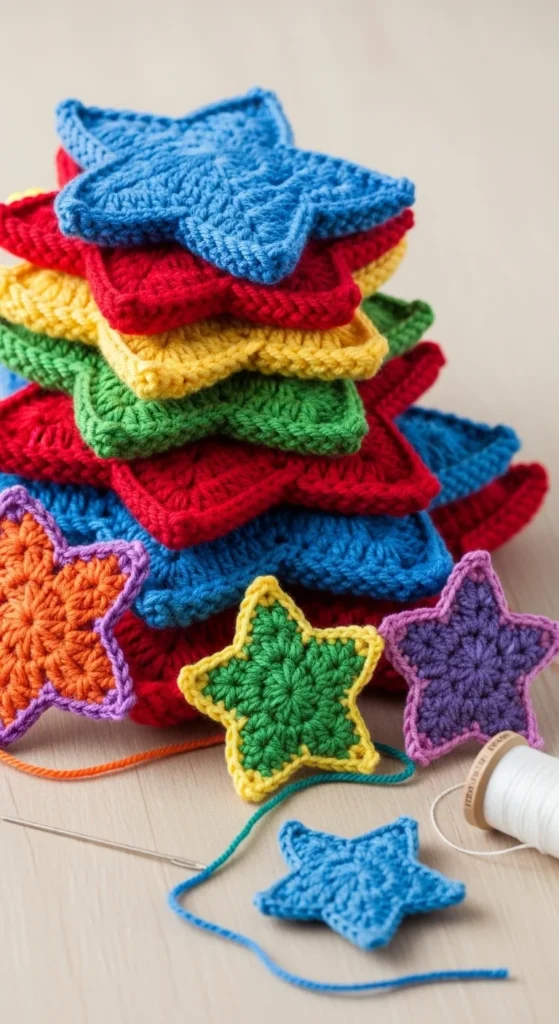
Tips for Making Your Star Appliqué Stand Out
- Yarn Variety: Experiment with different yarn types and colors for unique effects. Metallic or sparkly yarn can give your star a festive feel.
- Size Adjustment: If you’d like a larger star, simply add more double crochets in the first round and more points in the second round. The number of points can be adjusted depending on your design.
- Personalize: Add beads, sequins, or fabric paint to personalize your star for special occasions.
Conclusion
Crocheting a simple star appliqué is a quick and enjoyable project that allows for creativity and personalization. Whether you’re a seasoned crocheter or just starting out, this design is perfect for adding a touch of handmade charm to any of your crafting projects. So grab your yarn and crochet hook, and start making stars today!

Leave a Reply