

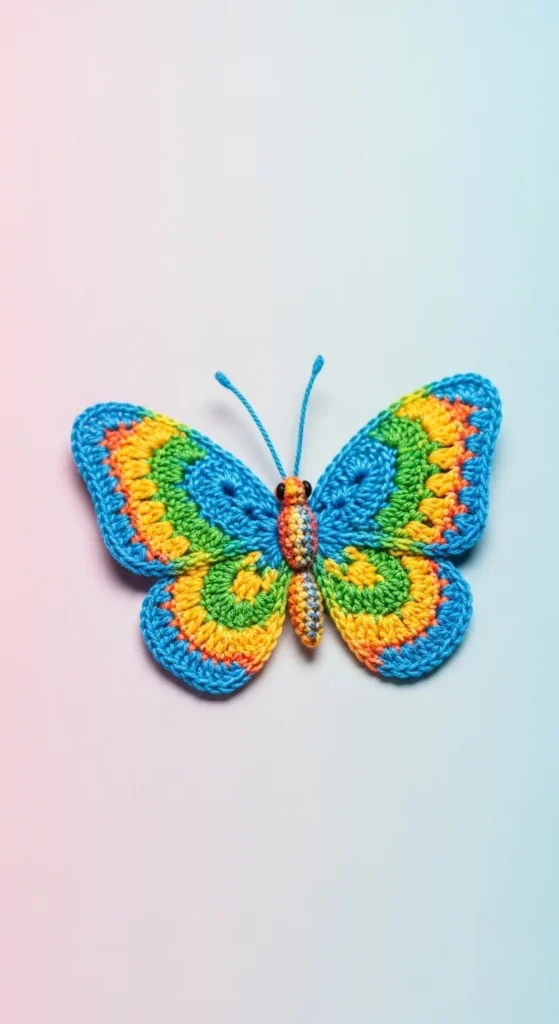
Crocheting a delicate butterfly decoration is a fun and rewarding project that adds a whimsical touch to your home, gifts, or even clothing. Whether you’re a beginner or an experienced crocheter, this project will allow you to practice your skills while creating something beautiful and versatile. Plus, you can easily customize it with different yarn colors to suit your personal style or the season.
Materials You’ll Need
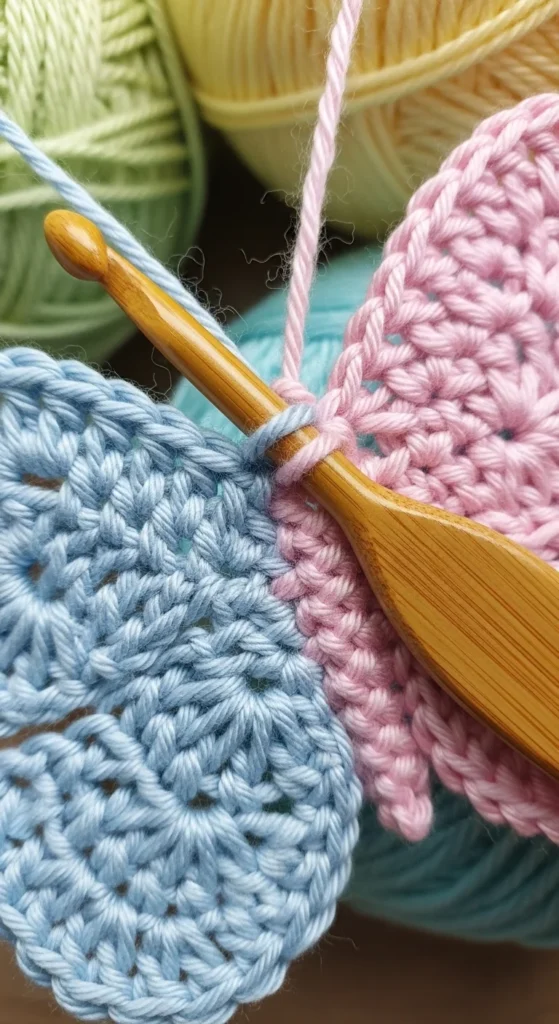
Before you start crocheting, make sure you have the following materials ready:
- Yarn: Lightweight yarn in the colors of your choice. Cotton yarn works well for delicate details.
- Crochet Hook: A 2.5mm or 3.0mm crochet hook, depending on the thickness of your yarn.
- Scissors: To cut your yarn.
- Yarn Needle: For weaving in the ends.
- Optional: Beads or buttons to add embellishments.
Step-by-Step Instructions
Step 1: Create the Butterfly’s Body
Start by making the body of the butterfly. This will be a simple chain stitch that you’ll work into a small tube to form the body.
- Make a Magic Ring: Begin by making a magic ring with your yarn. This allows you to pull the yarn tight to form the base of your butterfly.
- Chain 5: Create a chain of 5 stitches to form the start of the body.
- Work Single Crochet Stitches: In the next 4 stitches, work single crochet stitches to create the length of the body. It should be around 1.5 inches long.
- Finish Off: Once you reach the desired length, finish off by cutting your yarn and leaving a small tail. Set the body aside for later.
Step 2: Make the Butterfly’s Wings
Now it’s time to crochet the wings, which are the most intricate and delicate part of the butterfly.
- Make a Foundation Chain: Start with a foundation chain of 8 stitches.
- Work into the Foundation Chain: In the second chain from the hook, work a half double crochet stitch. Continue with half double crochet stitches across the chain until you reach the end.
- Form the Shape of the Wing: To form the wing’s shape, you’ll work in the round. Turn your work and work back along the row. Create small loops to mimic the delicate shapes of the butterfly’s wings. Use half double crochets and a few double crochets for volume.
- Add the Second Wing: Repeat the process to create the second wing. Make sure both wings are roughly the same size but don’t worry too much about exact symmetry. Butterflies have natural, beautiful variations.
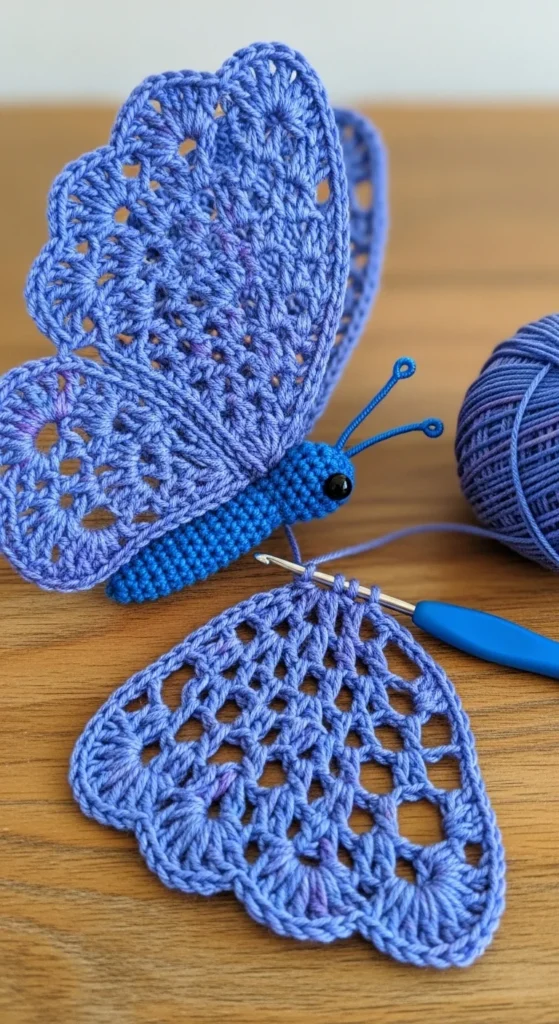
Step 3: Assemble the Butterfly
Now it’s time to assemble the butterfly by attaching the wings to the body.
- Attach the Wings to the Body: Use your yarn needle to stitch the completed wings to the butterfly’s body. Position them evenly on each side and secure them in place with small stitches.
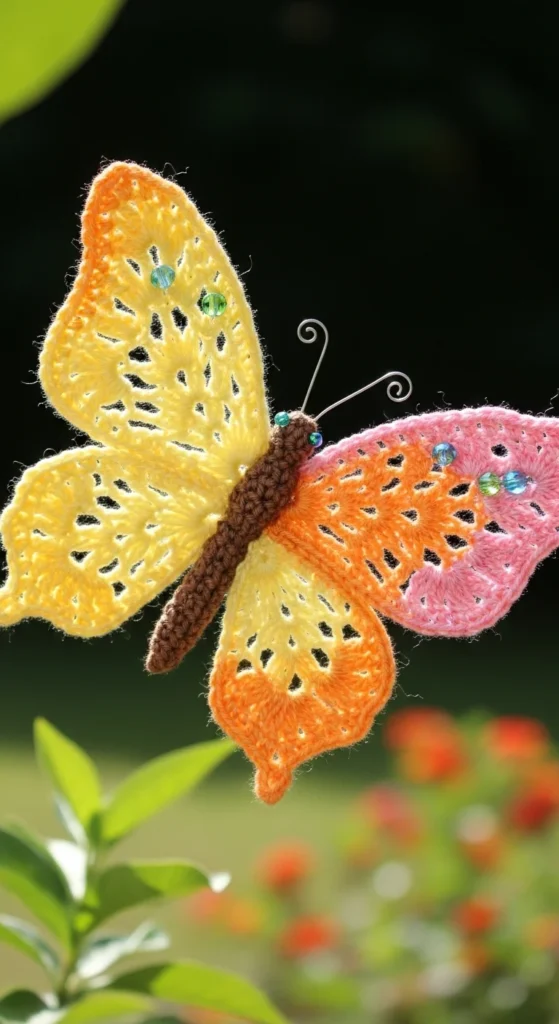
- Add Embellishments (Optional): If you’d like, you can add small beads or buttons to the center of the wings for extra detail. This step is optional, but it can add a nice touch to your butterfly decoration.
Tips for a Perfect Butterfly Decoration
- Use Light Colors for a Soft Look: For a delicate, airy look, choose light pastel colors like lavender, peach, or pale yellow. These colors mimic the softness of real butterfly wings.
- Experiment with Yarn Thickness: Depending on how intricate you want your butterfly to be, try experimenting with different yarn thicknesses. Thinner yarns give a more delicate and lacy effect, while thicker yarns will create a bolder design.
- Add Metallic Threads for Shine: For a special touch, incorporate metallic or glittery yarn into the body or wings to make your butterfly sparkle.
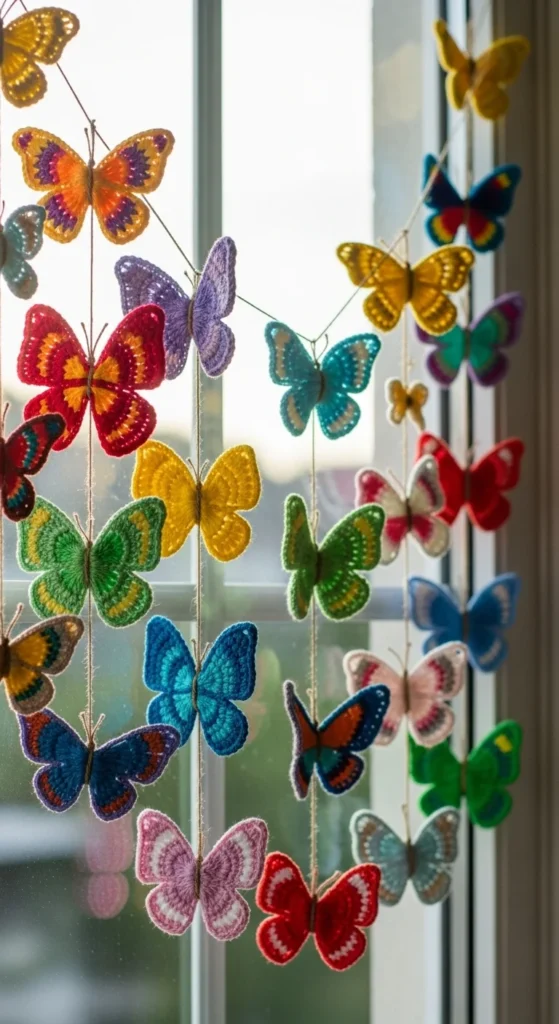
- Create a Butterfly Garland: If you love the design, make several butterflies and string them together to create a charming garland.
Conclusion
Crocheting a delicate butterfly decoration is a creative and enjoyable project that lets you express your crafting skills. By following these easy steps, you can make your very own butterfly to add a pop of color and whimsy to your home, clothing, or even gifts. Remember, crochet is all about experimentation, so don’t hesitate to try different yarns and embellishments for a unique result.
Save this guide and start creating your own butterfly decoration today!

Leave a Reply