

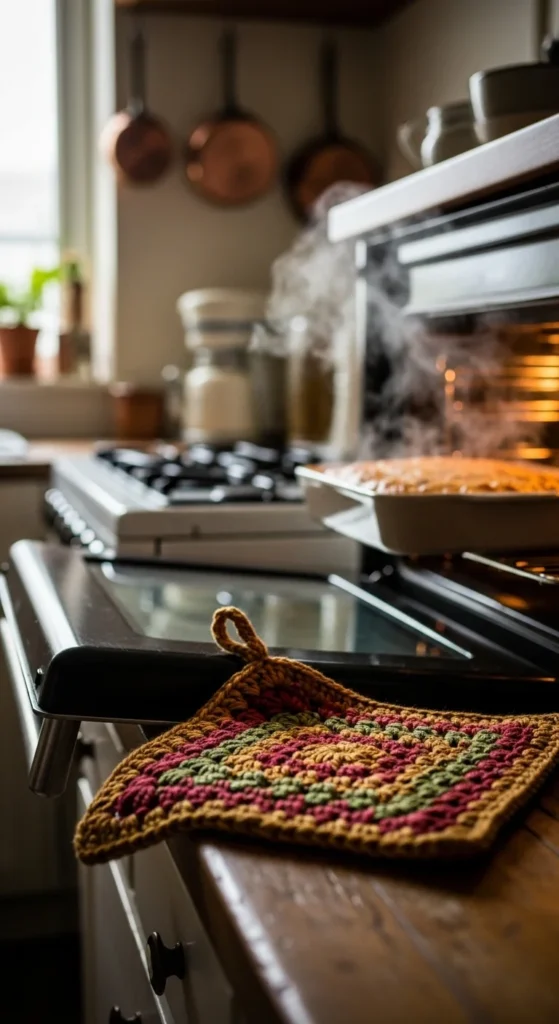
If you’ve ever burned your hands while taking a hot pot out of the oven, you know how essential a good pot holder can be. But let’s be honest—store-bought pot holders often leave much to be desired. They can be thin, flimsy, and ineffective at keeping the heat at bay. So, why not take matters into your own hands and crochet your own thick, reliable pot holder? Not only will it be functional, but it will also add a personal, handmade touch to your kitchen! In this guide, I’ll walk you through the steps to crochet a pot holder that’s both practical and stylish.
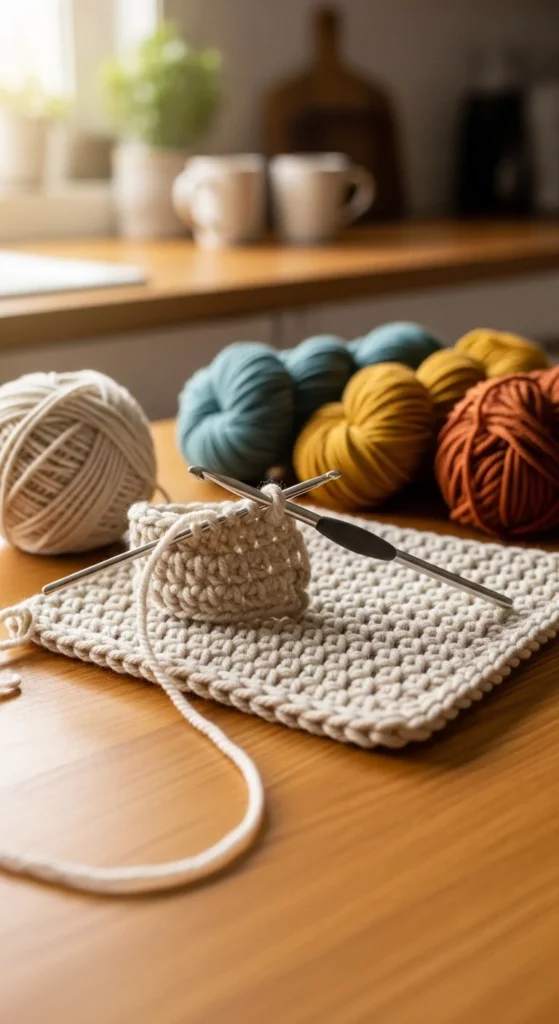
Materials You’ll Need
Before you begin, gather your supplies. This project is simple, even for beginners, and doesn’t require many materials:
- Cotton yarn (thick and durable for heat resistance)
- Crochet hook (size H/8 or 5mm)
- Yarn needle (for finishing off)
- Scissors
- Tapestry needle (optional for weaving in ends)
When choosing yarn, opt for cotton as it’s heat-resistant and easy to clean—perfect for a pot holder!
Step 1: Crochet the Base
Start by creating a simple square base for your pot holder. Begin with a slip knot and chain 26 (or adjust the chain length based on the size you want). Then, work the following pattern:
- Row 1: HDC (half double crochet) into the third chain from the hook, and continue with HDC across. Turn at the end of the row.
- Row 2: HDC across, turn.
- Repeat this pattern until your piece forms a square, about 6 to 8 inches in width.
Tip: Check the size of your pot holder frequently. You want it large enough to cover your hands and provide good insulation.
Step 2: Adding Extra Layers
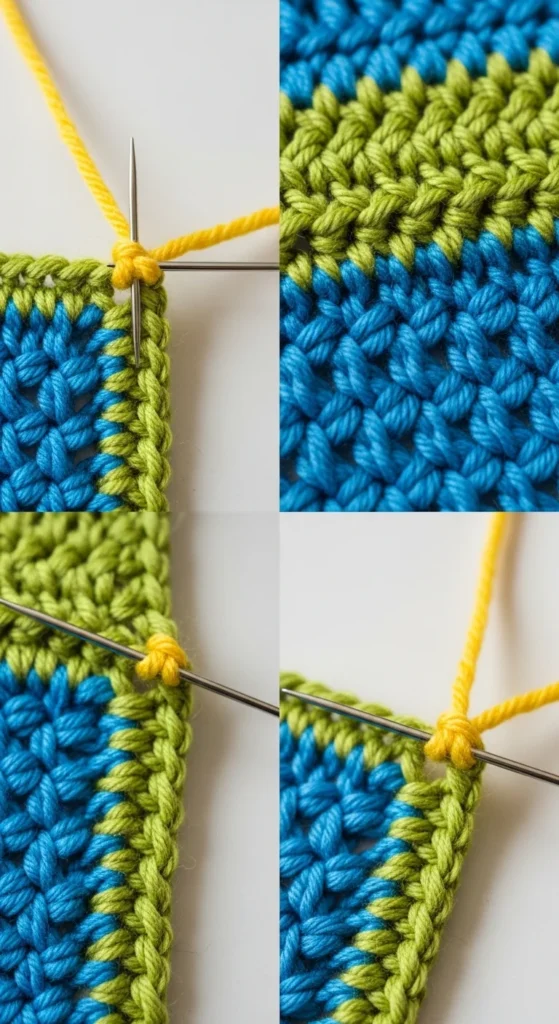
For extra thickness, you’ll want to add a second layer to your pot holder. Crochet the same pattern for a second square. Once you have both pieces, place them together with the right sides facing each other.
Now, use the yarn needle or crochet hook to join the two squares together by single crocheting around the edges. You’ll want to leave a small opening at one corner, which will allow you to turn the piece right-side-out after stitching. Once both layers are joined, use the yarn needle to weave in any loose ends.
Tip: If you want to add a fun twist, use a different color yarn for the second layer or the border to give your pot holder a unique look.
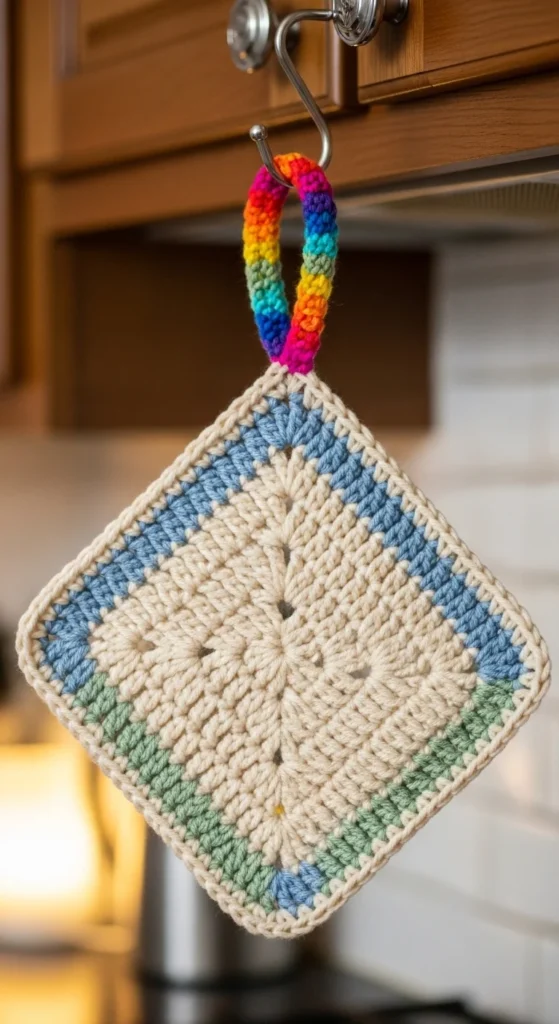
Step 3: Add a Loop for Hanging
To finish off your pot holder, crochet a small loop for easy hanging. With your yarn needle, attach a small piece of yarn to one corner of the pot holder. Chain 10-15 stitches, depending on how long you want the loop to be, and then slip stitch it back into the same corner.
Tip: Make sure the loop is firmly attached so it can hold up your pot holder when you hang it on a hook.
Step 4: The Finishing Touches
Finally, give your pot holder a once-over to ensure there are no loose ends. Trim any extra yarn, and make sure all ends are securely tucked in with a tapestry needle. You can even lightly iron the pot holder to smooth out any creases.
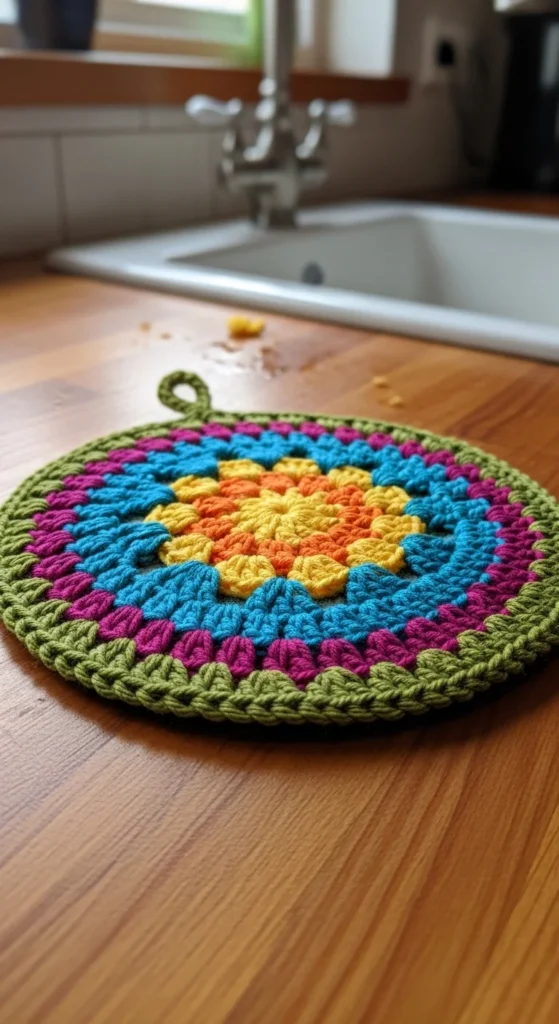
Pro Tip: You can experiment with different stitch patterns such as the “granny square” or “shell stitch” to add extra texture and visual appeal to your project.
Conclusion
There you have it! With just a little time and effort, you can crochet a thick, durable pot holder that will actually help protect your hands from heat. Not only will it serve as a functional tool in your kitchen, but it will also make a wonderful homemade gift for family and friends. So, grab your yarn and hook, and get started on this cozy kitchen project today!
Remember: Handmade items like these are more than just practical—they add personality to your space. And the best part? You get to say, “I made this!”
Save this guide for later and start crocheting your own pot holders! Happy crafting!

Leave a Reply