

If you’ve ever seen colorful, glowing festival bracelets stacked on someone’s arm and thought “I wish I could make those”, you’re in the right place. Kandi singles are one of the easiest and most creative DIY crafts you can learn—perfect for beginners who want something fun, expressive, and totally customizable.
The best part? You don’t need fancy tools or advanced skills. Just beads, string, and a little imagination.
What Are Kandi Singles?
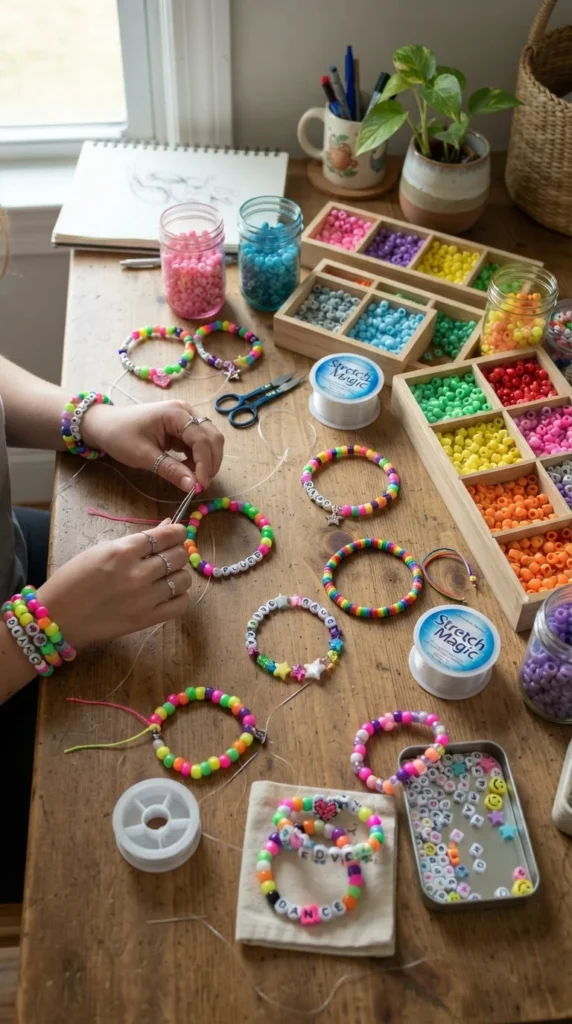
Kandi singles are simple, single-strand bead bracelets often made for festivals, trading, or personal expression. Each bracelet usually has a short word, symbol, or color pattern that reflects a mood, message, or memory.
They’re popular because:
- They’re super easy to make
- They use minimal materials
- They allow endless creativity
- They’re perfect for beginners
Think of them as tiny wearable art pieces that carry meaning.
Materials You’ll Need
Before you start, gather your basic kandi-making supplies. You don’t need anything expensive—most items are easy to find in craft stores.
Here’s what you’ll need:
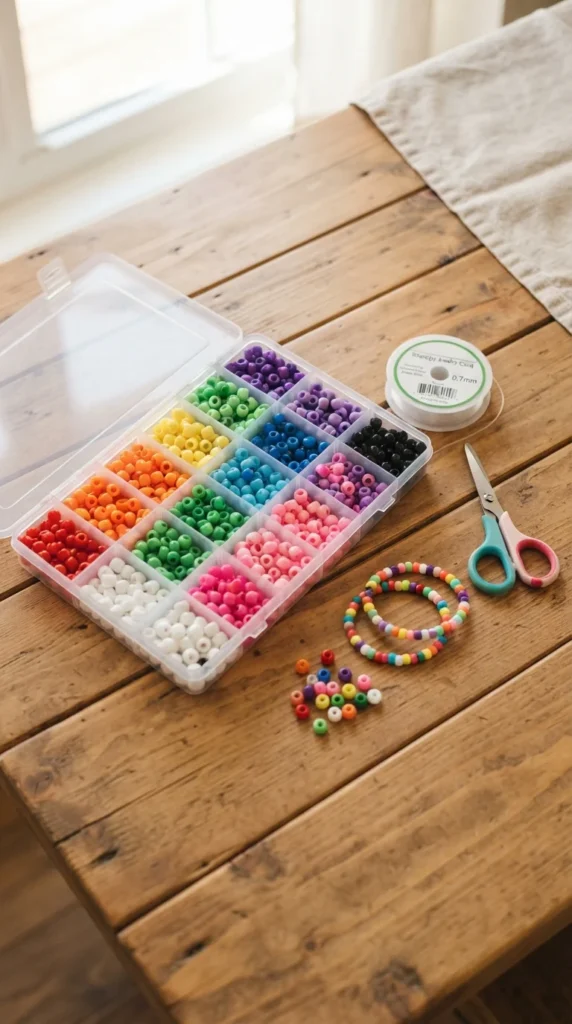
- Elastic string (clear or colored)
- Pony beads (plastic beads with large holes)
- Letter beads (optional but great for words)
- Scissors
- Small tray or bowl to keep beads organized
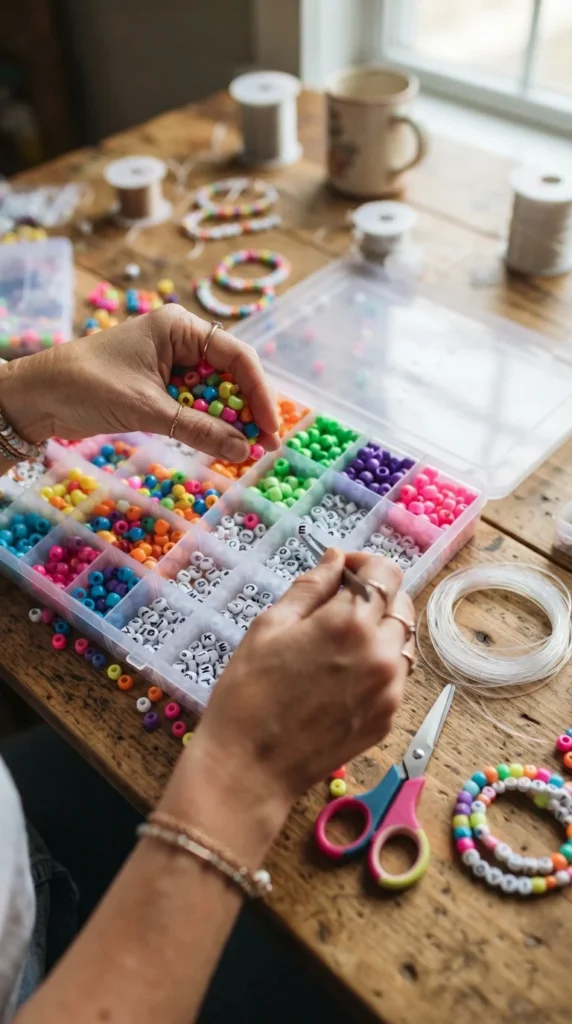
Once everything is ready, you’re set to start creating your first kandi single!
Step-by-Step: How to Make Your First Kandi Single
Let’s break it down into super simple steps so you can follow along easily.
1. Cut Your String
Cut a piece of elastic string about 10–12 inches long. This gives you enough room to tie knots later.
2. Plan Your Pattern
Decide your color pattern or word before you start threading. Beginners should start simple:
- Alternating colors (pink-blue-pink-blue)
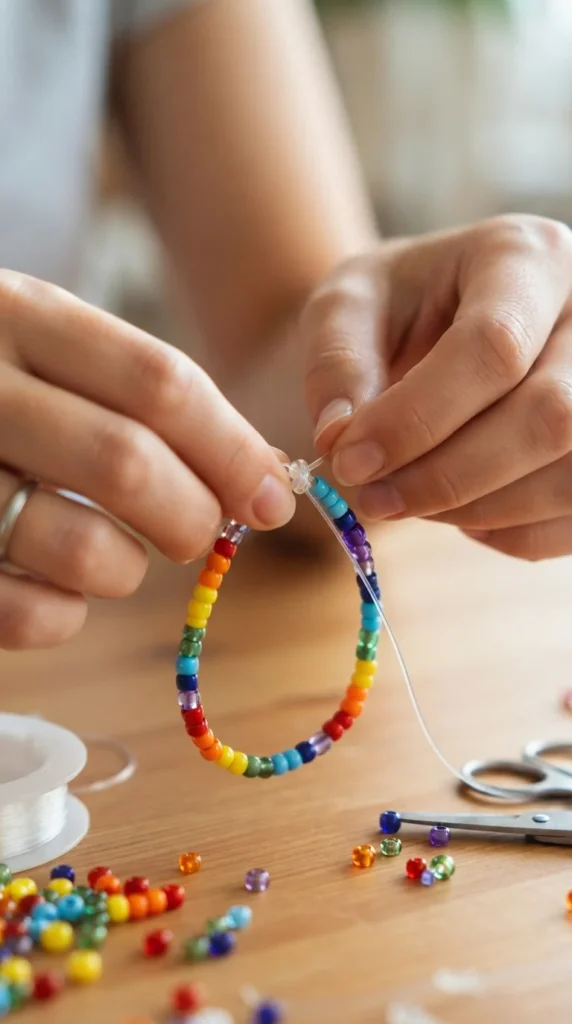
- Rainbow sequence
- One short word like “LOVE” or “HAPPY”
3. Start Beading
Slide your beads onto the string one by one. Go slowly so your pattern stays neat.
4. Check the Fit
Wrap the beaded string around your wrist before tying to make sure it’s not too tight or too loose.
5. Tie It Securely
Once you’re happy with the length, tie a double knot (or triple knot for extra security). Trim the excess string carefully.
Simple Bead Patterns for Beginners
Not sure where to start? These easy kandi patterns will help you build confidence and creativity.
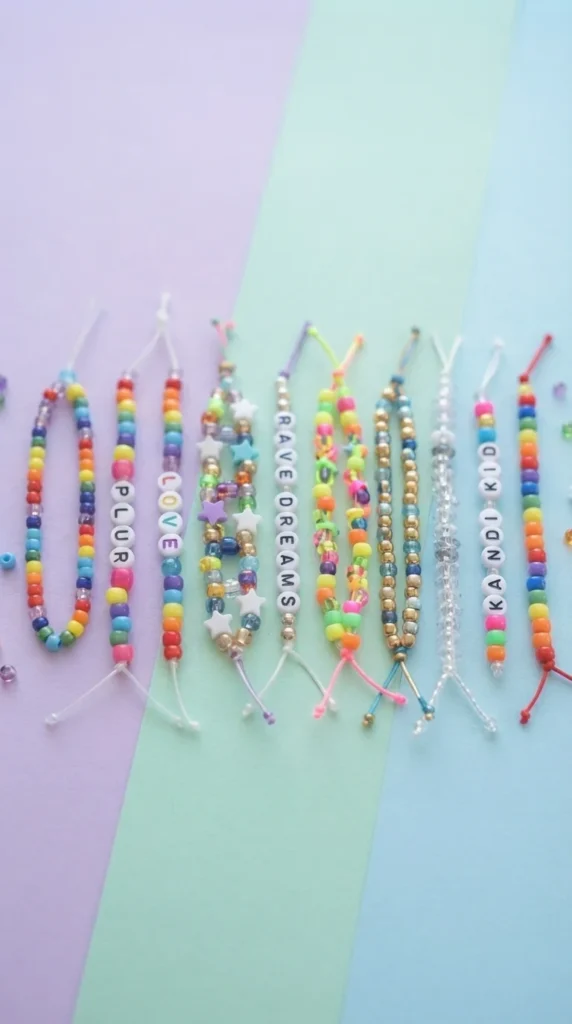
🌈 Rainbow Stripe Pattern
Alternate all colors in rainbow order. It always looks vibrant and eye-catching.
💖 Two-Color Repeat
Pick two colors and alternate them evenly for a clean, balanced look.
🔤 Word Singles
Use letter beads to spell:
- LOVE
- SMILE
- HOPE
- PEACE
⭐ Random Fun Mix
No pattern at all—just mix colors and let it flow naturally.
Tips for Perfect Kandi Singles
A few small tricks can make your bracelets look more polished and professional:
- Don’t over-tighten the string while beading
- Use a bead tray to avoid losing pieces
- Keep patterns consistent for a cleaner look
- Double knot every bracelet for durability
- Mix matte and shiny beads for visual interest
If your first bracelet looks a little uneven, don’t worry—that’s part of the learning process.
Why Kandi Singles Are So Fun
Kandi singles aren’t just bracelets—they’re tiny pieces of creativity you can wear, trade, or gift. Each one tells a story. You can make them for friends, match outfits, or even build a whole collection that represents your personality.
Once you start, it’s hard to stop because every color combo feels like a new idea waiting to happen.
Final Thoughts
Making kandi singles is one of the simplest and most satisfying DIY crafts for beginners. With just a few beads and a little time, you can create something colorful, meaningful, and completely unique.
So grab your beads, pick your favorite colors, and start your first design today.
Save this guide for later and start your kandi bracelet journey whenever inspiration hits!

Leave a Reply