

There’s something extra special about receiving a birthday card that was made by hand. It feels personal, thoughtful, and full of love in a way store-bought cards simply can’t match. The best part? You don’t need expensive supplies or advanced skills to create beautiful handmade birthday cards at home. Just a few sheets of paper, some creativity, and a little time can turn into a heartfelt masterpiece.
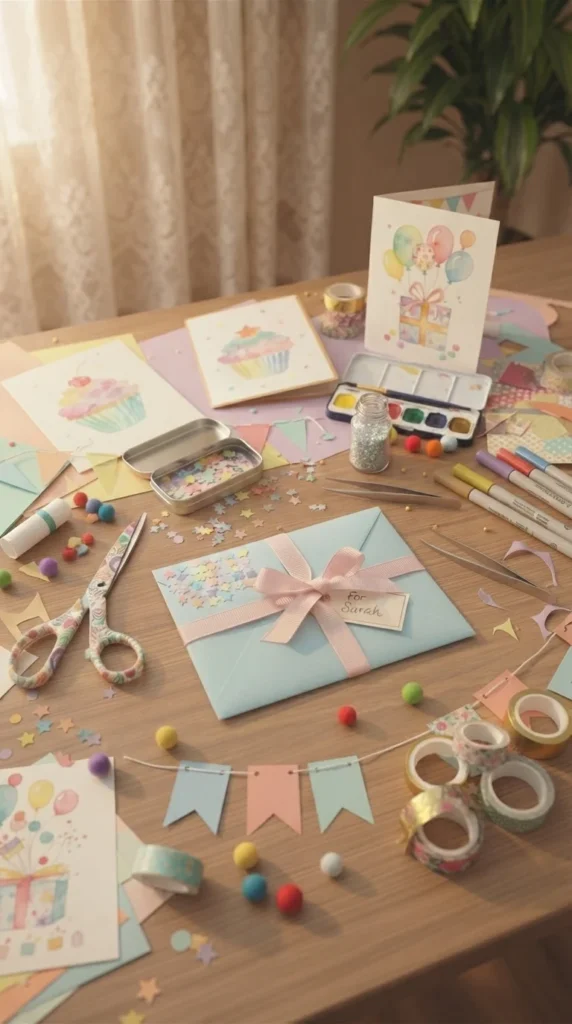
Whether you’re crafting for a friend, sibling, or parent, this guide will walk you through easy, affordable steps to make stunning paper birthday cards that look impressive but are beginner-friendly.
Why Handmade Paper Cards Are So Special
Handmade cards carry emotion that digital messages or store-bought cards often lack. Every fold, cut, and decoration shows effort and care. Plus, paper crafting is budget-friendly and allows you to fully personalize your design.
Here’s why you’ll love making them:
- Extremely affordable materials
- Easy to customize for any age or personality
- Perfect for beginners and kids
- Great for stress relief and creativity
- No special tools required
With just basic supplies, you can create something meaningful and memorable.
Essential Materials You’ll Need
Before you start crafting, gather your simple supplies. Most of these are already available at home or can be found easily at any stationery shop.
- Colored craft paper or cardstock
- Plain white sheets
- Scissors
- Glue stick or liquid glue
- Sketch pens, markers, or gel pens
- Ruler and pencil
- Stickers, ribbons, or washi tape (optional)
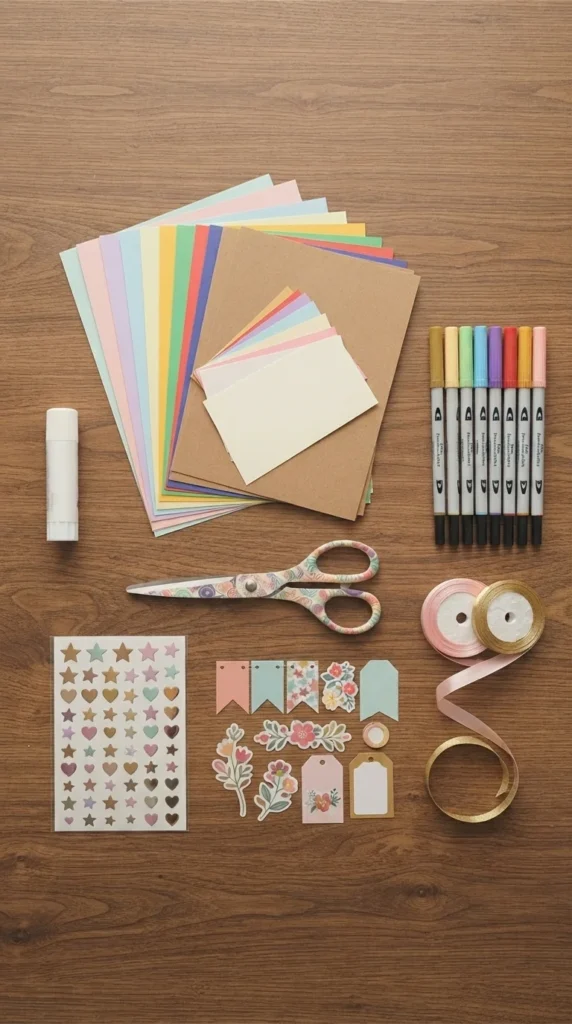
Once you have everything ready, you’re all set to start designing your card.
Step 1: Choose and Fold Your Card Base
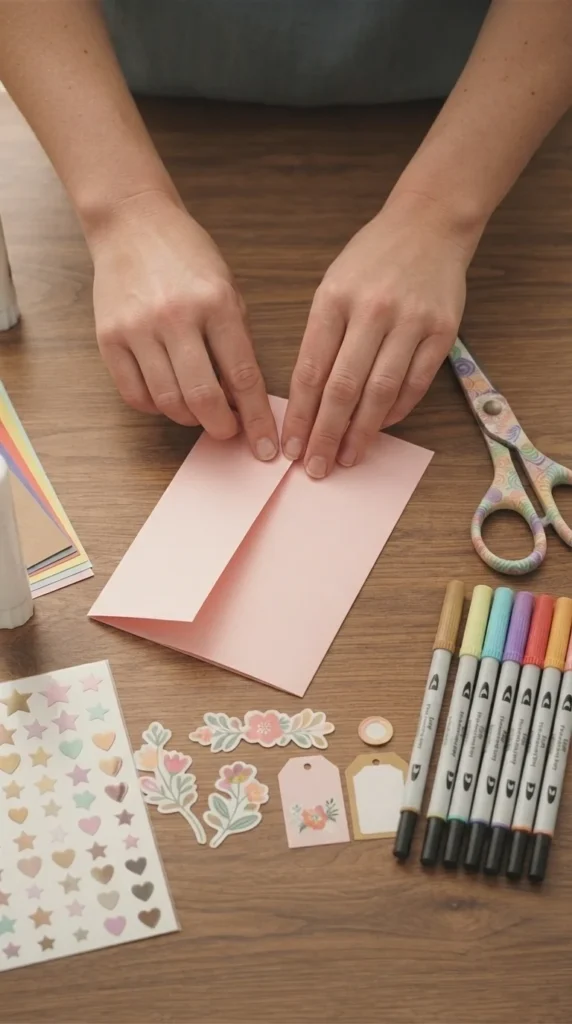
Start by selecting a sturdy sheet of paper or cardstock. This will be the base of your birthday card. The most common size is A4 paper folded in half, but you can also go for square or mini card styles for a cute twist.
How to do it:
- Take your sheet and fold it neatly in half
- Press along the fold line for a clean edge
- Use a ruler if you want a sharp professional fold
This simple step instantly turns a flat sheet into a card shape, ready for decoration.
Step 2: Design a Creative Front Cover
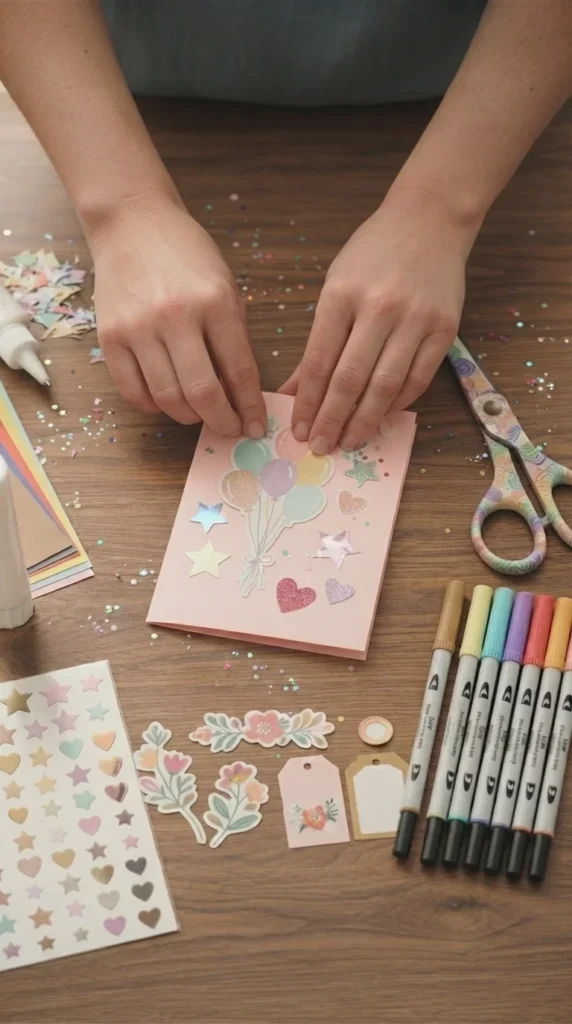
Now comes the fun part—designing the front cover! This is where your creativity shines. Think about the person you’re making the card for and choose a theme they’ll love.
Some easy ideas include:
- Cute floral patterns
- Birthday balloons and confetti
- Hearts and stars
- Simple lettering like “Happy Birthday”
- Minimalist doodle art
Use markers, cut-out shapes, or stickers to decorate the front. Layering different textures makes your card look more professional and visually appealing.
Don’t worry about perfection—handmade charm is all about uniqueness!
Step 3: Add a Heartfelt Message Inside
The inside of your card is where emotions come alive. This is your chance to write something personal, warm, and meaningful.
You can include:
- A simple “Happy Birthday” message
- A short personal note or memory
- A motivational wish for the year ahead
- A funny inside joke (if appropriate)
Example message:
“Wishing you a day filled with happiness and a year filled with success and beautiful memories!”
Use colorful pens or calligraphy-style writing to make it extra special.
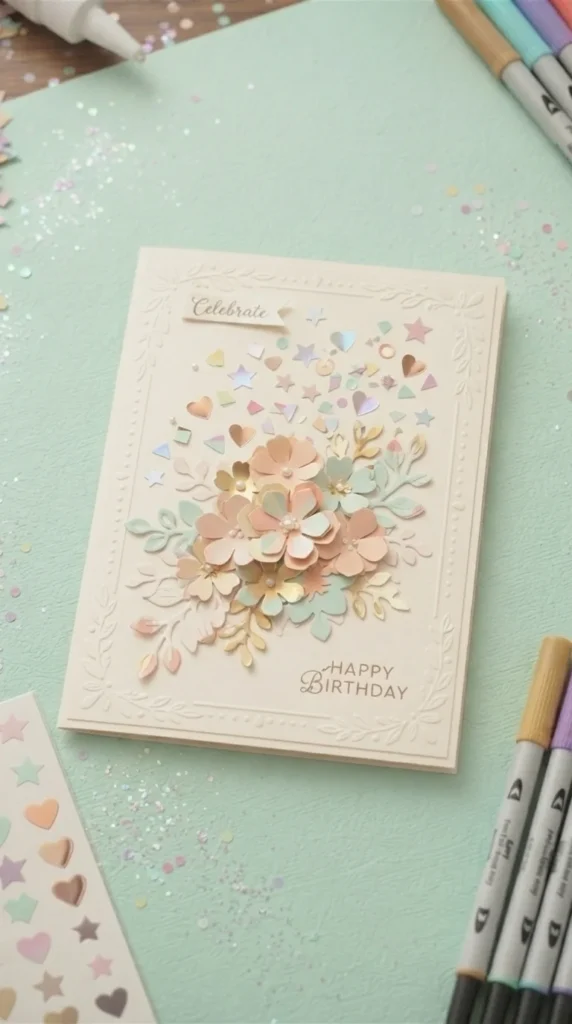
Step 4: Enhance with Creative Paper Decorations
To make your card stand out, add small paper decorations that give it depth and charm. This step transforms a simple card into a mini work of art.
Try adding:
- Layered paper flowers
- Cut-out gift boxes
- Pop-up shapes inside the card
- Borders using colored strips
- Tiny envelope pockets for notes
You can even mix textures by combining matte paper with slightly glossy paper for contrast.
Step 5: Final Touches for a Polished Look
Before you finish, take a moment to refine your card. Small finishing touches can make a big difference.
Checklist for final touches:
- Check for clean edges and remove extra glue
- Smooth out any folds or wrinkles
- Add sparkly accents or stickers if needed
- Make sure colors are balanced and not overcrowded
You can even place your finished card under a heavy book for a few minutes to keep it flat and neat.
Creative Tips to Make Your Card Stand Out
If you want your handmade card to look extra special, try these simple ideas:
- Use recycled paper for a rustic, eco-friendly style
- Mix handwriting styles for a fun artistic effect
- Add a photo of you and the birthday person inside
- Create a theme based on their hobbies (music, nature, sports)
- Use soft pastel colors for an aesthetic look
The key is to make it personal and meaningful.
Final Thoughts
Making handmade birthday cards with paper is one of the easiest and most affordable DIY crafts you can try. It doesn’t require fancy tools—just creativity, effort, and a little imagination. The result is always something heartfelt that brings a smile to someone’s face.
So grab your paper and start crafting your own beautiful birthday card today. Every fold tells a story, and every design carries a memory worth sharing.
Save this idea for your next birthday celebration and start creating something truly special!
Leave a Reply