

Crochet keychains are one of the easiest and most satisfying beginner-friendly projects you can try. They’re small, quick to finish, and instantly turn into adorable handmade accessories for your bag, keys, or even gifts for friends. If you’ve ever wanted to learn crochet but felt intimidated, this is the perfect starting point.
Imagine holding a tiny handmade charm made by you—soft yarn, cute shapes, and endless creativity packed into something that fits in your palm. The best part? You don’t need advanced skills to make it happen.
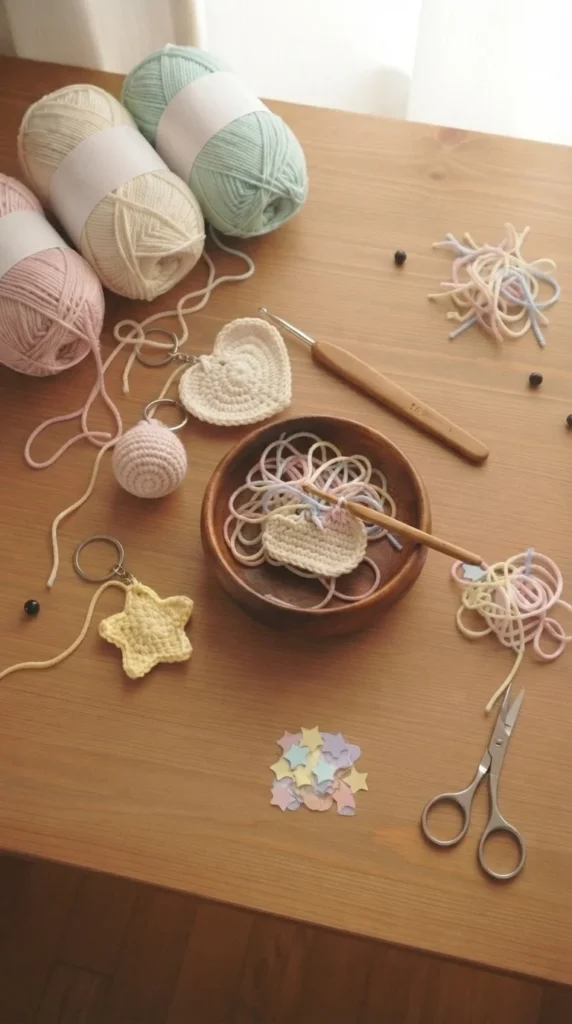
Let’s break it down step by step so you can start creating your own crochet keychain pattern with confidence.
What You Need to Start Your Crochet Keychain
Before diving into stitches, gather a few simple tools. The beauty of crochet is that you don’t need much to begin.
- Soft cotton yarn (lightweight works best for keychains)
- A small crochet hook (usually 2.5mm–4mm)
- Scissors
- Yarn needle for finishing
- Keychain ring or clip
- Optional stuffing (for 3D designs like hearts or animals)
Keep your setup simple and organized. Beginners often find it easier when everything is within reach and neatly arranged.
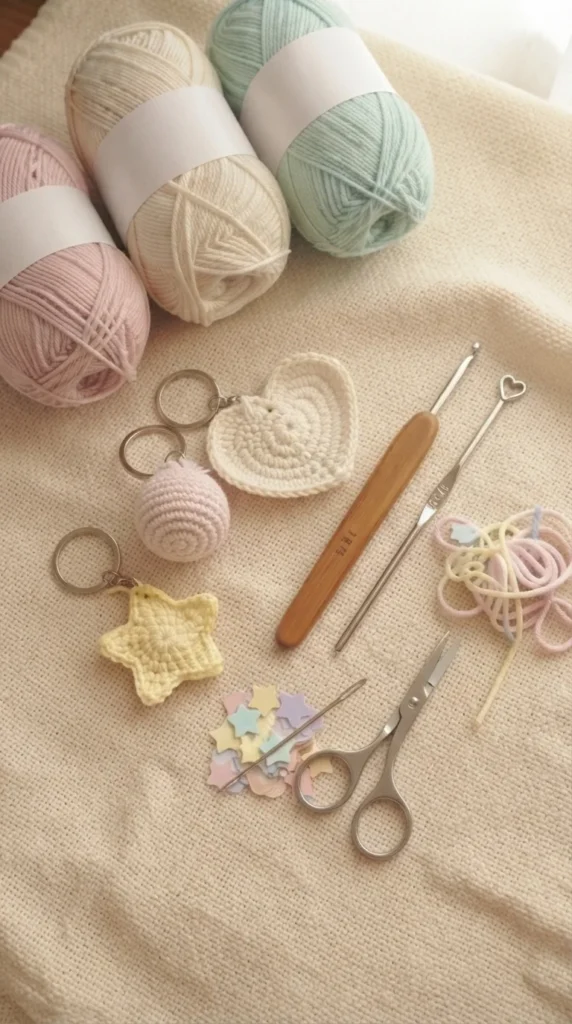
Once you have your materials ready, you’re already halfway into your crochet journey!
Step-by-Step Easy Crochet Keychain Pattern
Now let’s create a simple base shape—like a small circle or heart—that can be turned into a keychain charm.
Step 1: Make a Magic Ring
Start with a magic ring and crochet 6 single stitches inside it. Pull the yarn tight to close the center.
Step 2: Increase Rounds
In the next round, increase stitches evenly (2 stitches in each stitch) to form a flat circle. This will be your base shape.
Step 3: Build the Shape
Continue adding rounds until you reach your desired size. For hearts or animals, you can follow a simple pattern by increasing and shaping corners.
Step 4: Add Texture or Details
You can switch yarn colors or add tiny stitches for eyes, noses, or decorative edges.
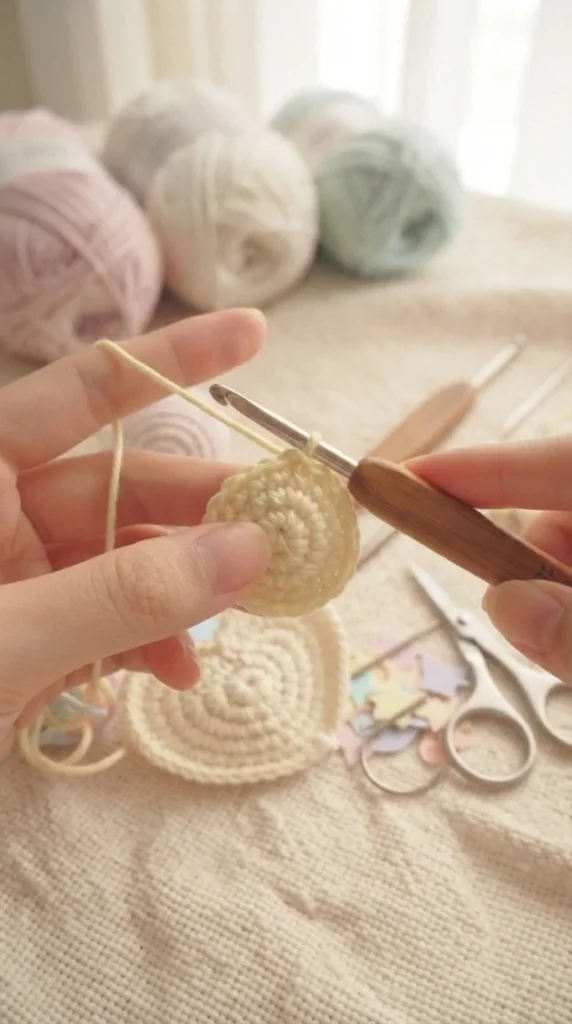
Take your time with each stitch. Even if it looks uneven at first, that’s part of learning and improving.
Shaping and Finishing Your Keychain
Once your crochet piece is complete, it’s time to turn it into a real keychain.
Step 1: Stuff (Optional)
If you’re making a 3D shape like a heart or tiny animal, gently fill it with a small amount of stuffing.
Step 2: Close the Piece
Use a yarn needle to sew the edges closed neatly. Make sure there are no loose gaps.
Step 3: Attach the Keychain Ring
Loop yarn or use a small metal ring to attach your crochet piece securely.
Step 4: Final Touches
Trim extra threads and adjust the shape so it looks neat and balanced.
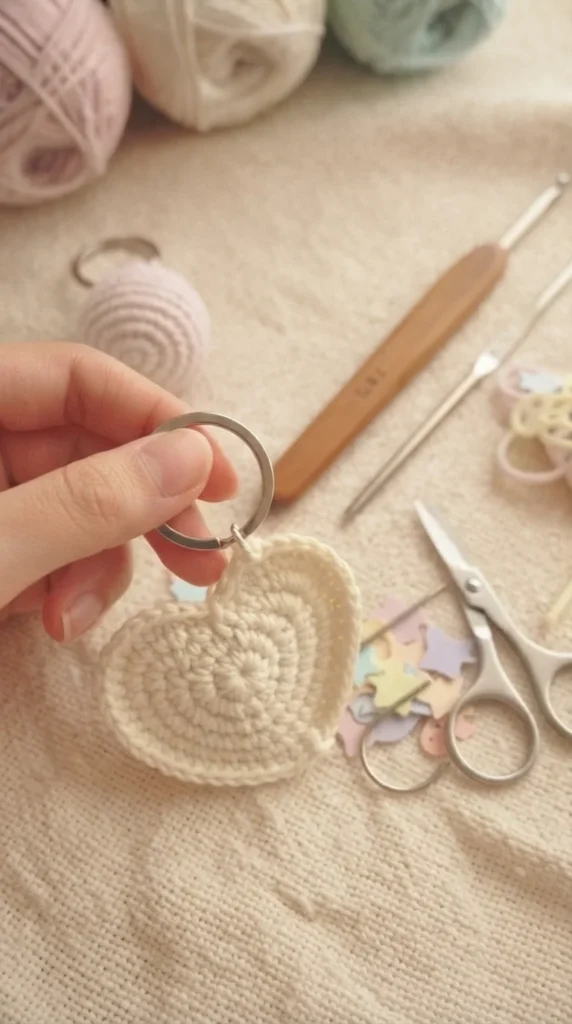
At this stage, your tiny creation transforms into something functional and beautiful.
Cute Design Ideas and Beginner Tips
Once you’ve mastered the basic pattern, you can experiment with fun variations to make your keychains stand out.
Try These Cute Ideas:
- Mini hearts in different colors
- Tiny animals like cats, bunnies, or bears
- Small flowers with layered petals
- Simple smiley face charms
Beginner Tips:
- Use thicker yarn if you want faster results
- Keep stitches tight so stuffing doesn’t show
- Practice slow and steady instead of rushing
- Repeat basic shapes until you feel confident
You’ll notice that every keychain you make gets better than the last. That’s the beauty of crochet—it grows with your practice.
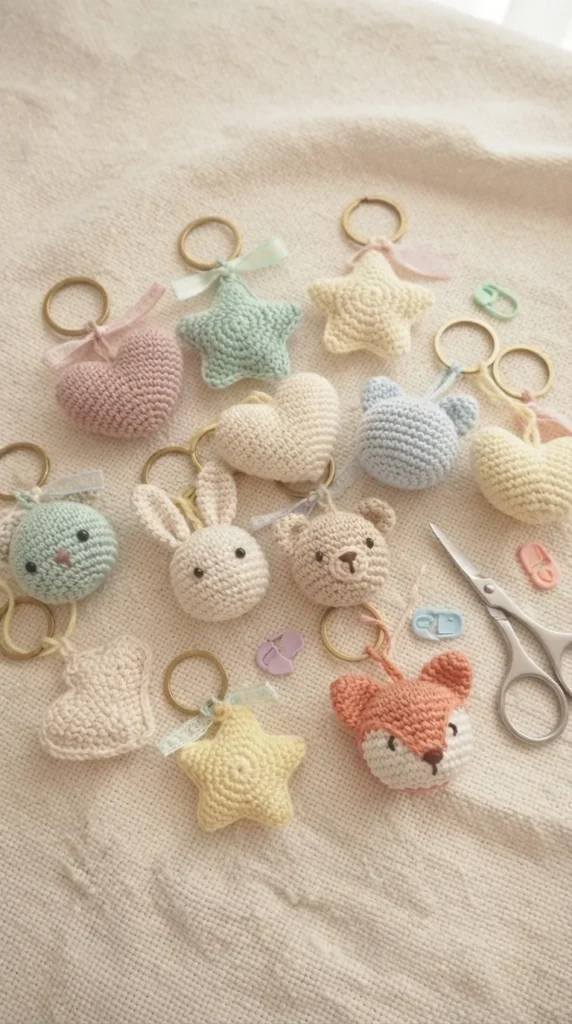
Don’t worry about perfection. Handmade charm comes from tiny imperfections that make each piece unique.
Final Thoughts
Crocheting a keychain is one of the easiest ways to step into the world of handmade crafts. It’s relaxing, creative, and incredibly rewarding when you see your finished piece in your hands. With just a bit of yarn and patience, you can create something adorable and personal in no time.
Keep practicing, try new shapes, and don’t be afraid to experiment with colors and patterns. Every stitch brings you closer to mastering this cozy craft.
Save this idea for later and start your first crochet keychain today—you might just get hooked on it!
Leave a Reply